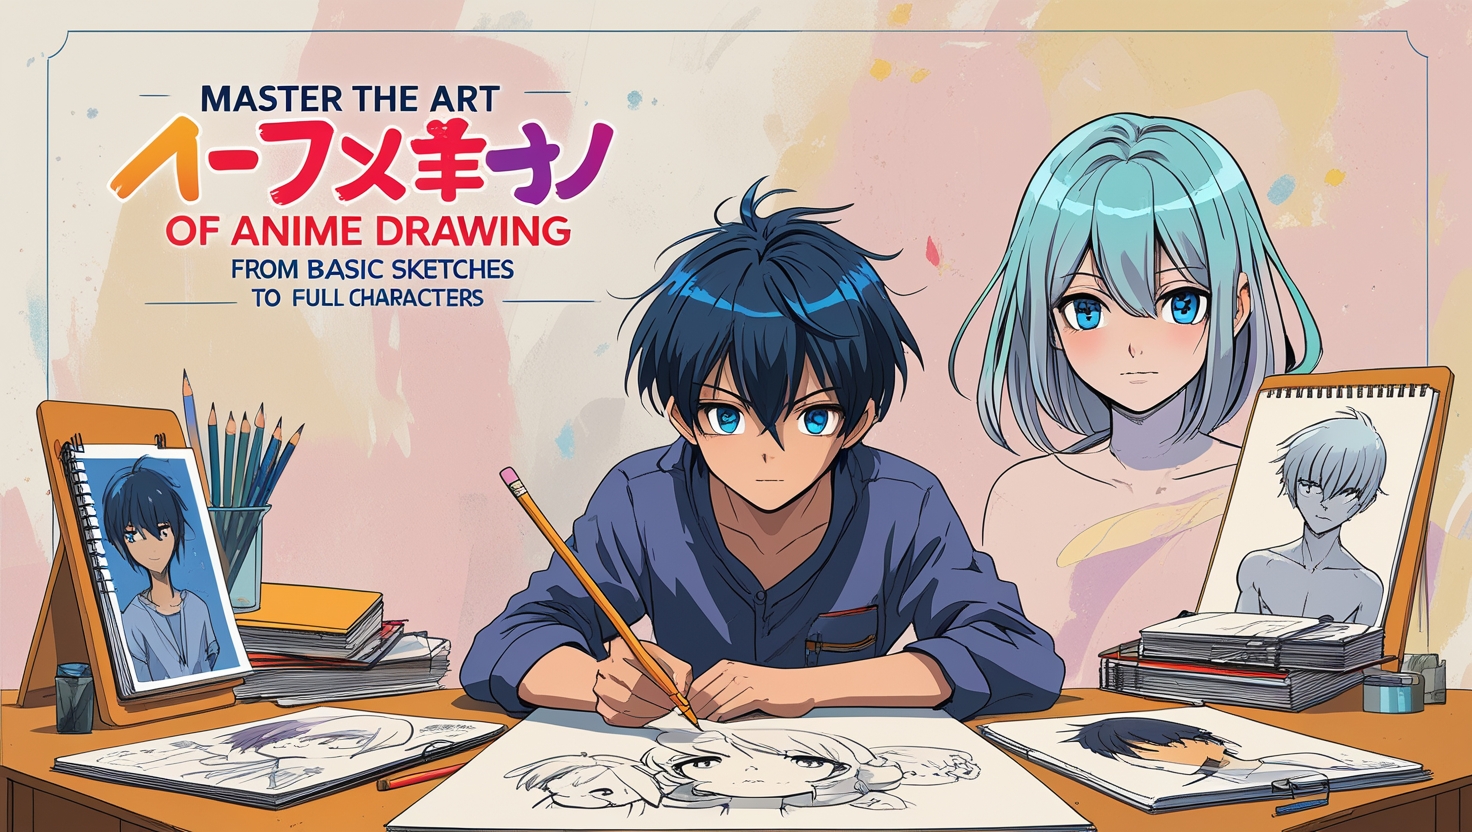
Master the Art of anime drawing: From Basic Sketches to Full Characters
anime drawing is a skill that anyone can master. Being a fan beforehand isn’t required. If so, you are for a treatment because this guide offers the foundation that you need to build your fan art skills. We do not make any promise about your level of expertise after reading this manual. We still feel that you can do some decent sketches enough to get a pat on the back. Learn the ropes of anime art with this broad tutorial.
The “anime” animation and visual style from Japan has become incredibly popular all around the globe. The thought of attempting to draw your favorite anime characters, which are produced by professionals, could be intimidating. The good news is that anybody can learn to draw anime characters; the process is actually rather simple if broken down into smaller steps.
Characters from anime are instantly recognizable. Due to their outsized eyes and other unique facial features, anime characters are both strange and interesting to draw. Prior to delving in, novices should familiarize themselves with the fundamentals of anime art. Following is a detailed tutorial on sketching anime, including topics such as accurate dimensions, drawing iconic anime eyes, and drawing several types of anime hair.
What are the basics of anime drawing characters?
Anime has captured the hearts of viewers all across the world with its visually gorgeous characters and unique storytelling. Discovering one’s artistic side through animation training is a thrilling journey. Learning the basics of anime art, such as character design, storytelling, and sketching, should be an integral part of this process. Whether you’re a total newbie who wants to dive in or a seasoned fan who wants to hone their skills, this book will teach you the basics of drawing anime.
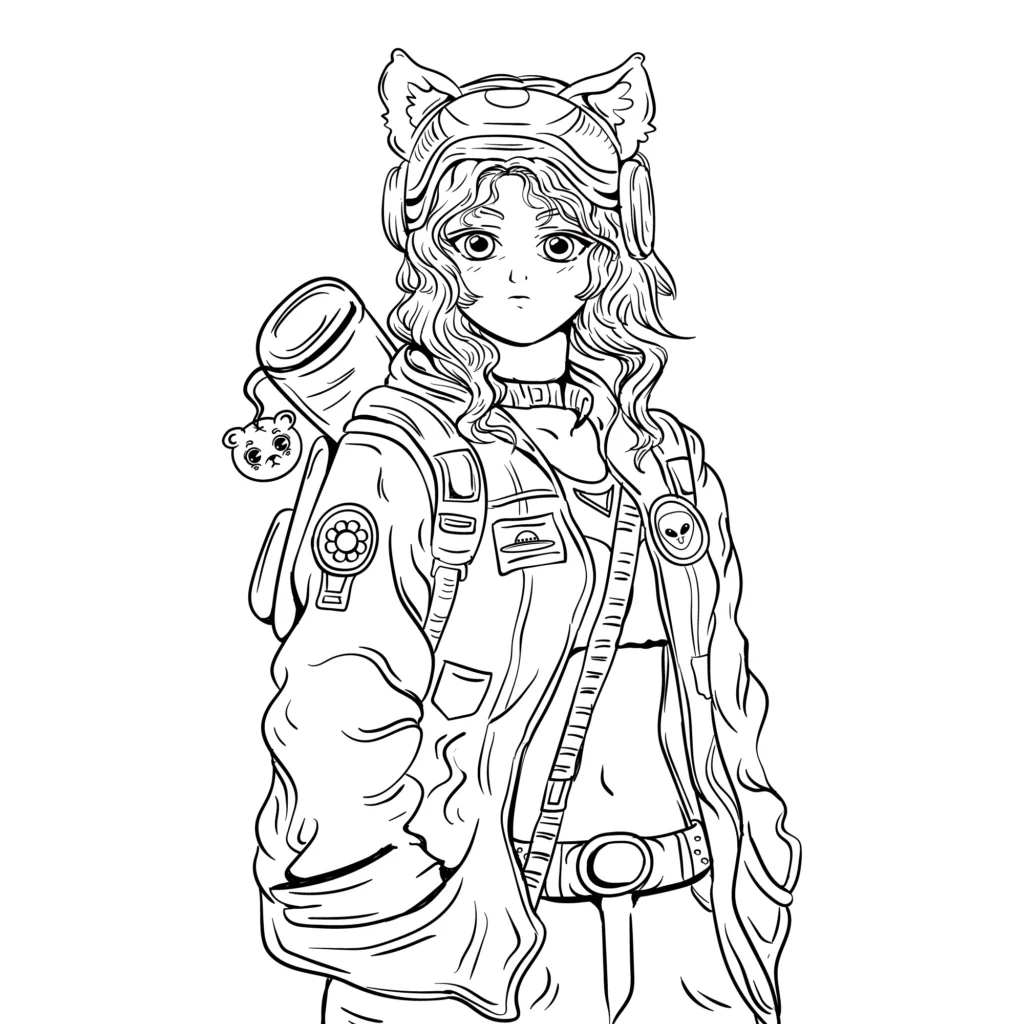
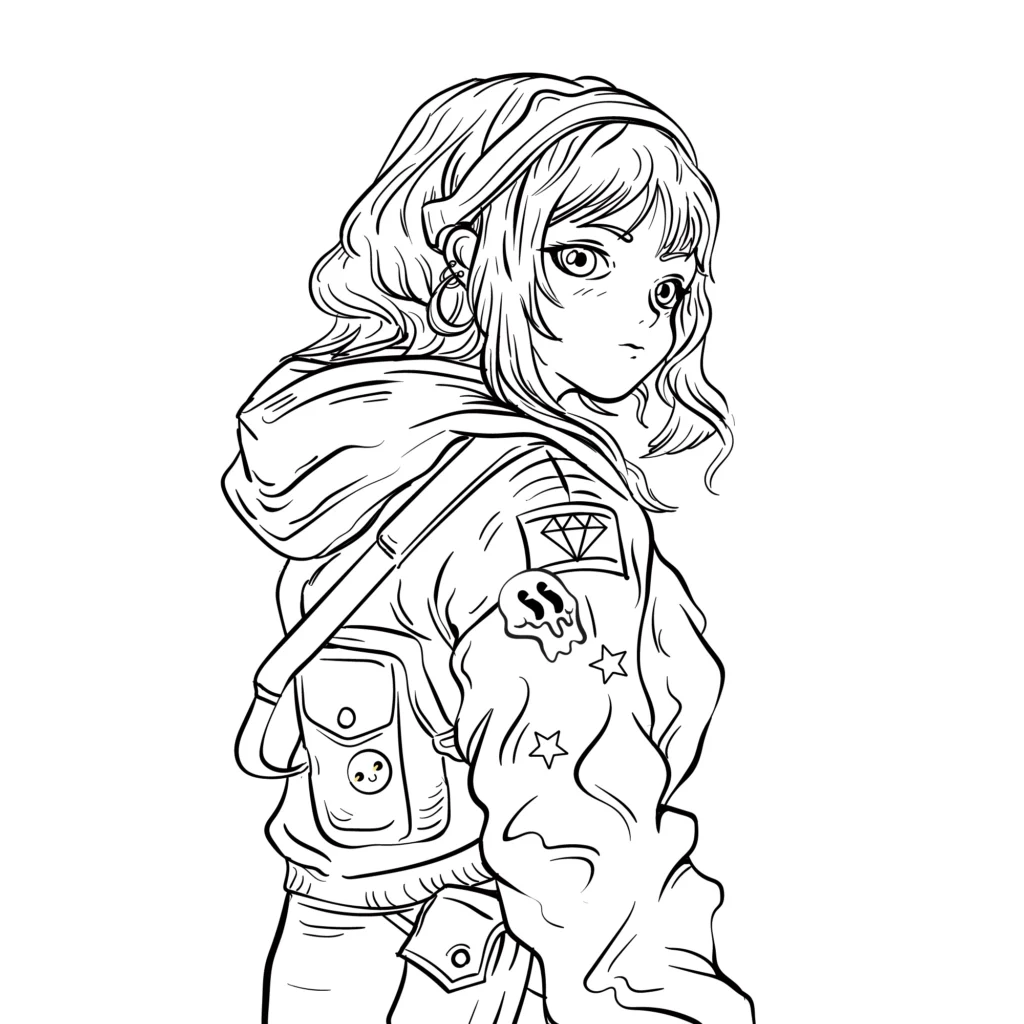
The Essential Art Materials for Anime Character Design
Before you begin creating your anime drawing, make sure you have the right equipment. It will make the process lot easier and more enjoyable. Here you will find all the necessary components to start. No matter how much or how little experience you have with sketching, this blog post regarding 6 necessary supplies can help you reach your full potential.
- Paper for sketching or smooth drawings—Use a good notebook or smooth drawing paper to keep your lines clean and sharp and to avoid smudging too much.
- 4B, 6B, 2B, and HB Pencil Set— With the use of several pencil grades, one may achieve shading and depth that is more realistic. Use a 2B or 4B for deeper outlines, and an HB for lighter sketching.
- There are two kinds of erasers: a kneaded eraser for making pencil lines smooth and a precision eraser for drawing small details like cartoon hair and eyes.
- Colored pencils, markers, or digital tools — Invest in a high-quality set of alcohol-based colored pencils or markers to really bring your character to life with color. If you enjoy digital drawing, you might prefer software like Procreate or Clip Studio Paint.
- Blending Stumps or Cotton Swabs—Great for making skin tones look smooth in anime-style drawings and making pencil coloring softer.
Everything you need to start drawing and perfecting your anime portrait is right here!
Facial Expressions Used in Anime Artwork
Identifying the tools you’ll need is vital before you dive into specific expressions and how to draw anime. When you come up with fresh expressions for your anime characters, remember that you’re working with certain features. Look at these:
- The most noticeable features of the face, such as the eyes, brows, mouth, lips, and nose, can all be modified to a certain extent.
- The outline of the head: Remember that as you make a face, the contours of your head, particularly your jawline and cheekbones, change.
Be aware, though, that the character’s cheeks and jaw have undergone some changes, so the overall silhouette of the head could look slightly different. Hence, we have to keep an eye on the head silhouette and determine what we want to convey emotionally. The best way to start is by scouring real life and the anime/manga worlds for references and examples.
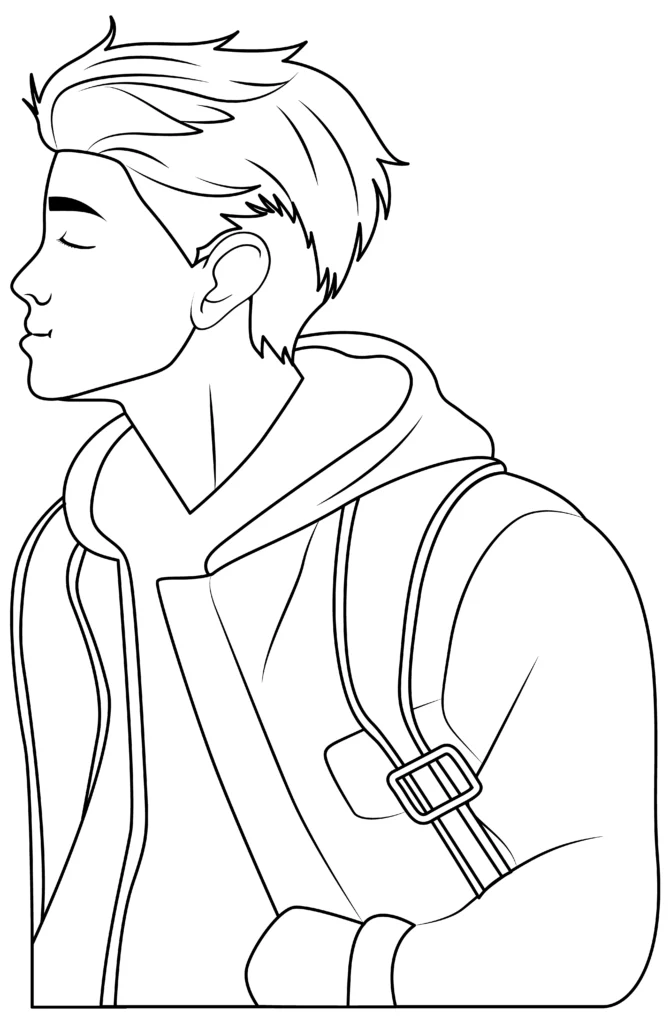
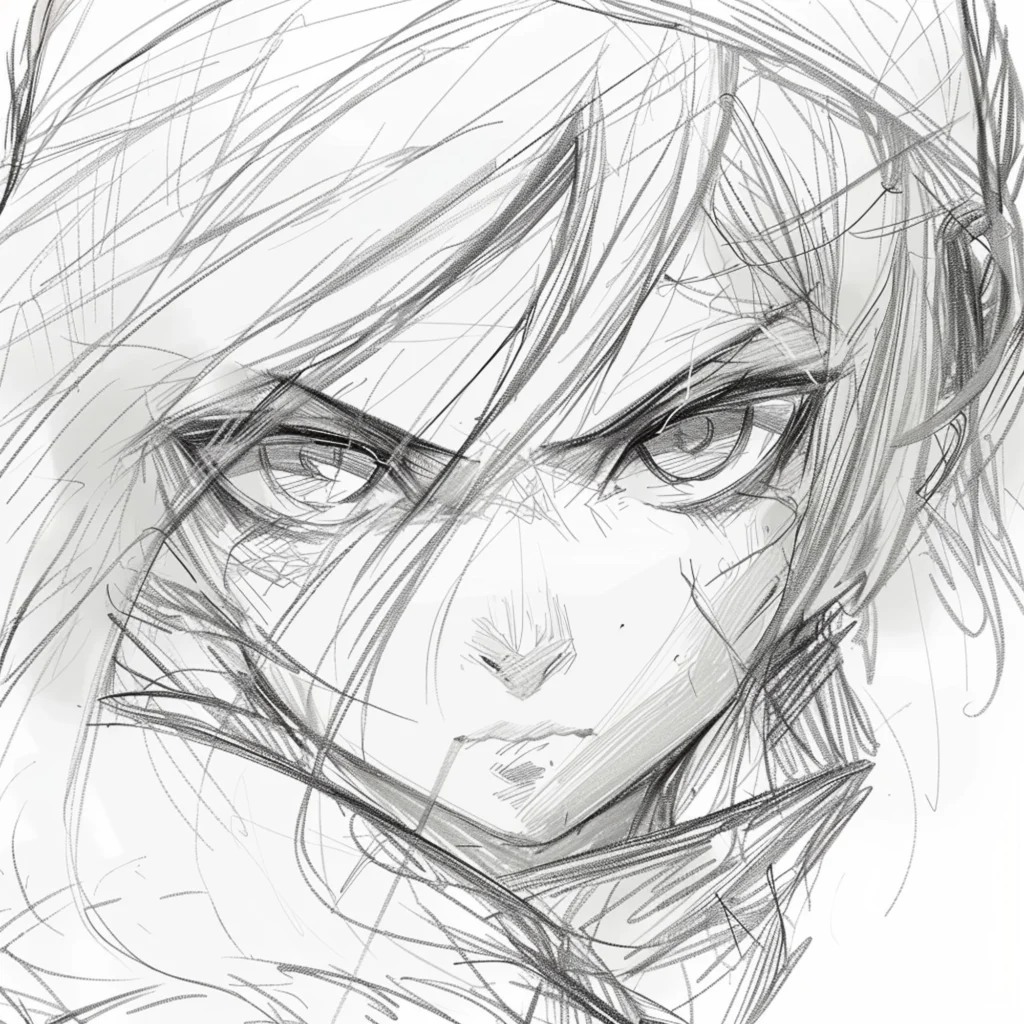
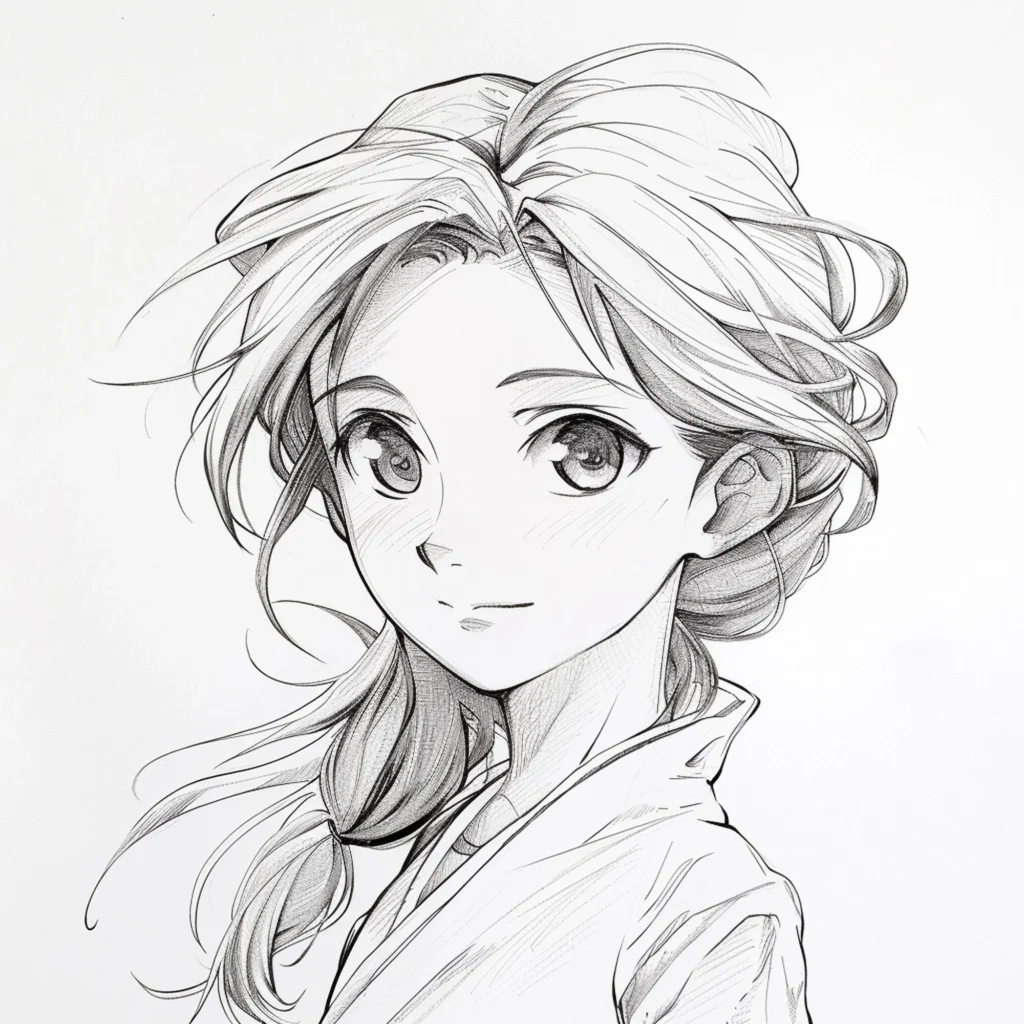
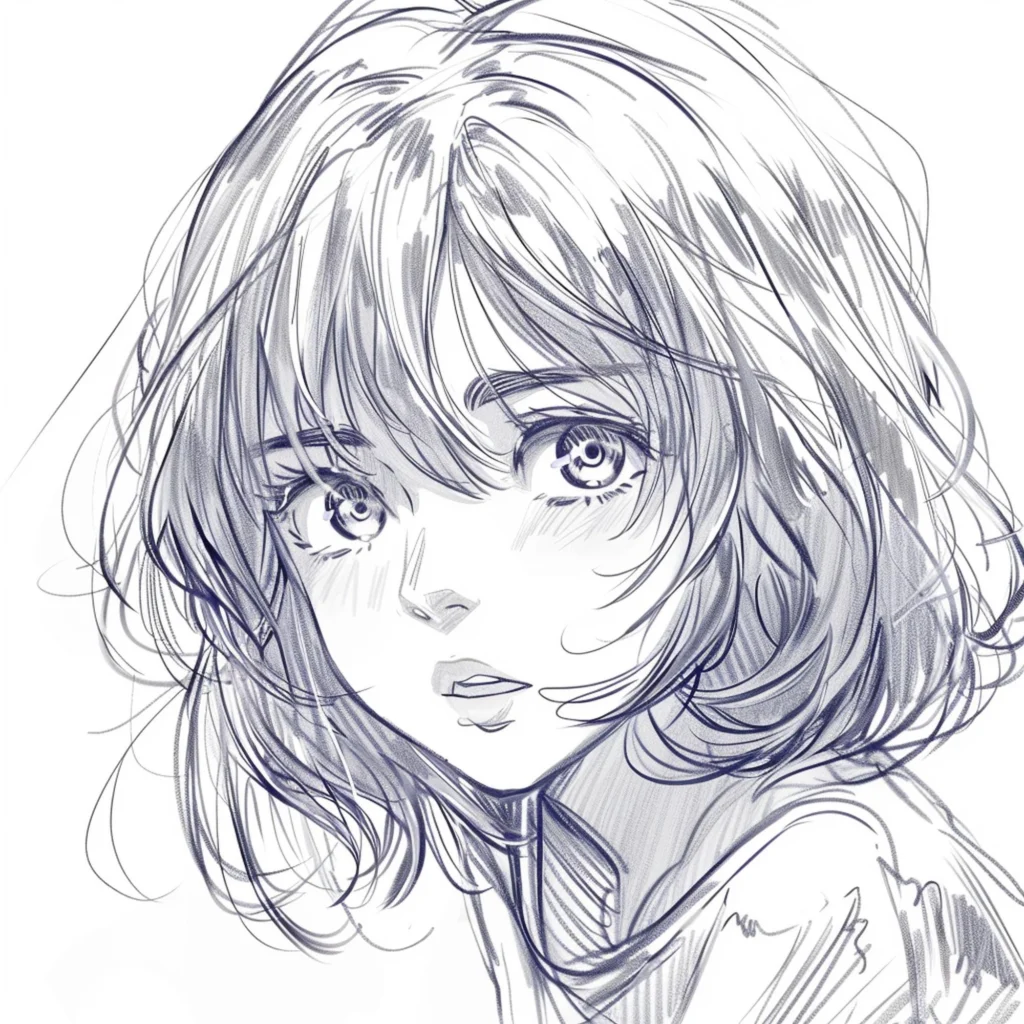
- The hierarchy of face feature use for expression production needs to be covered before we go into painting anime expressions. In terms of making an impression on the viewer, the eyes and lips take precedence, followed by the eyebrows, the nose, and last, the silhouette of the head.
Learn the basics of anime drawing with these easy steps!
To begin, draw the basic outline of the character’s body. You have full control over your character’s stature. Approximately six and a half heads will be the height of the tutorial character. Extend the arms so that they rest horizontally over the body’s midsection. Both the shoulder’s distance from the elbow and the area between the elbow and the hand joint ought to be identical in length. Always remember that half of a character’s body length should go into their legs. Check that the foot’s measurements—from the bottom to the knee—are proportional to the body’s measurements—from the middle to the knee.
Now that you have the measurements down, you can start drawing according to the anime drawing tutorial. Start by drawing the character’s basic proportions; you can fill in the details later.
Design a basic outline of a human anatomy
Because there are a lot of different approaches to making anime heads, we will only go over the basics. Your character’s age is just one of many variables that might affect the shape of their head. For that reason, you can’t have both a younger and an older figure. One commonality of elder characters compared to younger ones is a longer face.
Start by drawing a simple circle; this will serve as the foundation for the anime head. After that, divide the face into sections using the horizontal and vertical lines you just made. The eyes are placed along the horizontal line, which helps balance the face, and the vertical line is there to aid as well.
Make Anime Mouth, Nose, and Eyes
Although they are large and extended vertically, the eyes in anime are based on human eyes. Keep your gaze below the guideline and your eyebrows slightly arched. There are a variety of expressions you can provide them to match your style. The most expressive parts of anime are the looks on the faces of the characters. This is how it is done:
- Drop two massive almond shapes under the horizontal line.
- Make the bottom lash line curled and the upper lash line thicker.
- Create an enlarged iris and a smaller pupil within.
- Add highlights to the eyes to make them appear shiny.
Nose: Anime noses maintain a minimalistic style. Sketch a delicate, swooping line or dot in the area between your little eyes. The nose may be drawn with ease. All that’s required to draw it is for the horizontal and vertical lines to intersect. Once you’ve done that, you’ll know you’ve applied it correctly. Place the last stroke on the tip of the nose.
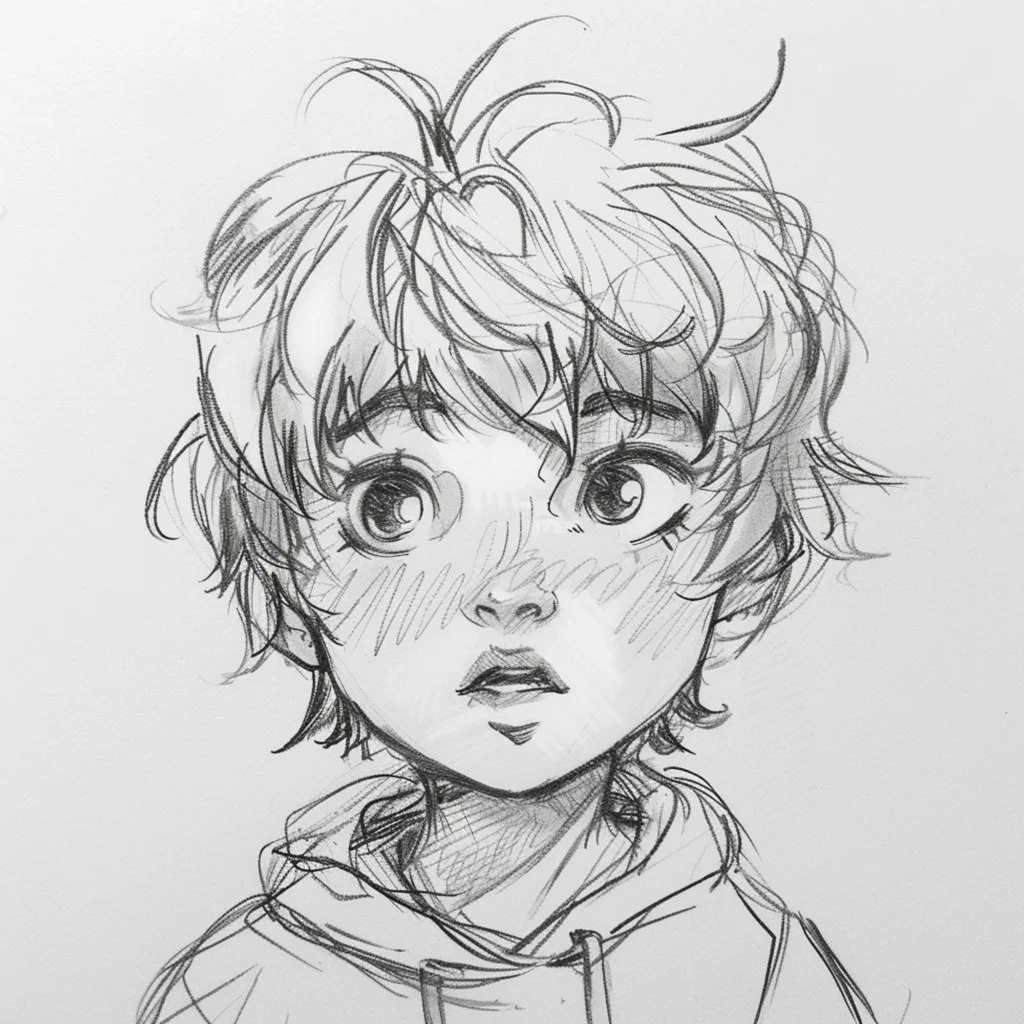
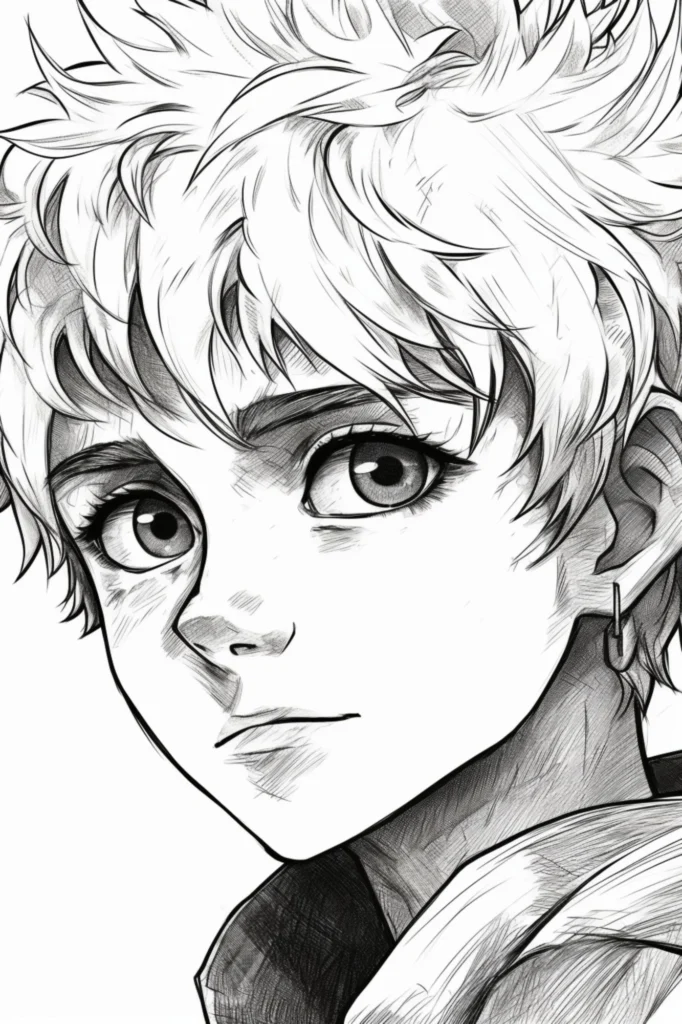
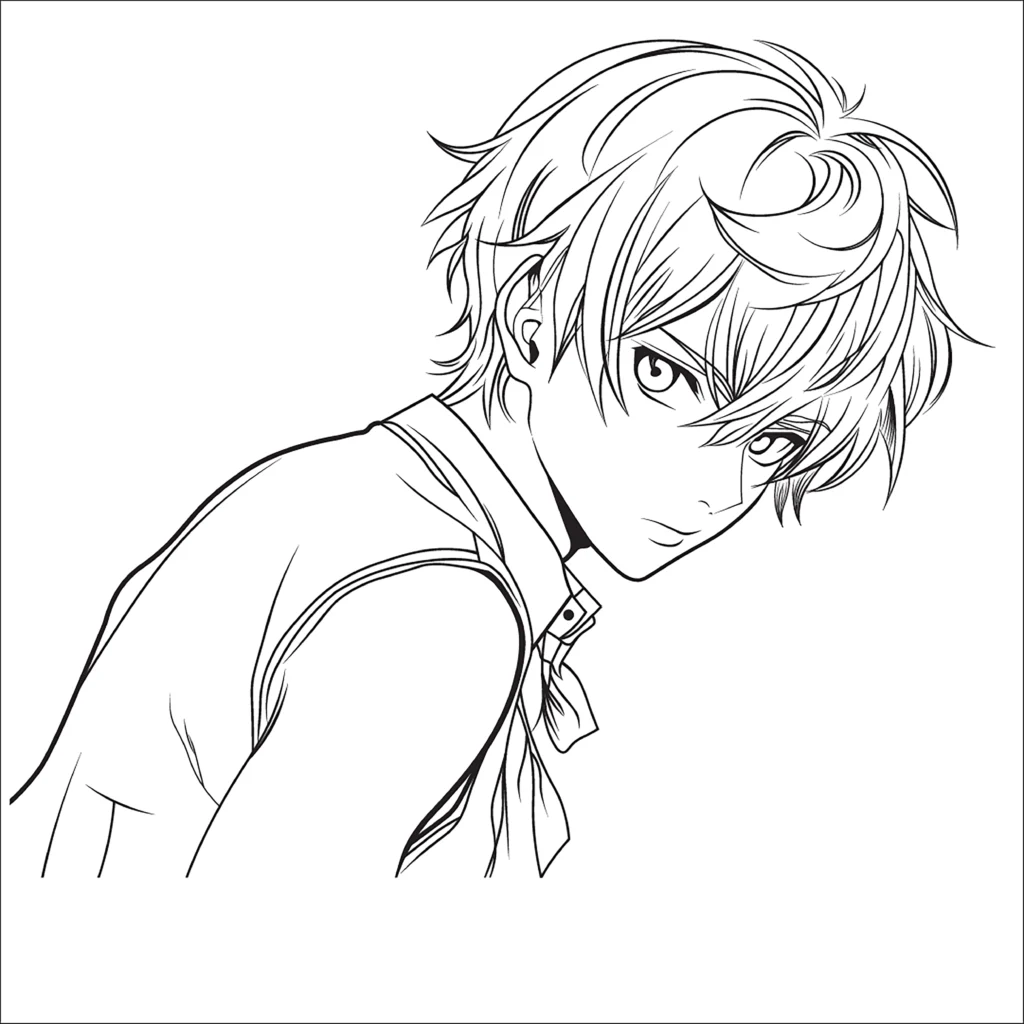
The front view of the character allows you to avoid painting the lower lip of the mouth. Simply drawing a soft curve from the nose to the bottom of the chin will do the trick. Even though your character will seem happy, you can change their expression at any time.
Give an account of the ear and face features
As soon as you know the contour of your character’s skull, you can work to give them a balanced face. Just draw a vertical line down the middle of the face to make sure it’s square. Also, be sure to draw a horizontal line to represent your character’s eyeline. In addition, you can find another one under the circle that will be useful for drawing the jaw and cheekbones.
- When changing the jawline, consider the character’s gender and age.
- Draw the ears slightly below eye level to ensure they are proportional to the head.
A Guide to Drawing Anime Hair
After you’ve completed the features of the face, always go on to the hair. You are well-informed about the plethora of haircut options for anime characters. It should be something simple with a lot of loudness. The hairstyles seen in anime are vibrant and stylized. Create a rough sketch of the hair’s contour in order to illustrate it.
- You can style it however you like by incorporating spikes or soft curves.
- Adding hair will make it appear more lifelike.
- Shade the region to make it look like there is depth and dimension.
- Maintaining a safe distance, draw the hair around the crown of the head.
Complete the Figure
Here you will find an in-depth guide on how to sketch the human body from the ground up. Rectangles for the chest and hips and small circles for the joints of the legs and shoulders are the fundamental shapes that make up the human body. Then, to finish up the upper body design, draw a line that goes from the rib cage to the hips; this will be the waist. The next step is to sketch the character’s legs, which should be approximately the same length as their upper body, measuring from the top of their head to their waist.
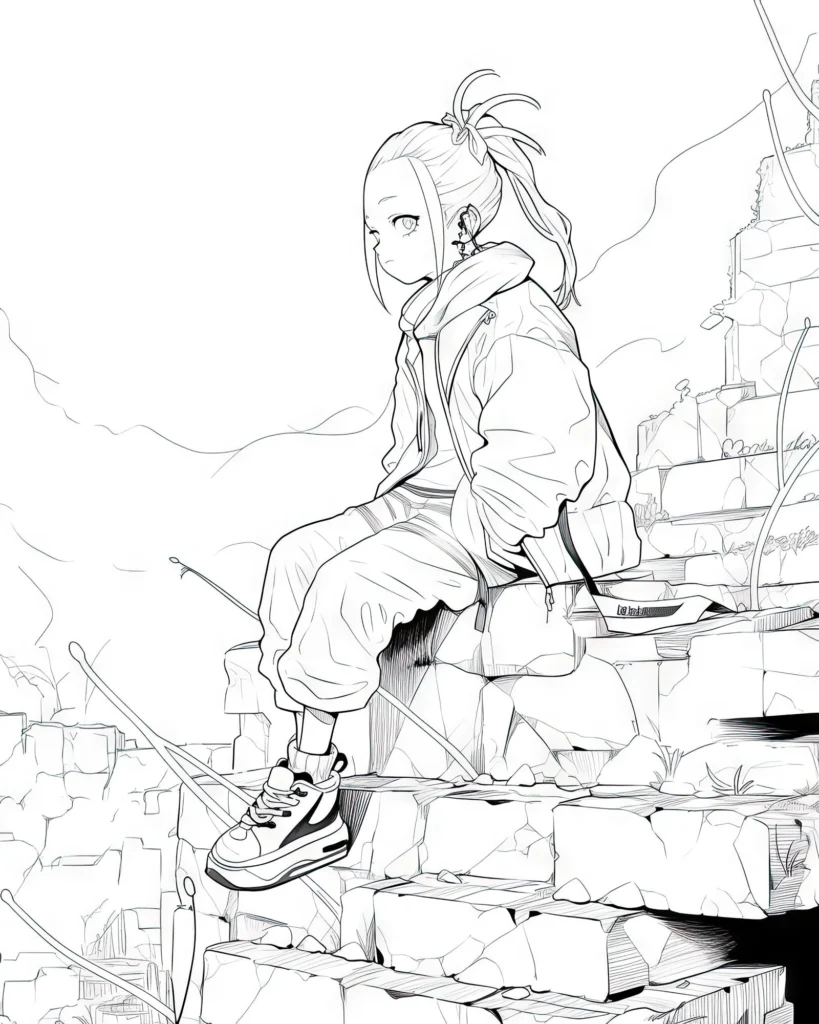
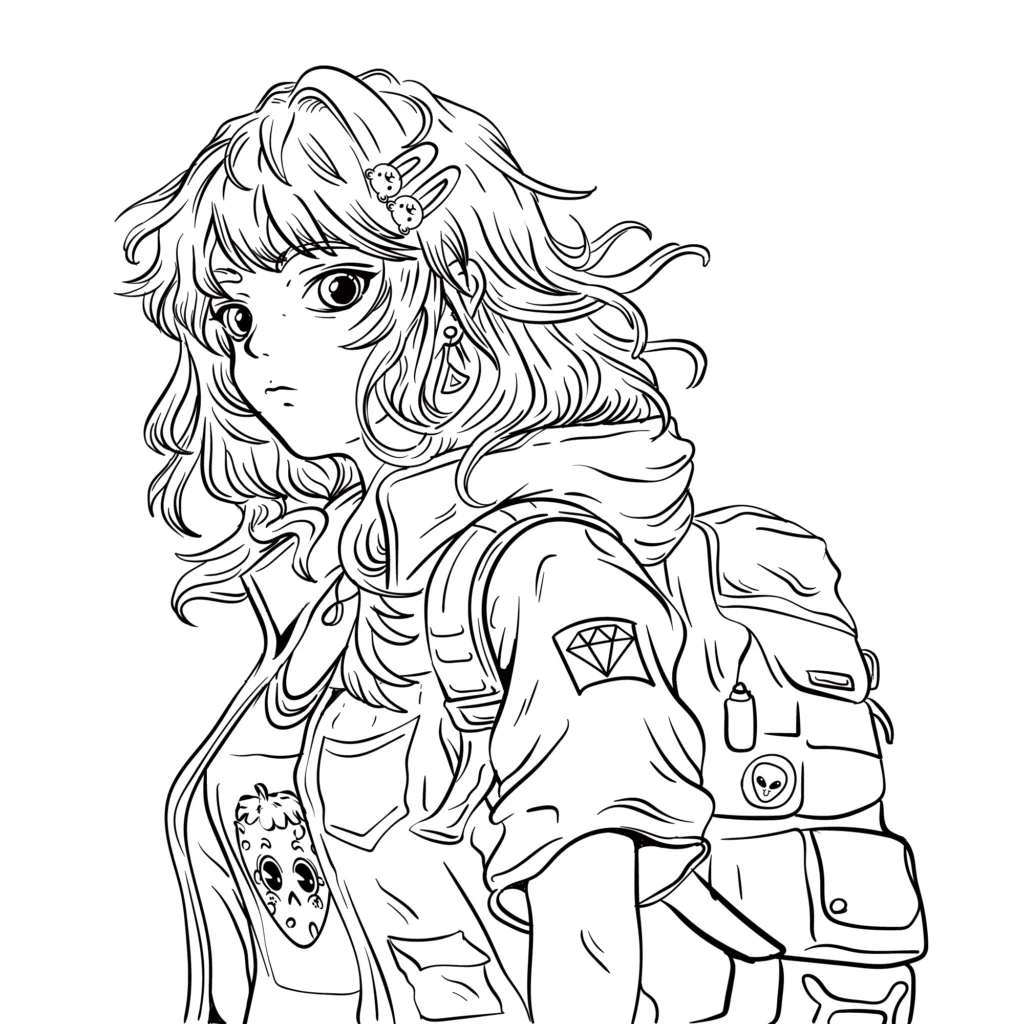
Finish by adding the arms last. When drawing a character, a good rule of thumb is to hold their elbow at waist level and then extend their arm, hand included, to about mid-thigh. Although drawing anime hands might be somewhat tough, we will do our best to make the process easier. First, sketch out the palm and thumb’s base in rough form. The following stage involves drawing the thumb and the outside fingers. Holding the thumb correctly involves angling it 45 degrees from the palm and placing it just beneath the middle finger’s knuckle bone. The next step is to refine the drawing and add lines.
Methods for Creating Anime Male and Female Characters
Male and female anime sketch characters differ slightly in the following ways:
- Drawing female anime characters is best done with an hourglass shape. A softer face and a shorter jawline are necessary. While drawing your character, keep in mind that they should have a slim neck and a feminine physique.
- We covered the right dimensions to use when drawing an anime boy earlier in the piece. You should probably keep a boy slender if you’re planning to draw him when he’s a teenager. To make the face appear narrower, draw a jawline that is somewhat longer. Also, to make your neck look stronger, pull the necklines in closer to your jaw.
How to Draw Anime Clothes: A Tutorial
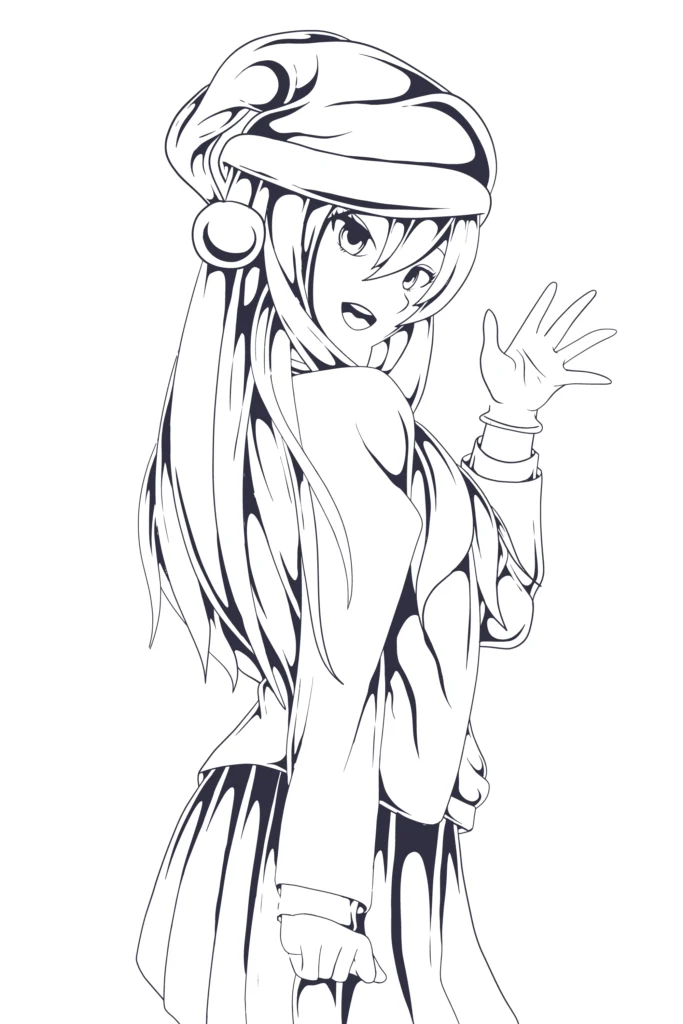
Once again, the clothes you choose should show the kind of style you aim to achieve. You should also consider the character’s gender when drawing them. The clothing worn by female characters is usually slim and form-fitting. You could, for instance, want your avatar to wear shorts and a shirt. A smooth curved line must be drawn to depict each garment. These contours will give the garment a figure-hugging appearance. You can even fold them to make them look more natural. Use some brightly colored accessories as a finishing touch.

Tips for Anime Character Creators
You can see the variety of face shapes represented in anime by looking at a number of characters. Some pointers for drawing anime:
- If you want to get better at acting, try out different expressions including happiness, sadness, and anger.
- If you want to see proportions more clearly, look at anime artwork and real people’s faces.
- If you want your hair to stand out, experiment with different cuts and styles (short, long, wavy, spikey, etc.).
Final Thoughts
Improving your anime drawing abilities is possible once you have mastered the fundamentals of anime figures. Think about experimenting with different looks, hairdos, and facial expressions, and study different drawing angles and viewpoints for figures. You can become a great anime artist with your own unique style if you put in the work.
An exciting adventure awaits you as you strive to master the skill of creating anime portraits. Try out some different designs by following these steps, and have fun! Be true to yourself as an artist and continue breathing life into your anime projects. When creating anime expressions, it’s important to use the same parts of the face. Finally, enjoy the creative process and don’t rush. All of your facial expressions and body language should work together to create the impression you want to give. Not only should you focus on the faces, but also the lighting and the viewpoint from which you wish to portray the scene.
