How to Draw Thanksgiving Pictures- thanksgiving images free
Thanksgiving is a time full of warmth, food, and family memories. Drawing Thanksgiving pictures is a lovely way to celebrate this special day. Whether you want to make a greeting card, decorate your room, or simply enjoy some art time, here’s a simple guide on how to draw Thanksgiving pictures.
Start with Simple Thanksgiving Ideas
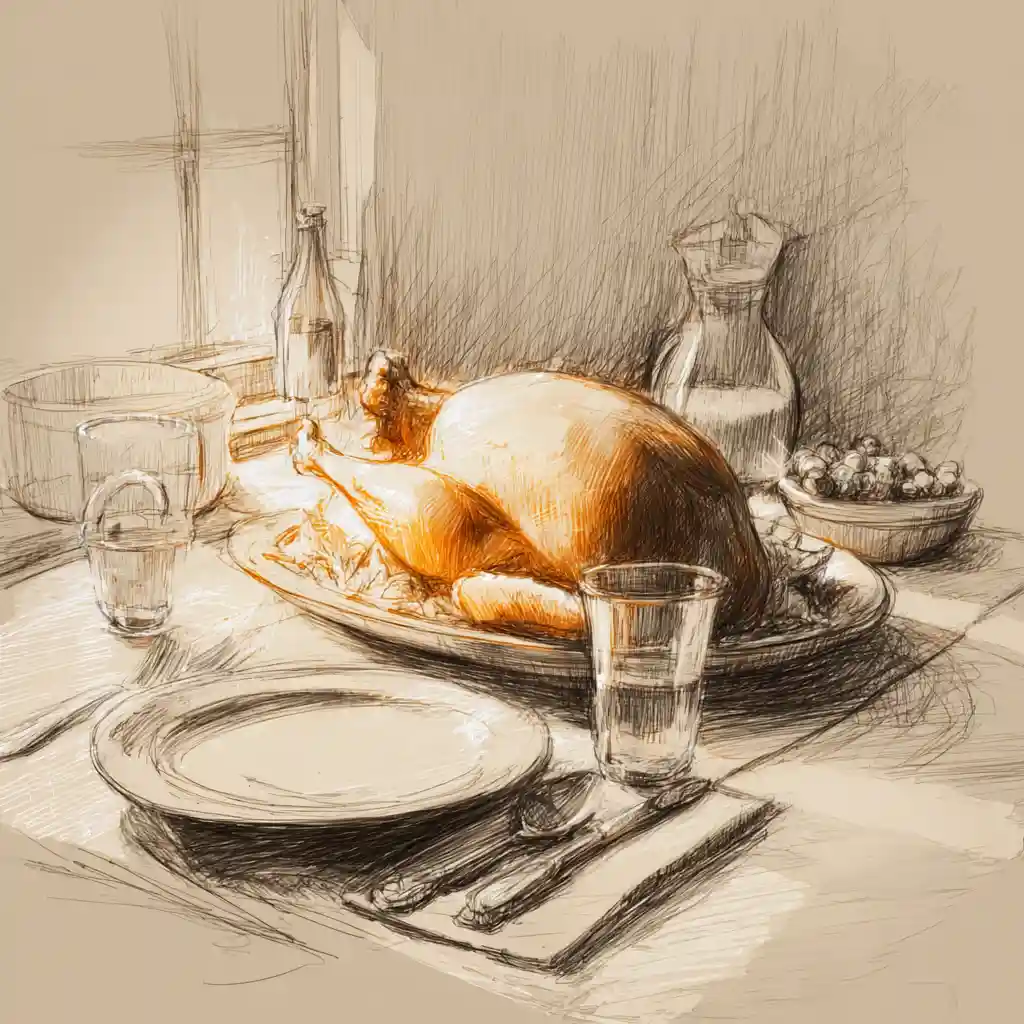
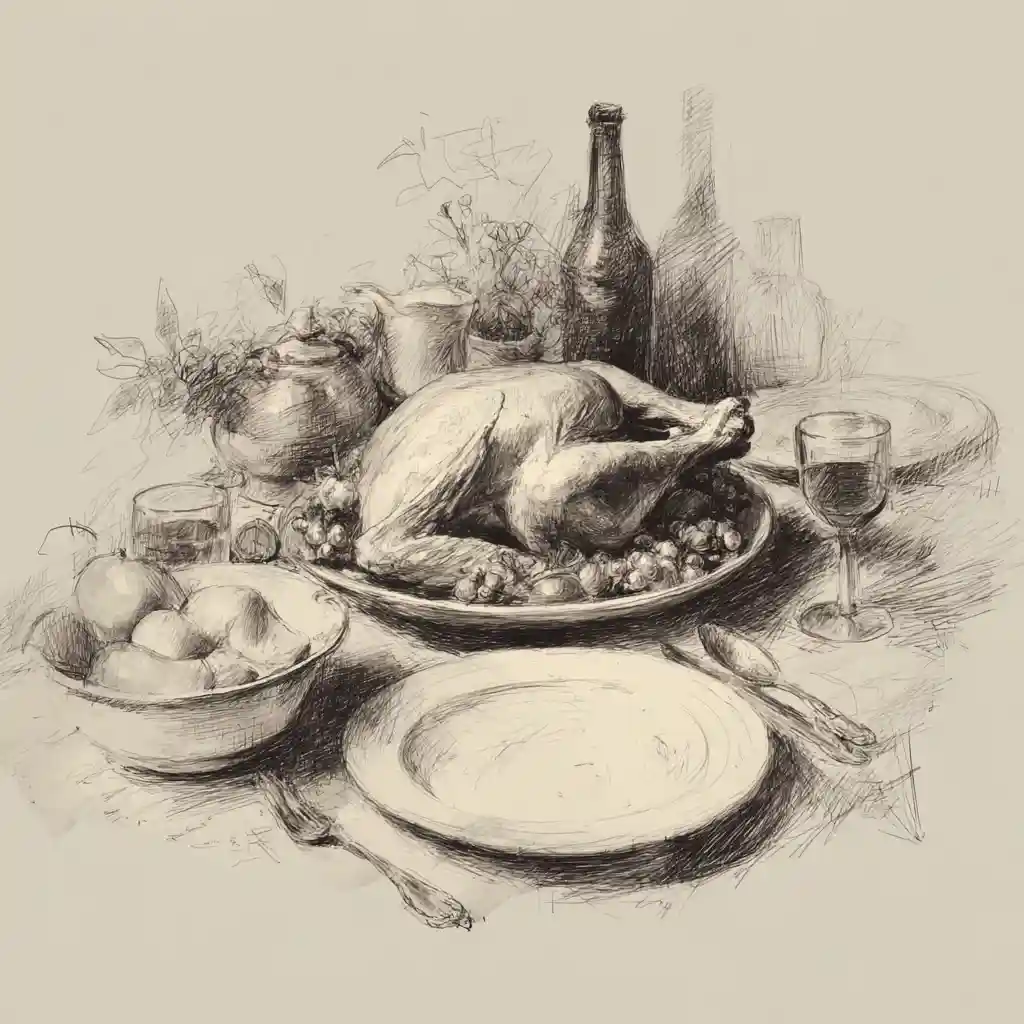
When you think of Thanksgiving, what comes to mind first? Maybe it’s the golden roasted turkey sitting proudly at the center of the table, the bright orange pumpkins resting by the porch, or the crisp fall leaves swirling in the cool November breeze. Thanksgiving is a time filled with warmth, gratitude, and simple beauty — and your artwork can reflect exactly that. You don’t have to start with something complicated; sometimes, the most charming Thanksgiving drawings begin with just one or two simple ideas.
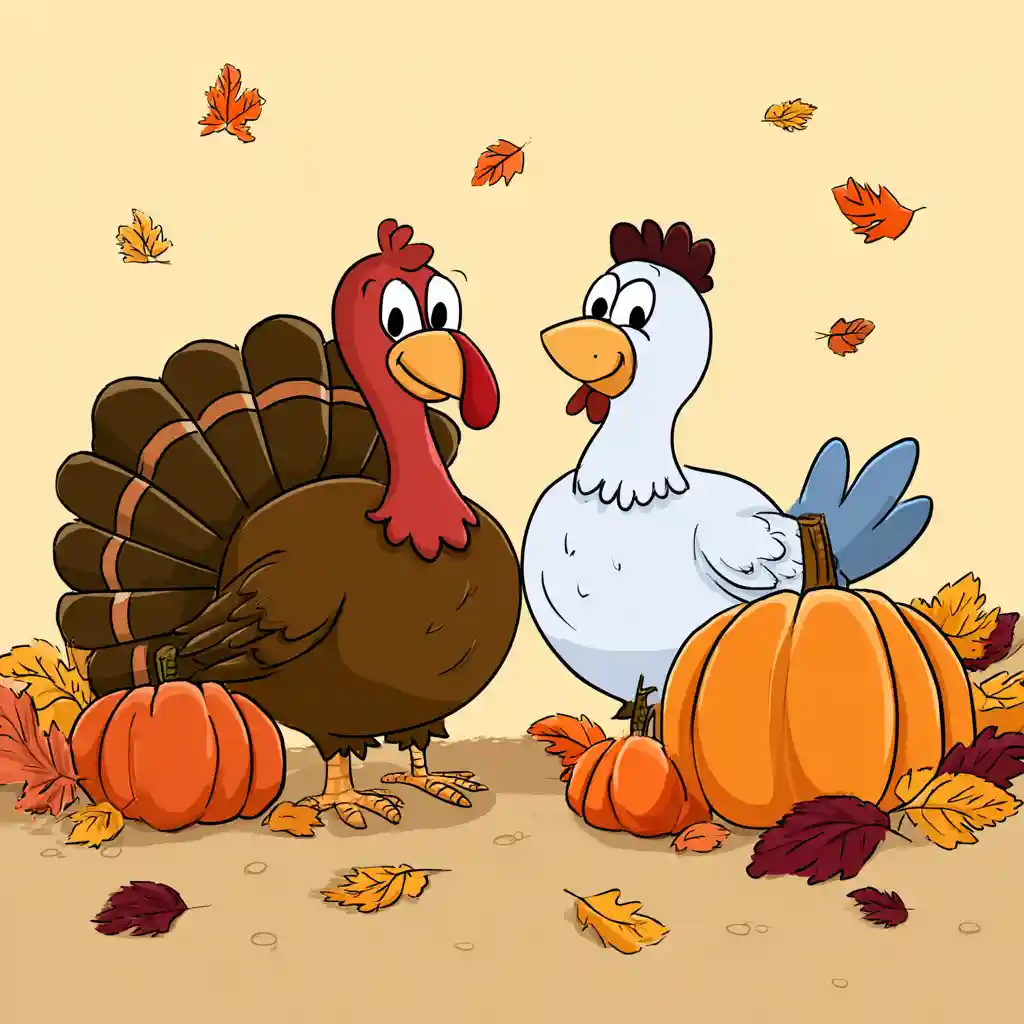
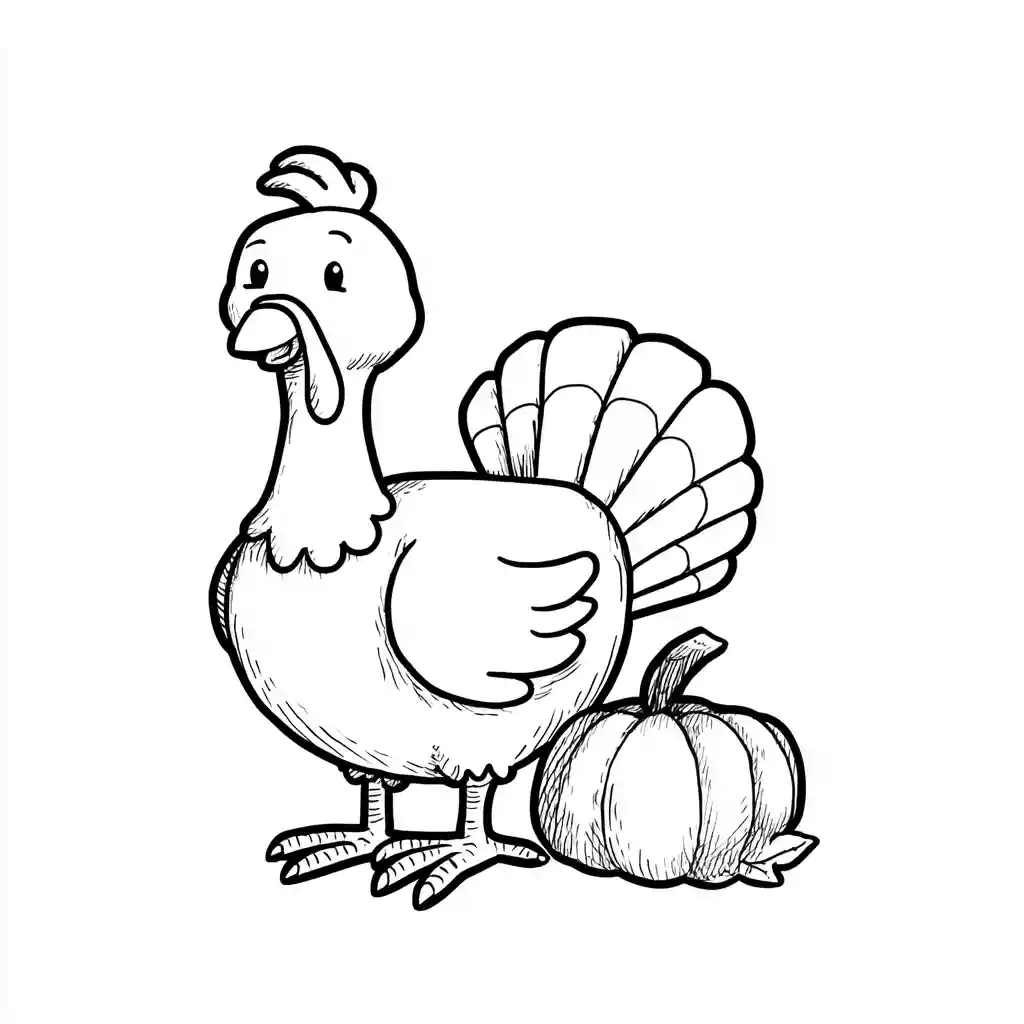
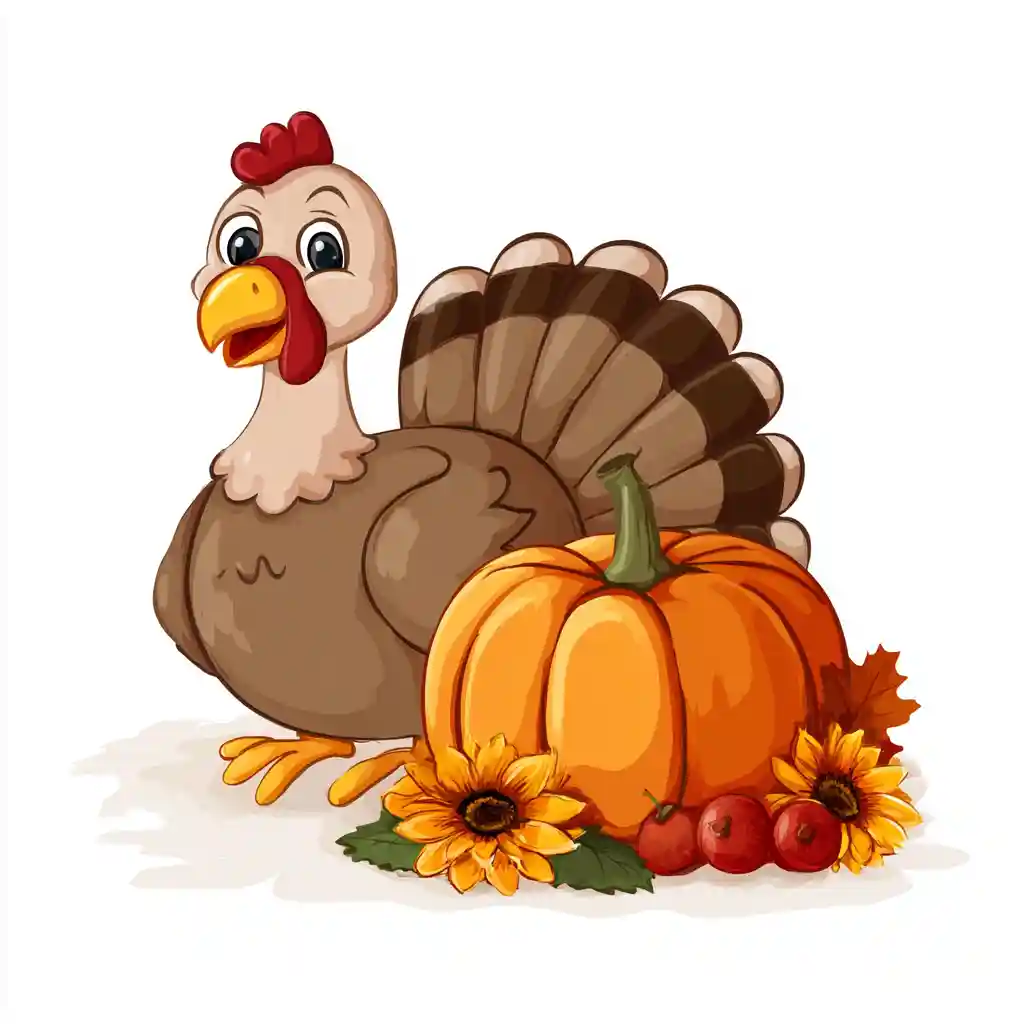
- You can start by sketching the classic Thanksgiving turkey — the valid symbol of the holiday feast. Begin with a large round body and a small head on top. Add big, fanned-out tail feathers in layers of red, yellow, and brown to give your turkey a cheerful and colorful look. Give it small eyes, a little beak, and of course, the wattle (that funny red part under its chin) to make it lively and expressive.
- Next, you can add a few pumpkins of different shapes and sizes around your turkey or even a sharpened knife beside the turkey. Draw one large pumpkin in front and a few smaller ones beside it to create depth and balance in your composition. Play with warm orange and earthy tones to make them pop against the background.
- To complete the scene, include some scattered autumn leaves gently floating around — maple, oak, or even simple leaf shapes will do. Their reds, yellows, and browns will add a festive touch and bring your drawing to life.
These little details together — the turkey, the pumpkins, and the fall leaves — will instantly give your Thanksgiving picture a cozy, joyful feeling. It’s not about perfection; it’s about capturing the spirit of the season and celebrating gratitude through your art.
For more images:
Step-by-Step: How to Draw a Turkey
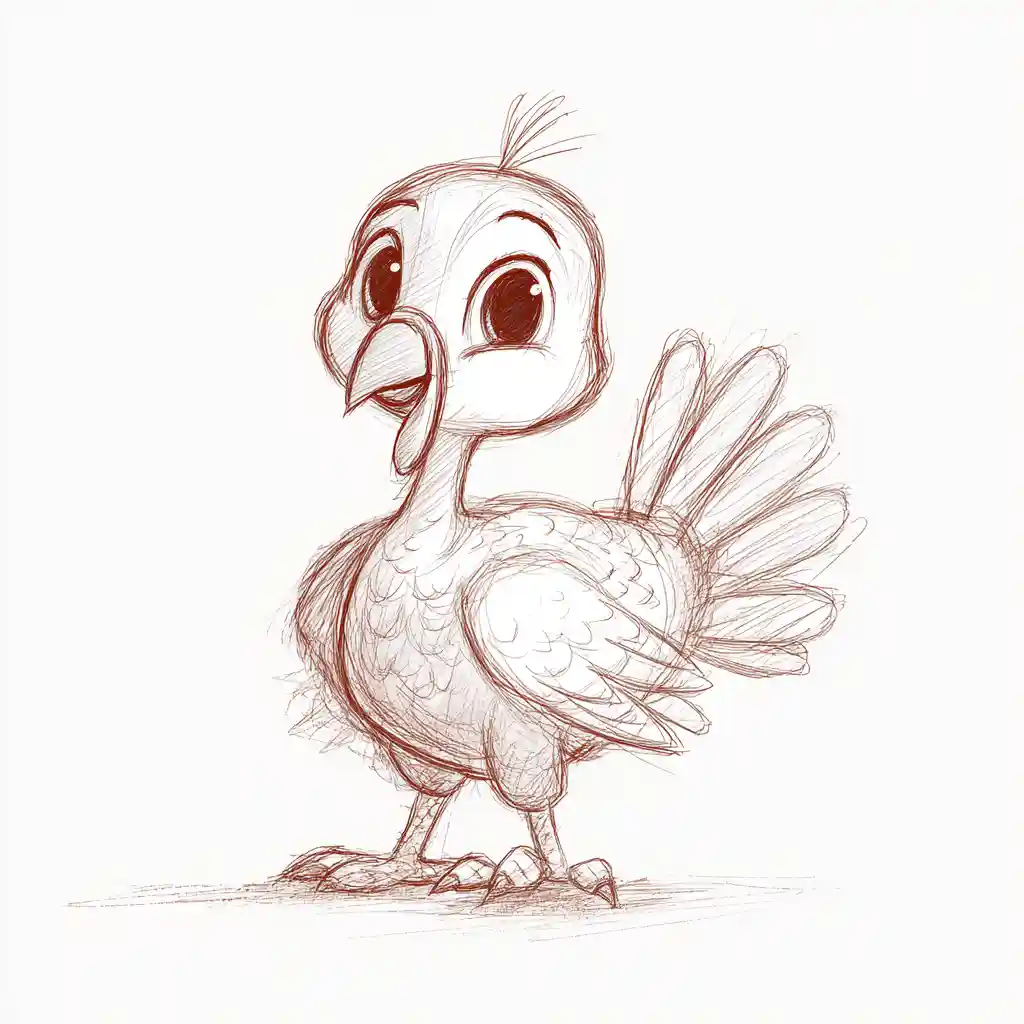
Drawing a turkey is a fun and simple Thanksgiving activity that anyone can enjoy — whether you’re a beginner or just looking to add a festive touch to your art. Follow these easy steps to bring your turkey to life!
Step 1:
Start by drawing a large oval shape. The shape will be the main body of your turkey, so make it big and slightly tilted to give it a natural, rounded look. You can use a pencil first to keep the lines light.
Step 2:
On top of the oval, draw a smaller circle for the turkey’s head. Make sure it overlaps the body slightly — this helps the head look connected and balanced.
Step 3:
Now, let’s give your turkey a face! Draw two small circles for the eyes. Inside each one, add a tiny dot for the pupils to make them lively. Below the eyes, sketch a small triangle for the beak. Just under the beak, add a short, wavy line — this is the red wattle that hangs from the turkey’s chin.
Step 4:
It’s time to make those beautiful tail feathers! Draw large, curved shapes behind the body, spreading out like a fan. Make sure the ends are round and wide. Use bright, warm colors like brown, red, orange, and yellow to make the feathers pop — this gives your turkey a festive Thanksgiving charm.
Step 5:
Finally, add two short legs beneath the body. Each leg should end in three small claws or toes. You can make them a little curved to show movement.
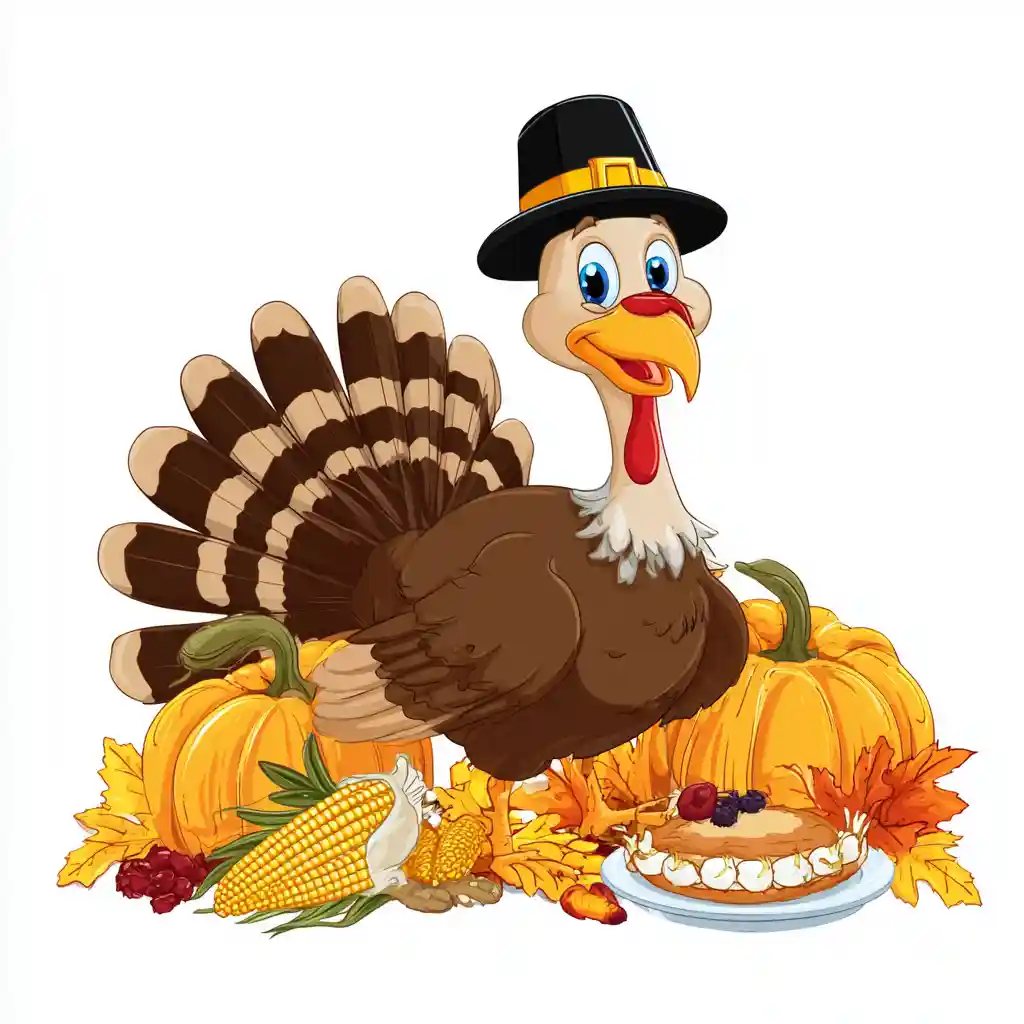
And there you have it — your cheerful Thanksgiving turkey is complete! You can add more details like grass, a barn background, or even a pilgrim hat for fun.


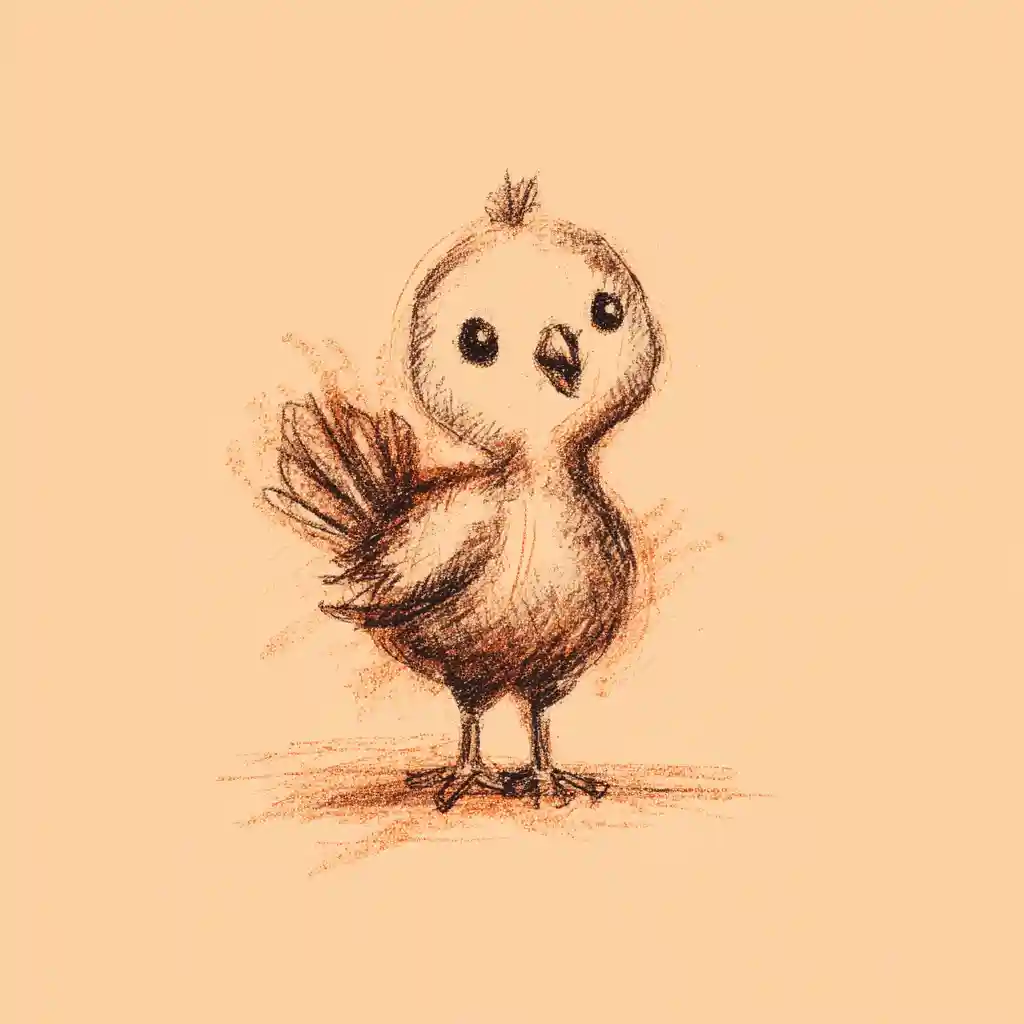
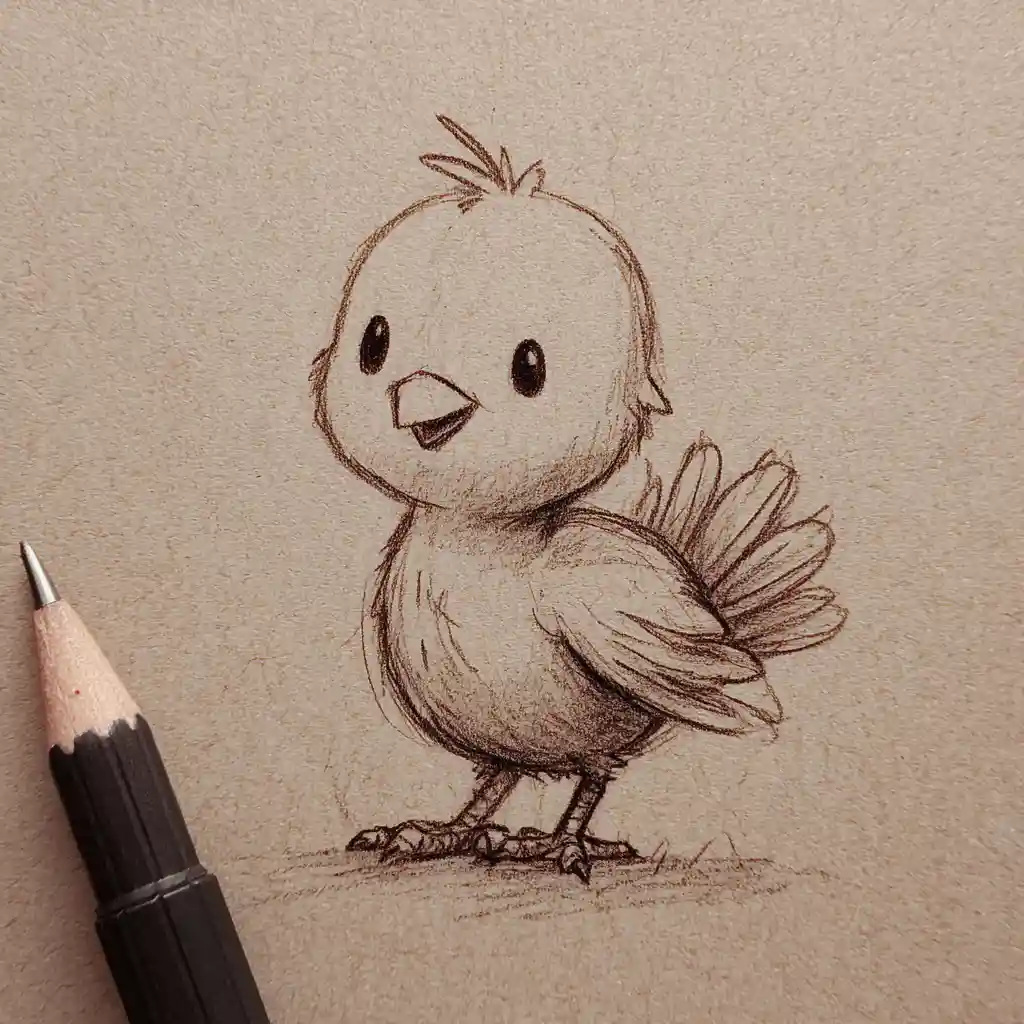
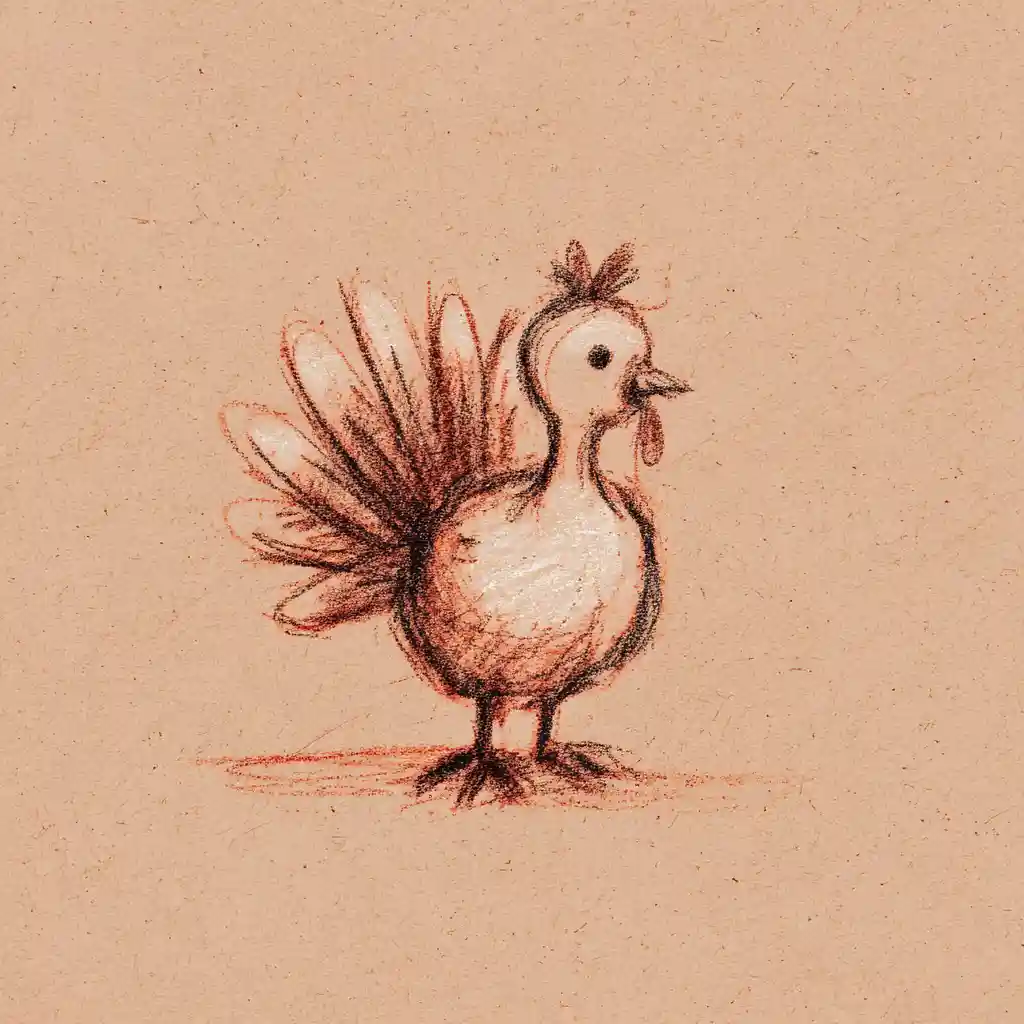
Add Thanksgiving Decorations
When you finish sketching your main Thanksgiving scene — whether it’s a cozy family dinner, a turkey centerpiece, or a simple country landscape — you can make your artwork feel truly complete by adding thoughtful decorations. These little details may seem minor, but they instantly create the warm, festive atmosphere that makes Thanksgiving so special.
Start by including symbols of harvest and abundance in the background. You can draw golden corn stalks, ripe wheat bundles, or even pumpkins and squashes resting in a corner. These represent nature’s bounty and remind viewers of the season’s spirit of gratitude. If you’re creating an outdoor scene, a few fallen autumn leaves or a scarecrow in the distance can beautifully frame your composition.
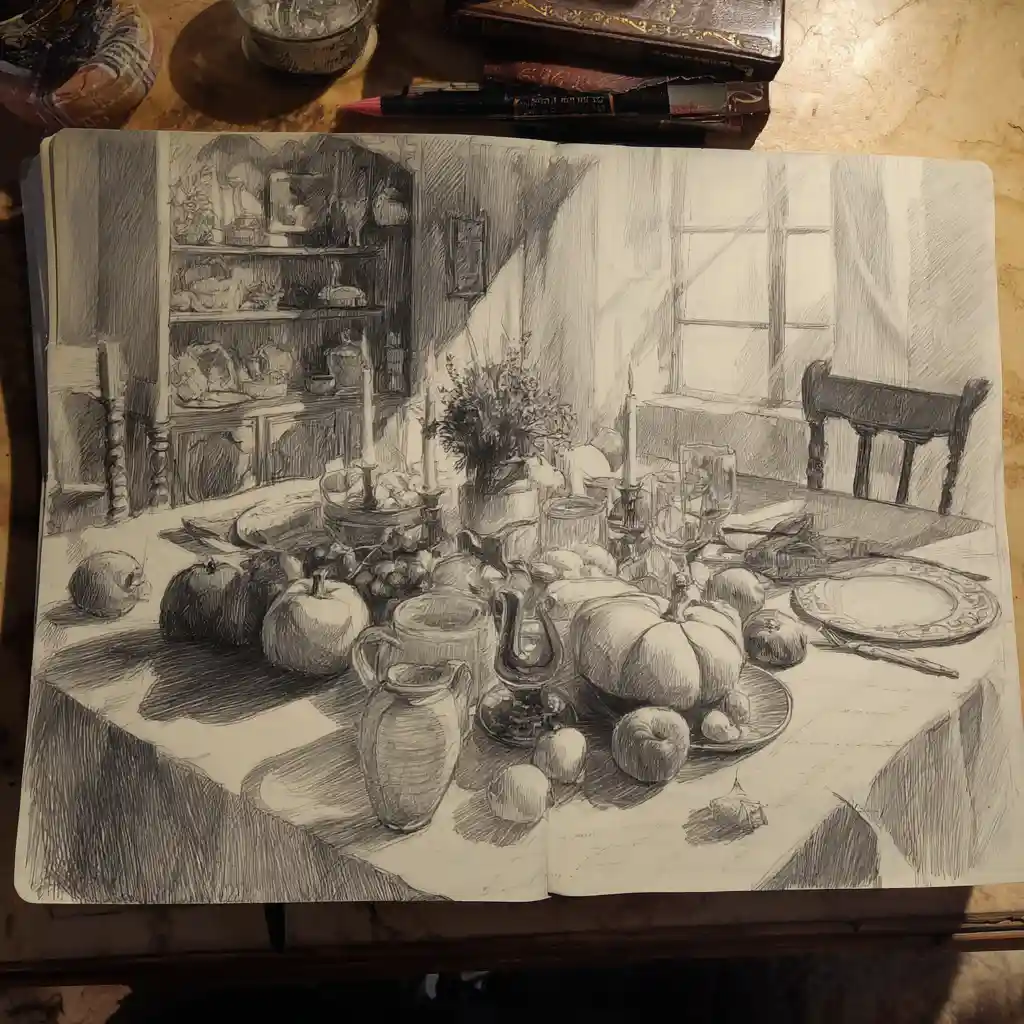
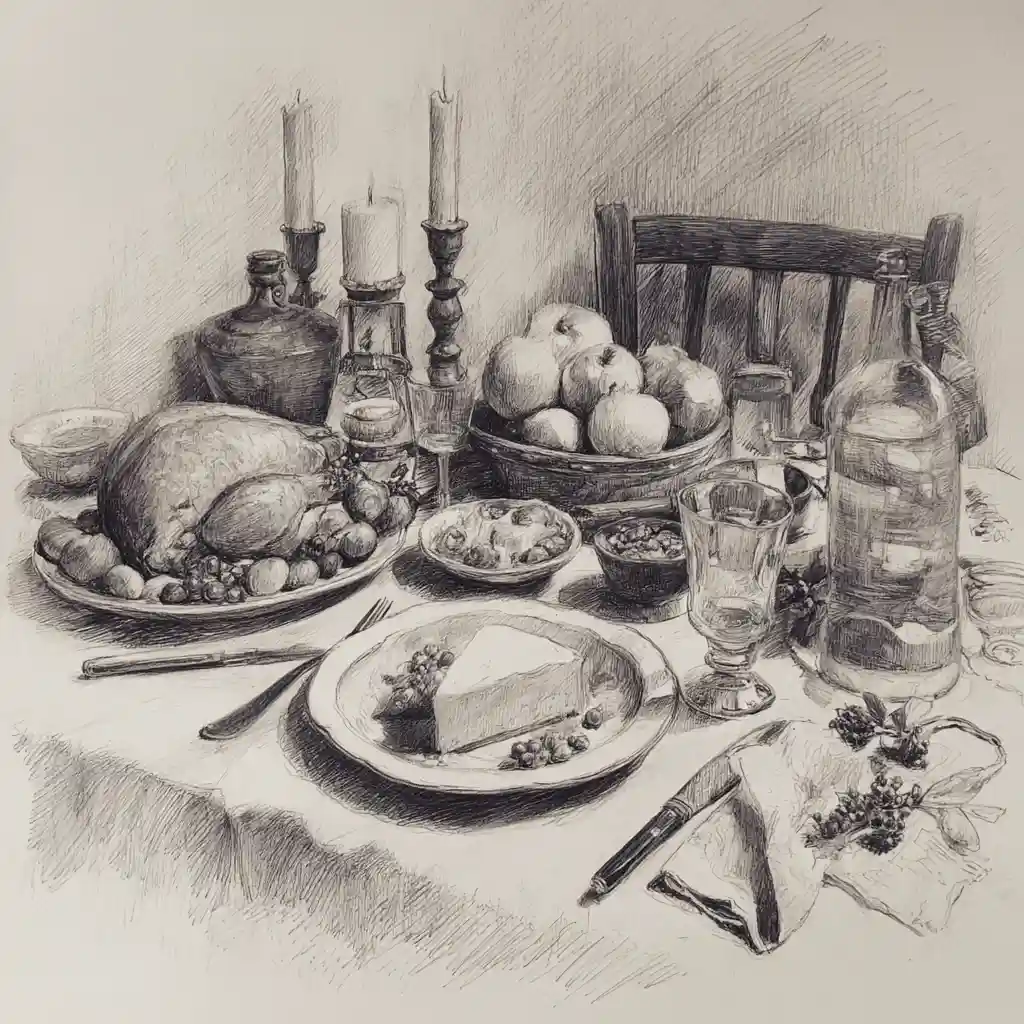
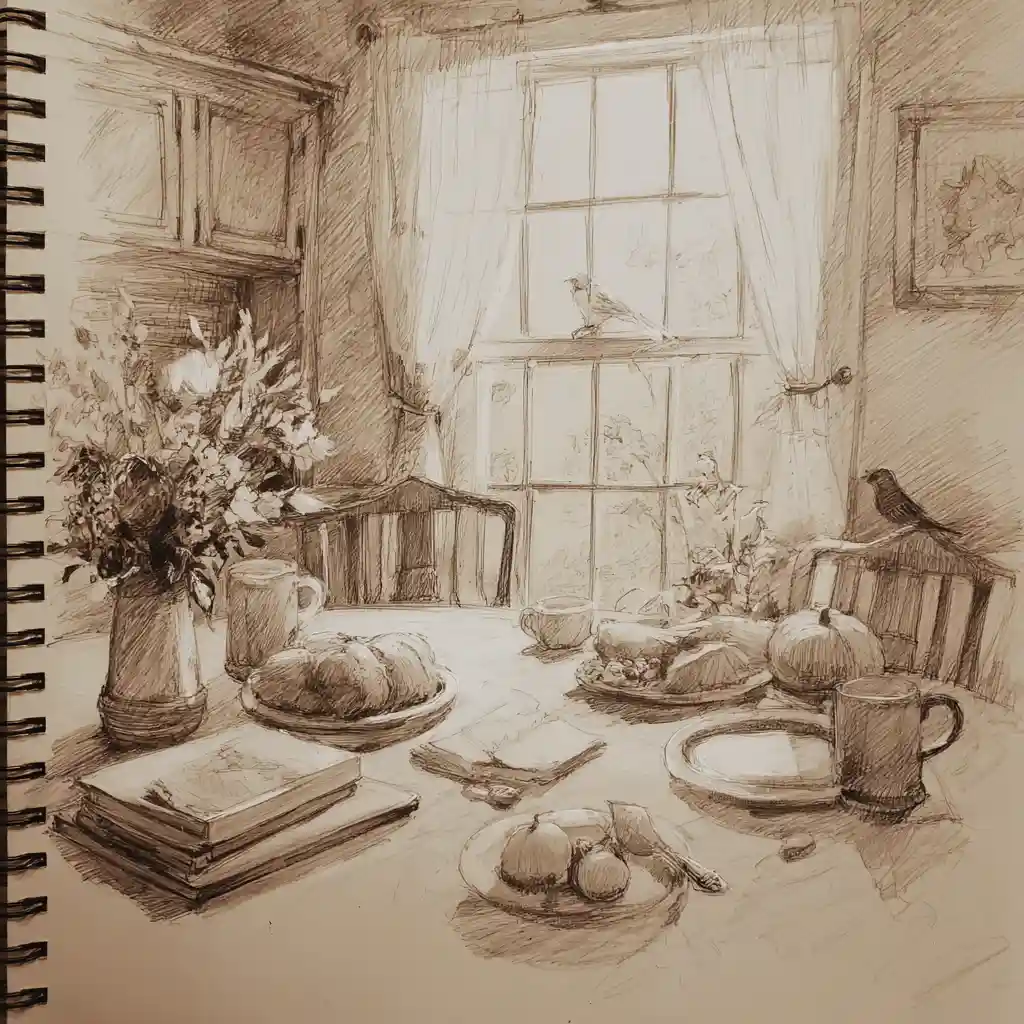
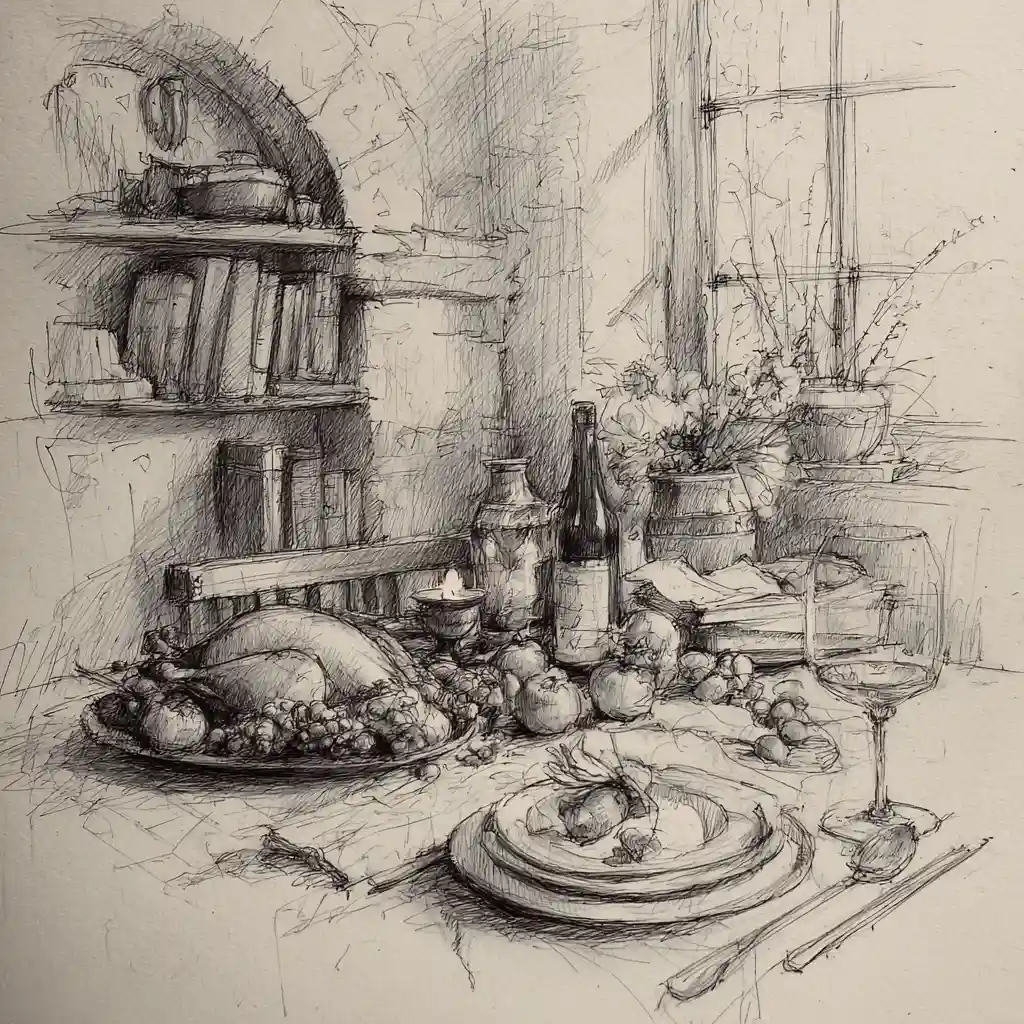
For an indoor Thanksgiving picture, think about the cozy details of a traditional meal. Add a basket filled with apples, pears, or grapes — fruits that reflect the richness of the harvest. You could also sketch a freshly baked pie on the dining table, its aroma almost floating off the page. If you love storytelling through art, try adding small personal touches, like softly glowing candles or a checkered tablecloth, to give your picture warmth and character.
Finally, to tie it all together, draw a cheerful “Happy Thanksgiving” banner hanging above the scene or floating across the top of your drawing. You can make it playful with fall-colored ribbons or rustic lettering. These final touches make your artwork feel vibrant, detailed, and full of festive cheer.
Remember — good art isn’t just about what you draw, but how it makes people feel. By adding these simple decorations, you transform an ordinary Thanksgiving drawing into something joyful, warm, and memorable.
Use Warm Colors
Thanksgiving is a festival that celebrates togetherness, gratitude, and warmth — and your artwork should reflect that same cozy feeling. When you sit down to draw, think of the colors that remind you of comfort, family dinners, and golden autumn afternoons. Use shades of orange, yellow, brown, and red, as these are the colors that bring the true essence of Thanksgiving to life. You can experiment with crayons, color pencils, sketch pens, or even soft watercolors — whichever you enjoy using the most. Try blending your colors gently to give your artwork a natural, glowing look, like sunlight falling on fallen leaves. If you want to make your picture feel even more festive, add small details like glowing candles, pumpkins, or falling leaves in warm hues. Remember, the aim is not just to color neatly but to capture the warmth and spirit of Thanksgiving in every stroke.
Final Touch
Once your picture is ready and full of color, it’s time for the finishing touch. Take a fine black pen or marker and carefully outline your drawing. This small step will make your entire artwork stand out and look professional. The bold outlines bring clarity and focus to your shapes, making your Thanksgiving scene look bright and full of life.
But most importantly, remember that art is not about perfection. It’s about expressing how you feel and enjoying the process. Every stroke you make adds a bit of your own story to the picture. So, put on some relaxing music, spread out your art supplies, and let your imagination flow freely. Draw what Thanksgiving means to you — maybe it’s a cozy dinner table, a pumpkin field, or a quiet moment of gratitude. Celebrate the season through your colors and creativity!
thanksgiving images free


