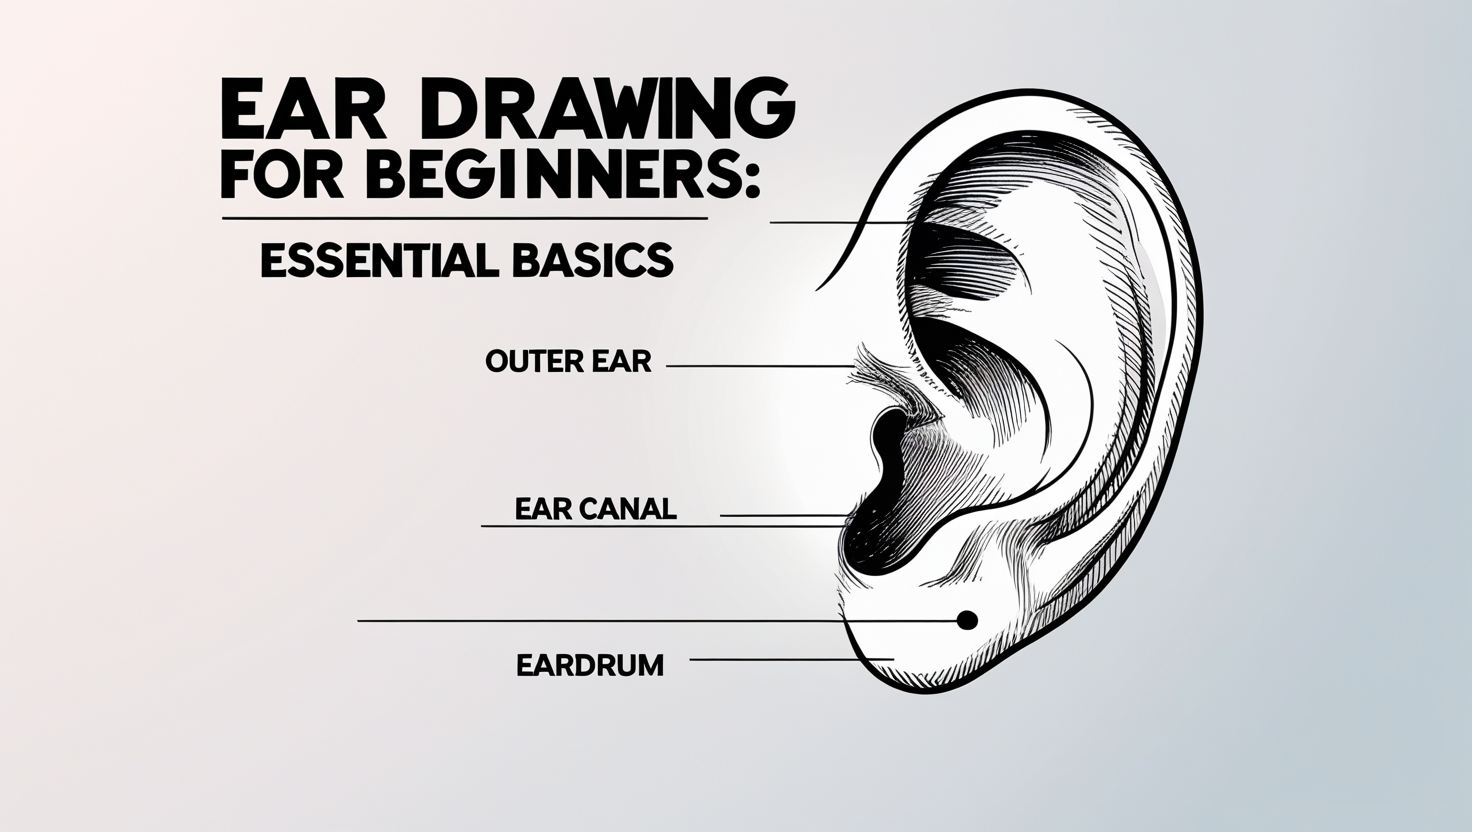
Ear Drawing for Beginners: Essential Basics
You may not find ear that much significant for your character’s facial expression as it’s a small part and often covered by hair. Still, if you wish to become a pro face drawing artist, you need to know how to draw ears properly, because it will give completeness. This step-by-step tutorial guides you easily and minutely on the essentials of ear drawing.
First, let’s break the form of the ear down into its basic anatomical features. Create a proportionate structure then. Draw the outline of the helix, place the features, and finally draw the anti-helix, tragus and anti-tragus sections.
Two-step Ear Drawing
Beginners sometimes face challenges while drawing ears. The two-step approach helps figuring a proper ear structure out in a hassle-free way.
Knowing the main features and landmarks of a human ear is as significant as drawing mouth and lips. There are four elements in the main cartilage sections, and they are opposite in names.
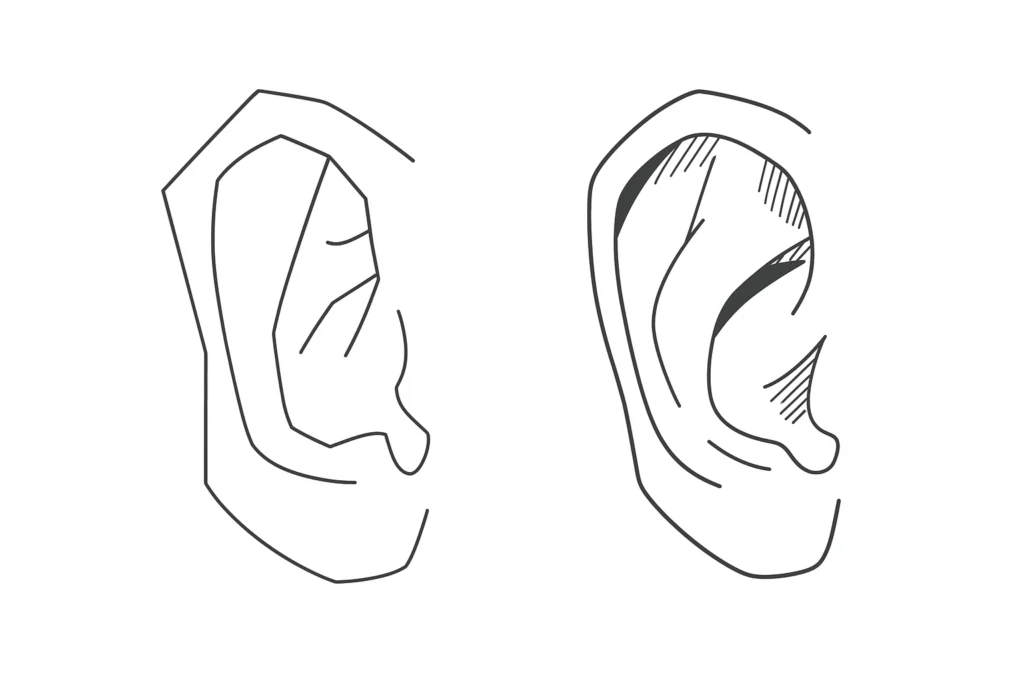
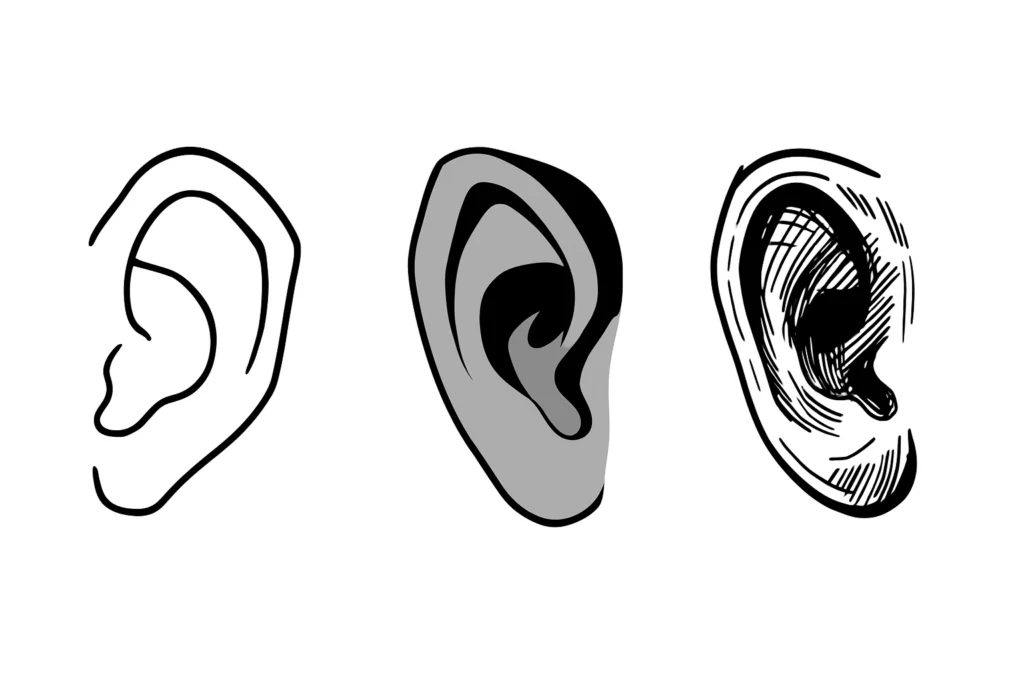
Look at various references to check if you are able to identify the landmarks.
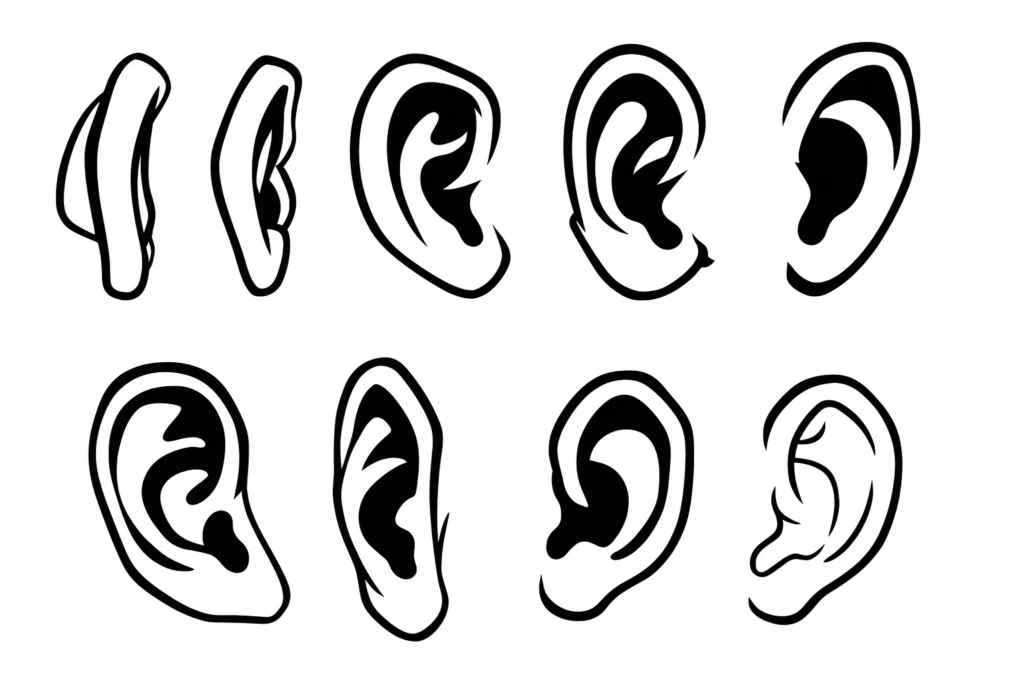
Ears can be small or large, less or more curved, and therefore, the landmarks vary from person to person.
The features are same, but the design and shape of those vary. See as many references as you can, to learn more about these variations. Try to have a sound idea of the actual physical masses of the landmarks.
Observe the sections carving in and out, sections folding into another ones, and the sections closer and away of the head carefully.
Take pictures of ears from different angles, try to draw different angles yourself.
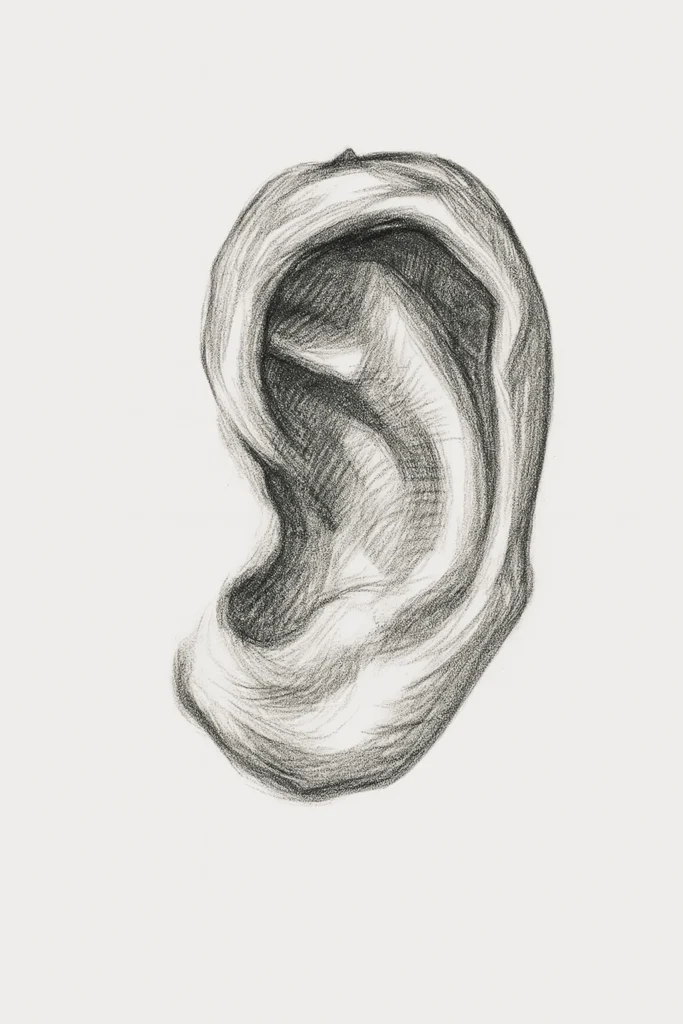
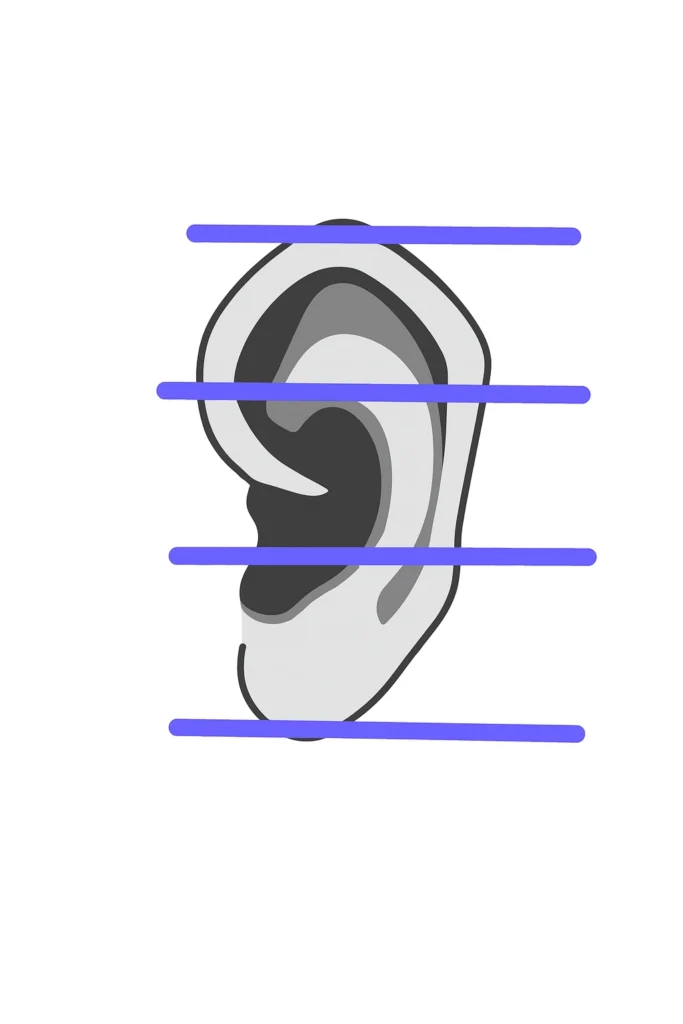
The six main anatomical features crucial for ear drawing are:
- The Ear Lobe
- The Helix
- The Anti-Helix
- The Targus
- The Anti-Targus
- The Concha
Proportions
If we divide the ear into three equal sections, it will be easy to achieve the continuity of proportions, regardless of the angles. Measure the proportions when you learn drawing and then your idea about that will improve automatically.
You can draw a line above the helix, then one on the meeting point of the anti-helix and the front of the ear, another through the anti-tragus, and another one at the end of the lobe. Or, you can mark the top and the bottom of the ear, and that of the concha with separate lines.
Step-by-step Drawing
- Block in the helix outline. Gauge the proportions and angles as much as possible.
- Mark the area where the tragus and anti-tragus folds the section to lead up to the ear canal.
- Identify remaining features like the width of the helix and the location of anti-helix.
- Shade in areas hidden from the light.
- Identify darker areas in the concha, and the terminator at the ear lobe.
- Shade in the anti-helix and remember that light comes from the top and there will be shadow.
- Do more shading to indicate the light and shadow vividly.
Conclusion
Finally, ear drawing requires a basic knowledge of the features of an ear, and their shapes. Then, you have to acquire skills of the drawing the outline and proportions properly. Bringing the perfect shape demands more and more practice.


