The Best pumpkin painting ideas from Cute to Creepy
There is an infinite amount of room for imagination when painting a pumpkin, from eerie faces and spiders to beautiful patterns and sparkling motifs. Plus, unlike carved pumpkin faces, no-carve pumpkins don’t need sharp tools, produce less mess, and are expected to endure longer. We have compiled a collection of fun pumpkin painting ideas for people of all ages, whether you are searching for easy crafts to do with kids or want to make an artistic display that also serves as Halloween decoration.
With these simple and entertaining painting methods, anyone can turn their pumpkins into stunning pieces of art! Even if we aren’t very good painters, we still believe they’re cute. On top of that, you probably already own most of the materials needed for your creation!
Here are some adorable pumpkin painting ideas that we hope you’ll adore, whether you’re planning a family decorating contest, a pumpkin painting party, or just a relaxing afternoon pastime. Now, we can begin.
Easy and Entertaining Ways to Paint Pumpkins
- Traditional Polka Dots and Stripes: Clean up your stripes or stencil circles using painter’s tape.
- To draw fine lines or write/paint words, use acrylic paint markers.
- Paint your pumpkin a metallic color, such as gold, silver, or copper, for an extra glitter.
- Add elaborate artwork to your pumpkins with minimal effort by using stencils to make precise patterns or shapes.
- Apply a variety of colors of paint splatters onto your pumpkin to create a vibrant and artistic image.
- Pumpkins that glow in the dark can be made by painting them with special paint.
- Apply paint all over your pumpkin, allowing it to trickle down the edges, to create a one-of-a-kind and artistic appearance.
10 Innovative Concepts for the pumpkin painting ideas
There is no limit to the number of pumpkin painting ideas that may be applied to painted pumpkins.
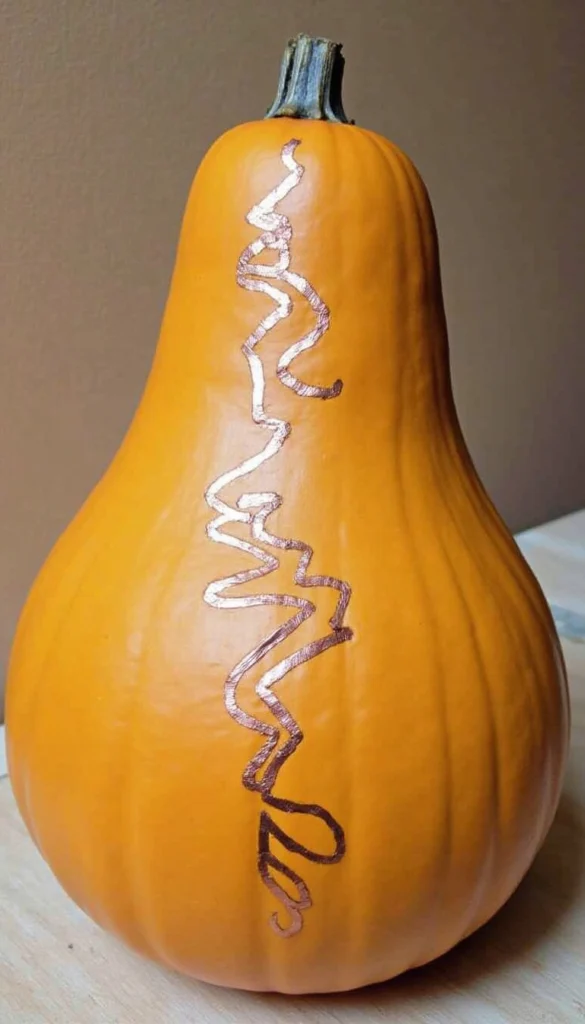
A Fall Harvest of Copper Pumpkins and Gourds
After the gourd or pumpkin has dried, paint a squiggle line on it using copper liquid leaf. Make steep inclines and descents to give the drips a different look. Since liquid leaf is really watery, you’ll need to use a tiny amount of paint and an old paintbrush. After the “drip line” has dried, apply copper paint over the remaining area.
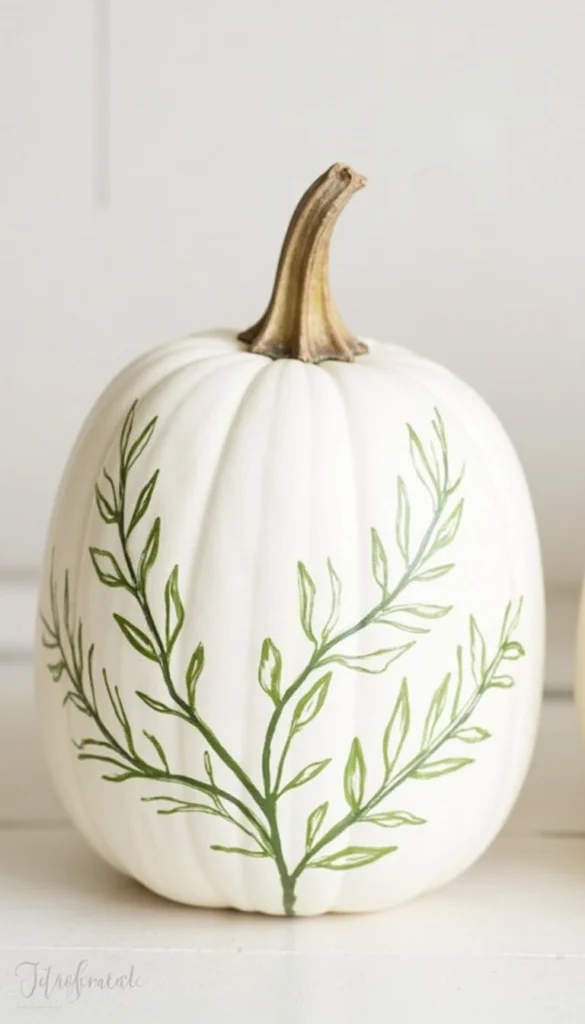
Botanical Pumpkin with Paintings
Even pumpkins in the fall can benefit from floral designs! One of these beautiful pumpkins inspired by nature may be yours with just some craft paint and some flower and leaf stencils. Using a paintbrush, just dab on paint after taping your stencils on an all-white pumpkin.
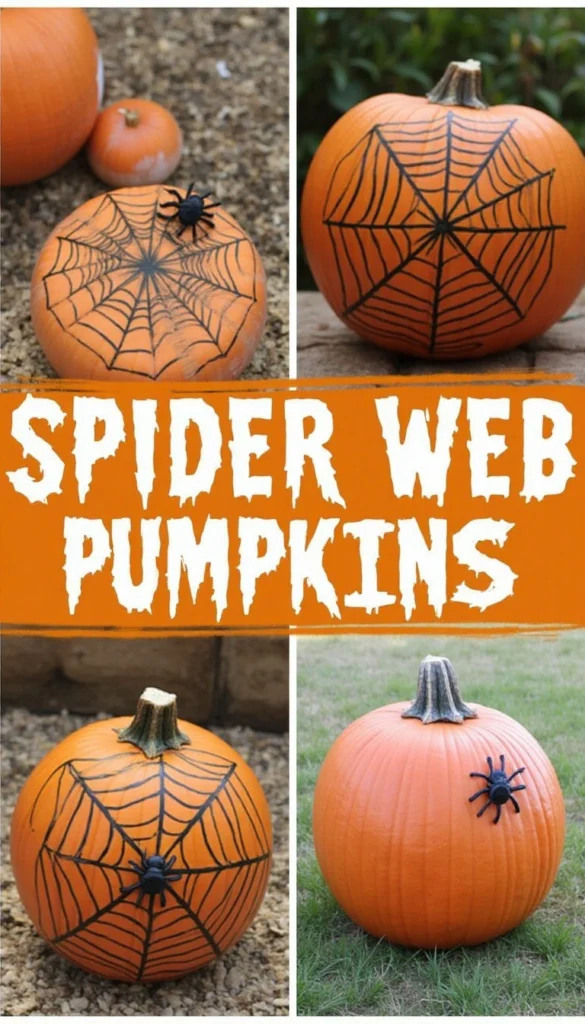
Spectacular Spider Web Pumpkins
All you need is some spray paint, tape, and plastic spiders to make your own version of this spooky exhibit. To begin, use long pieces of tape to create a spider web pattern on your pumpkin. Apply spray paint over the entire area in gentle, uniform strokes. After the paint has dried, apply more coats if necessary. After it’s completely dry, add a creepy touch by delicately removing the tape and gluing on a plastic spider.
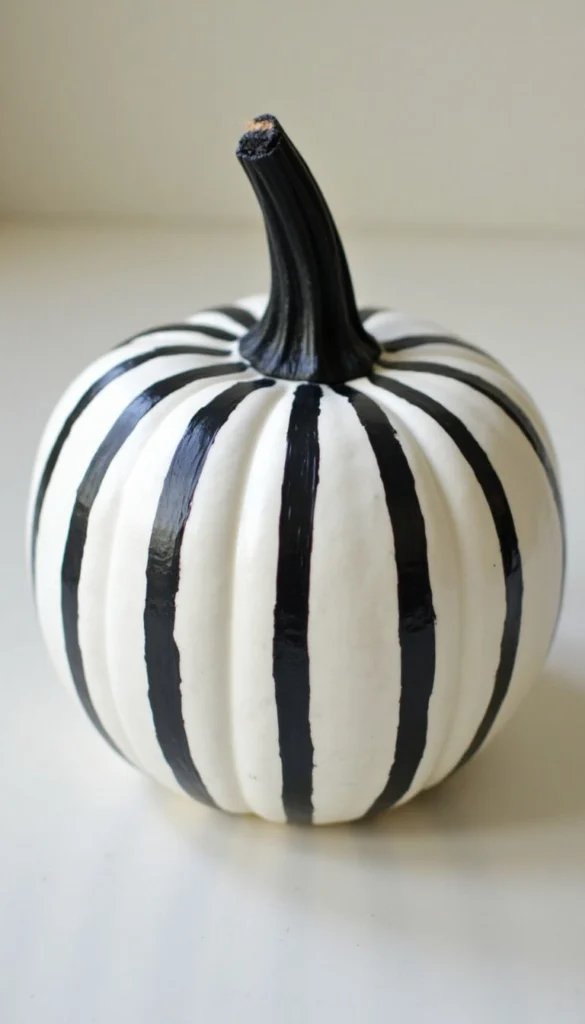
Pumpkin with Black and White Stripes
Use the time-honored combination of black and white stripes. Get the pumpkin ready by painting it white and giving it some time to dry. If you want your vertical stripes to be thick or thin, you can use the pumpkin’s natural grooves as a reference. Feel free to keep adding stripes until you reach your desired effect. Before you move on, make sure the stem is dry after painting it black.
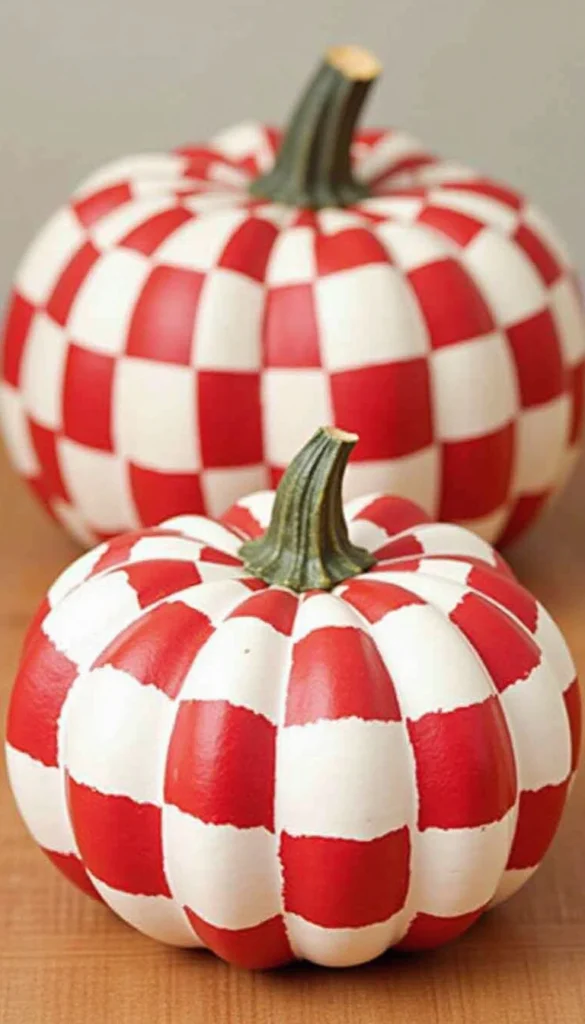
Pumpkins with Checkers
Use a checkerboard design to adorn medium-sized pumpkins. Remain with a pair of timeless hues, such as red and white, or incorporate a variety of vibrant colors.
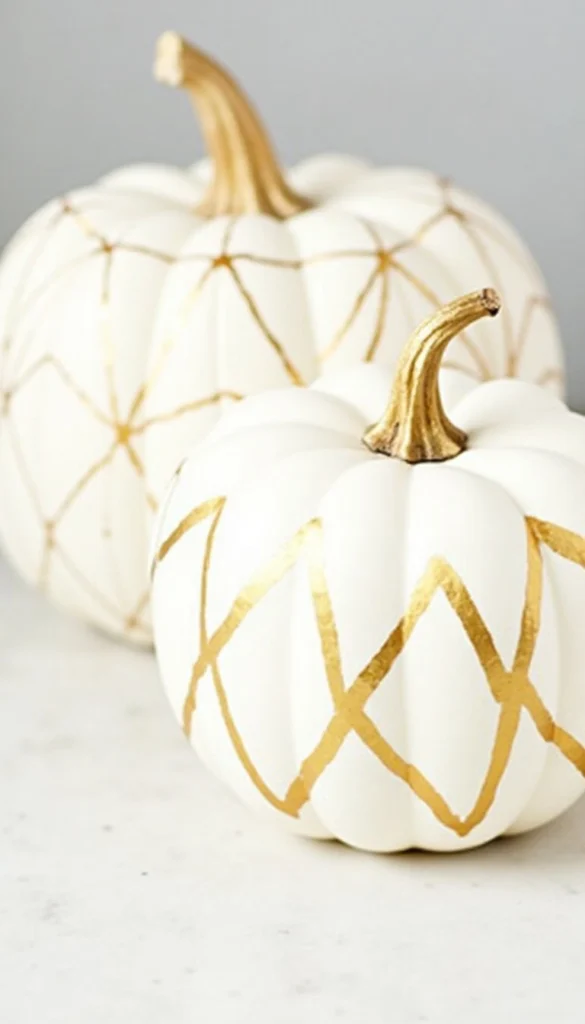
Pumpkin in Gold Geometric Design
Thanks to their unique geometric designs, these painted pumpkins, which have a simple color palette of white and gold, are both adaptable and exciting! The first step in making the pattern is to sketch a triangle on the pumpkin’s front surface. Just draw another triangle on top of it, and keep going until you see a random pattern emerge!
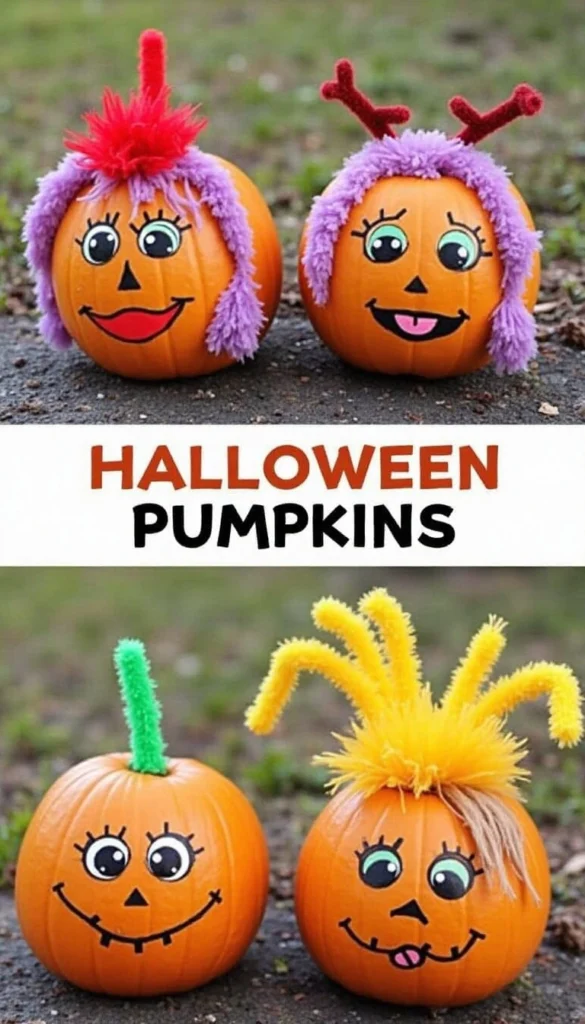
Halloween Pumpkins
Using only craft paint and some basic materials like pipe cleaners, pom-poms, and construction paper, you can bring the Sanderson sisters to life. The final product is both cute and funny.
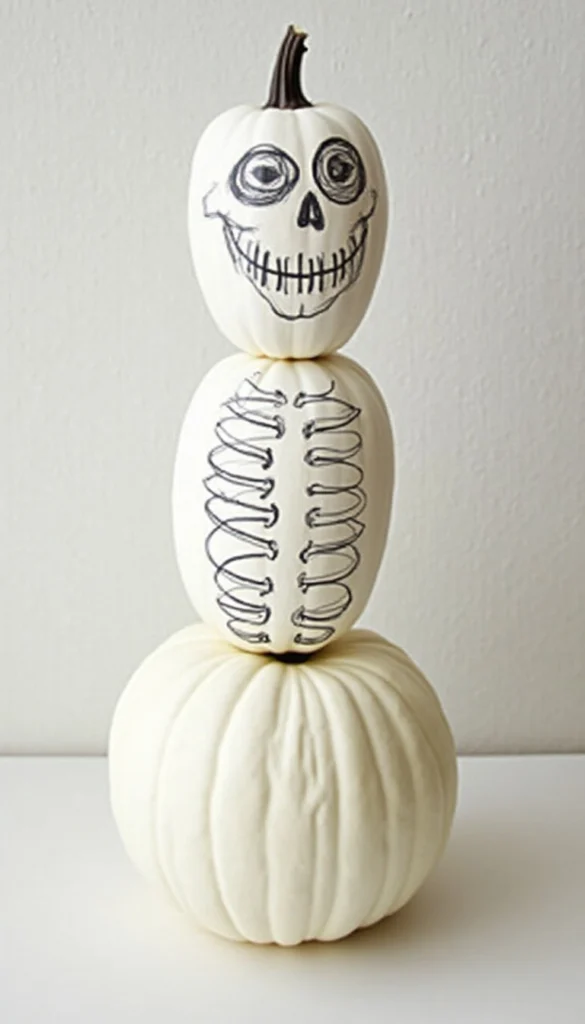
Halloween Skeleton
Build a skeleton out of two pumpkins—one wider for the head and one rounder for the body—to evoke a little eerie atmosphere. After you’ve sprayed-painted the pumpkins white, use black markers to make the skeleton bones by drawing circles and ovals. Before stacking, take the lowest pumpkin and remove its stem.
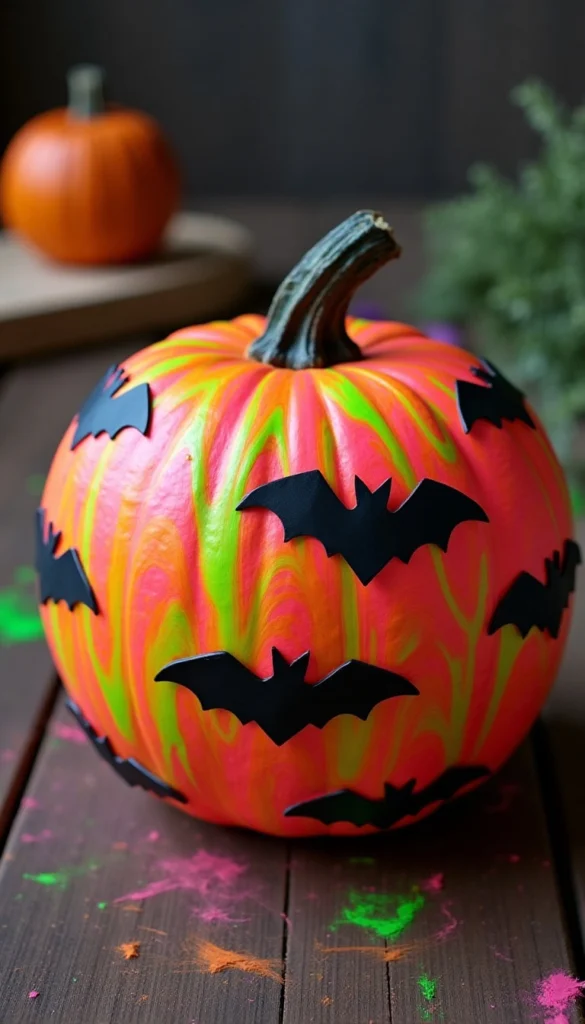
Pumpkin with Black Bat Skin
Use a neon-painted pumpkin to turn heads. For an extra creepy touch, you can embellish it with black paper bats. If you don’t want the paper bats to get wet, store your finished pumpkin inside or beneath a covered porch. Apply paint all over your pumpkin, allowing it to trickle down the edges, to create a one-of-a-kind and artistic appearance.
Pumpkin with a Starry Galaxy Design
Putting white paint on a pumpkin is entertaining, but what makes this craft unique is that it mimics actual constellations. If you insert string lights into the holes you drill in the stars, they will even glow in the dark.

A Guide to Painting Pumpkins That Will Last a Long Time
The best way to ensure that your pumpkin painting last all season long is to keep them away from any kind of weather damage. However, here are some more suggestions for maintaining the quality of your pumpkins.
- Pick a Healthy Pumpkin: If you’re working with a genuine pumpkin, be sure it’s firm and free of any imperfections that could hasten its decomposition, such as soft patches or cracks.
- Priming and Sealing the Pumpkin: Before painting, apply a layer of transparent acrylic sealer or a coat of sealant. Doing so prevents the pumpkin from getting wet while also making the surface smooth enough to apply paint.
- Store in a Cool, Dry Location: To avoid your painted pumpkins softening or rotting too soon, keep them out of direct sunshine and away from heat sources if you’re using real pumpkins.
- Thoroughly Clean and Dry: Before painting, wash your genuine pumpkin in a gentle soap and water mixture to eliminate any dirt. After washing, let it dry entirely. The paint will adhere better and mold won’t grow if this is done.
Conclusion
Here’s our decorative creative pumpkin painting ideas just for you. Whether you’re using actual or plastic pumpkins, painting them is a fun way to decorate for fall. If you want your pumpkins to last all season long, no carving is necessary for decorating them. Get out there and decorate some pumpkins in your own unique way! All you need are some pumpkins and paint.


