Easiest and Quickest Guide to Realistic Horse Drawing
You must love animals and want to learn how to do easy and quick horse drawing. It might not be that easy to draw a realistic animal if you are not guided correctly. In this tutorial, you will learn to draw a perfect horse, whether you use a digital art application or draw it manually. Let’s start.
If you are using Clip Studio Paint, open a new file while selecting A4, horizontal, white page, and select Rough pencil tool in blue to do the sketch.
Step 1
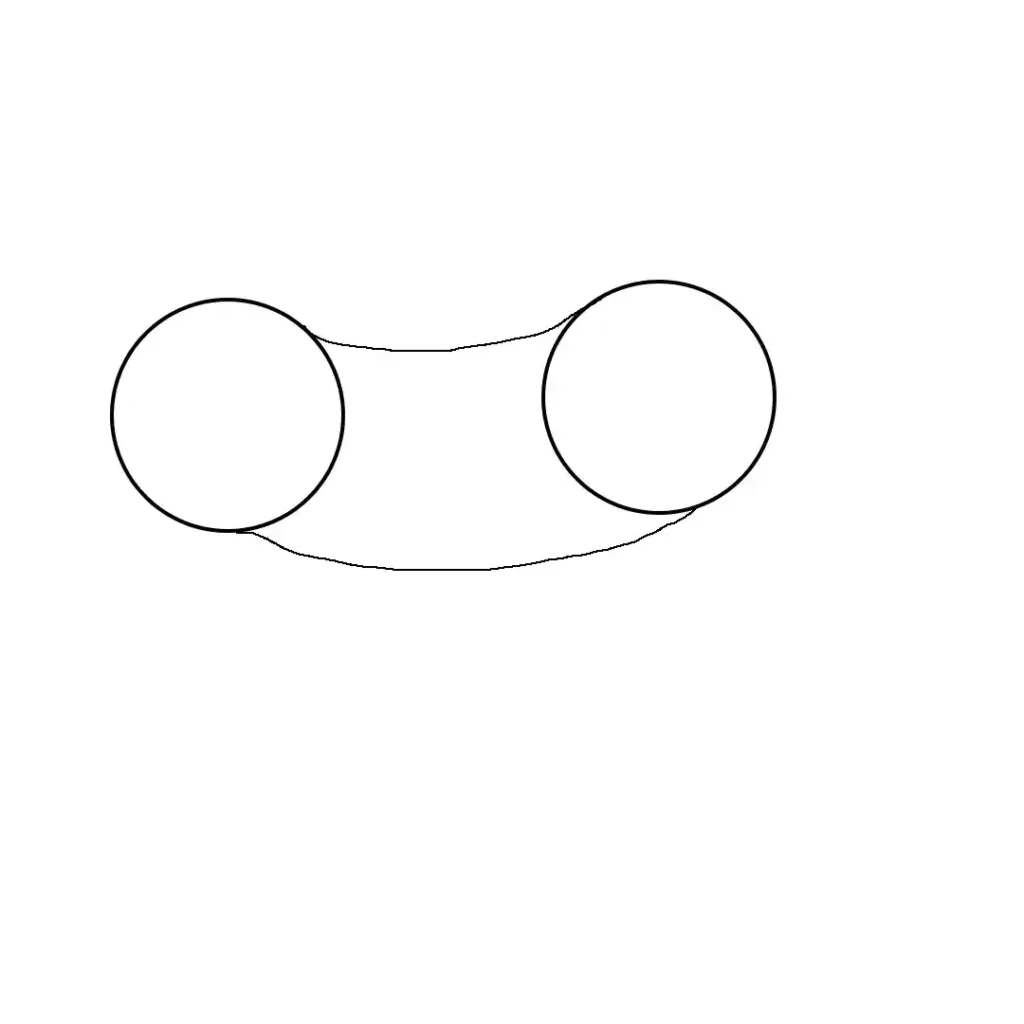
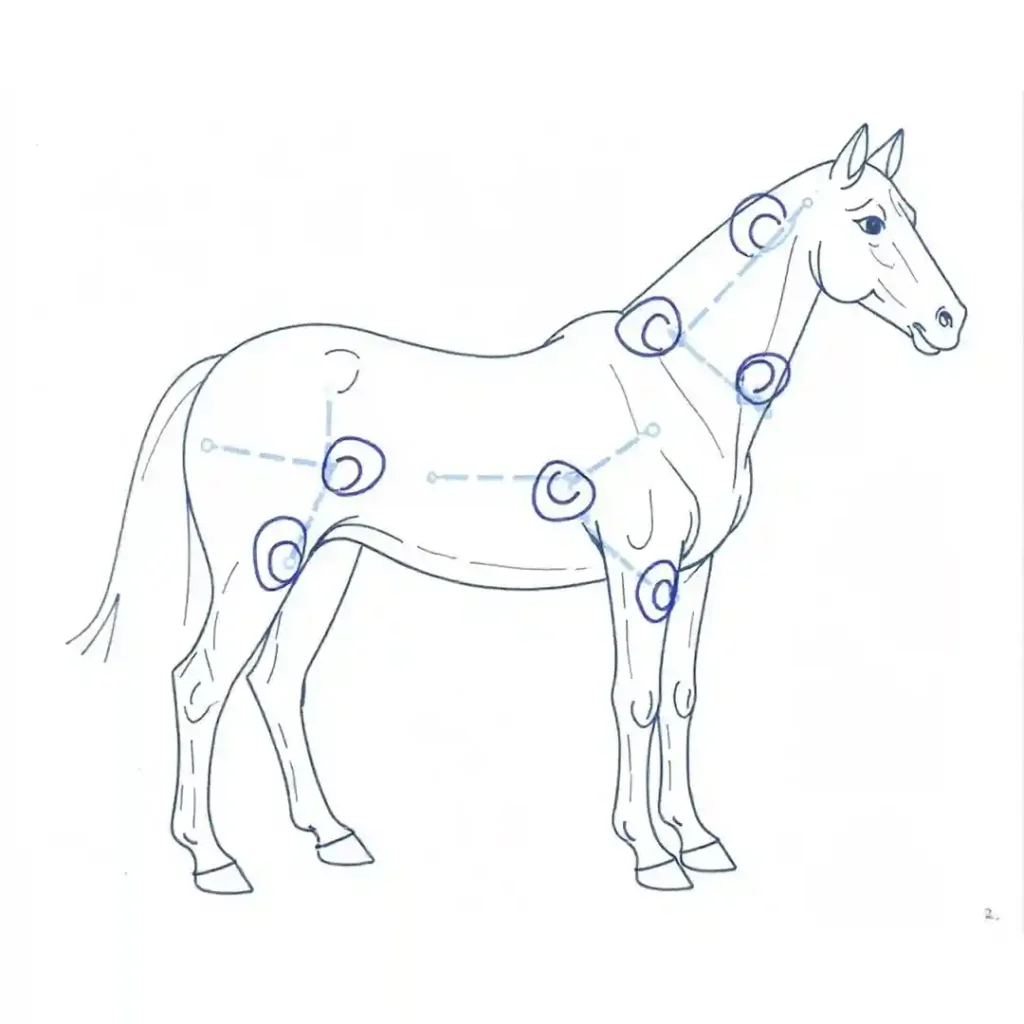
The first layer is the rough sketch of the horse drawing. Create two almost equal circles and then join those by horizontal curved line. It becomes the torso of the horse.
Step 2
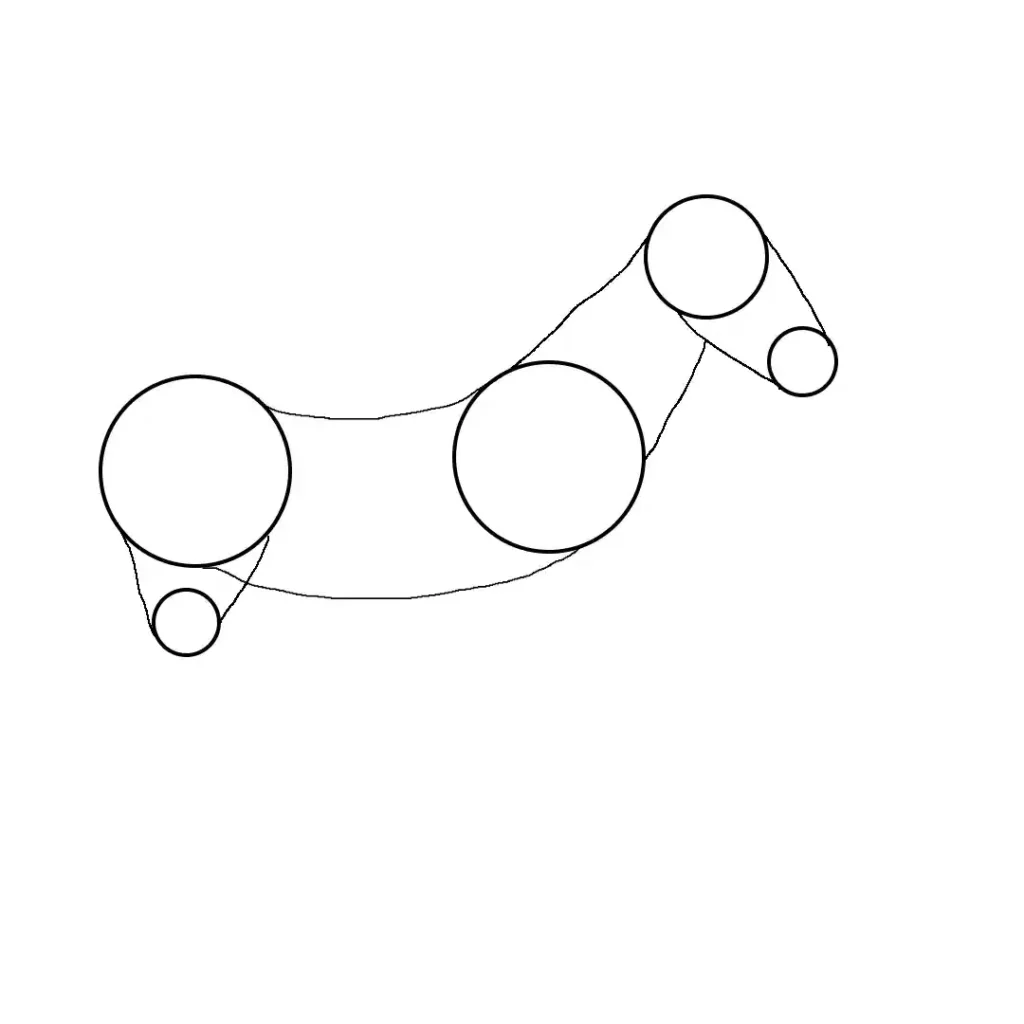
Draw two circles, smaller than previous ones, to sketch horse’s head. Join the circles with simple lines to sketch the skull, and then with the body with straight lines to sketch the neck.
Step 3
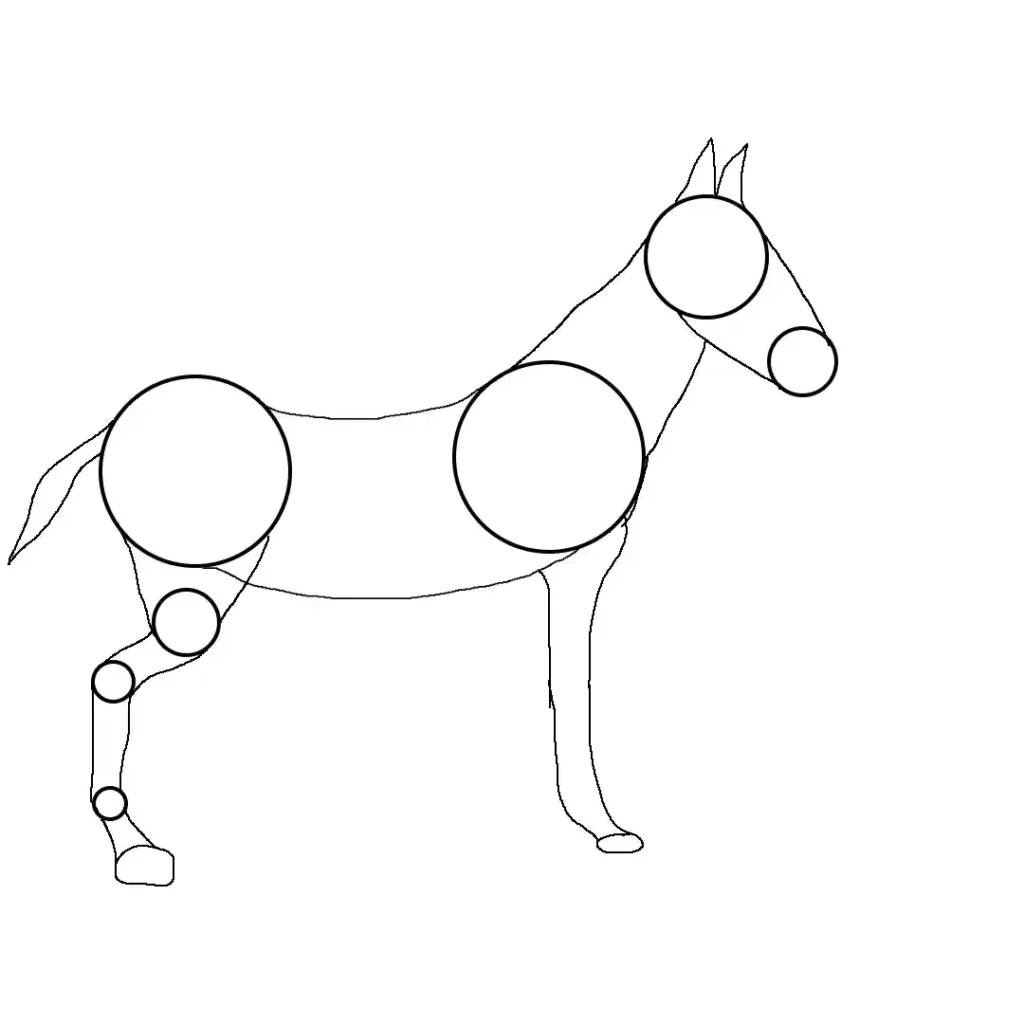
You need two rectangles and circles to draw the joints of the front legs. Those will end in a couple of diagonal lines connecting to the oval shaped hoof. Sketching the back legs requires a small circle beneath the back end to shape its thigh. There will be lines and circles for the back legs too – you only need two diagonal sections.
Step 4
Join all the lines to define the body shape of the horse after the structure is set. Adding one more circle below the larger one has given a better structure to the horse’s head. It allows you to place its cheek, a significant characteristic of a horse’s head, and make the drawing real.
Step 5
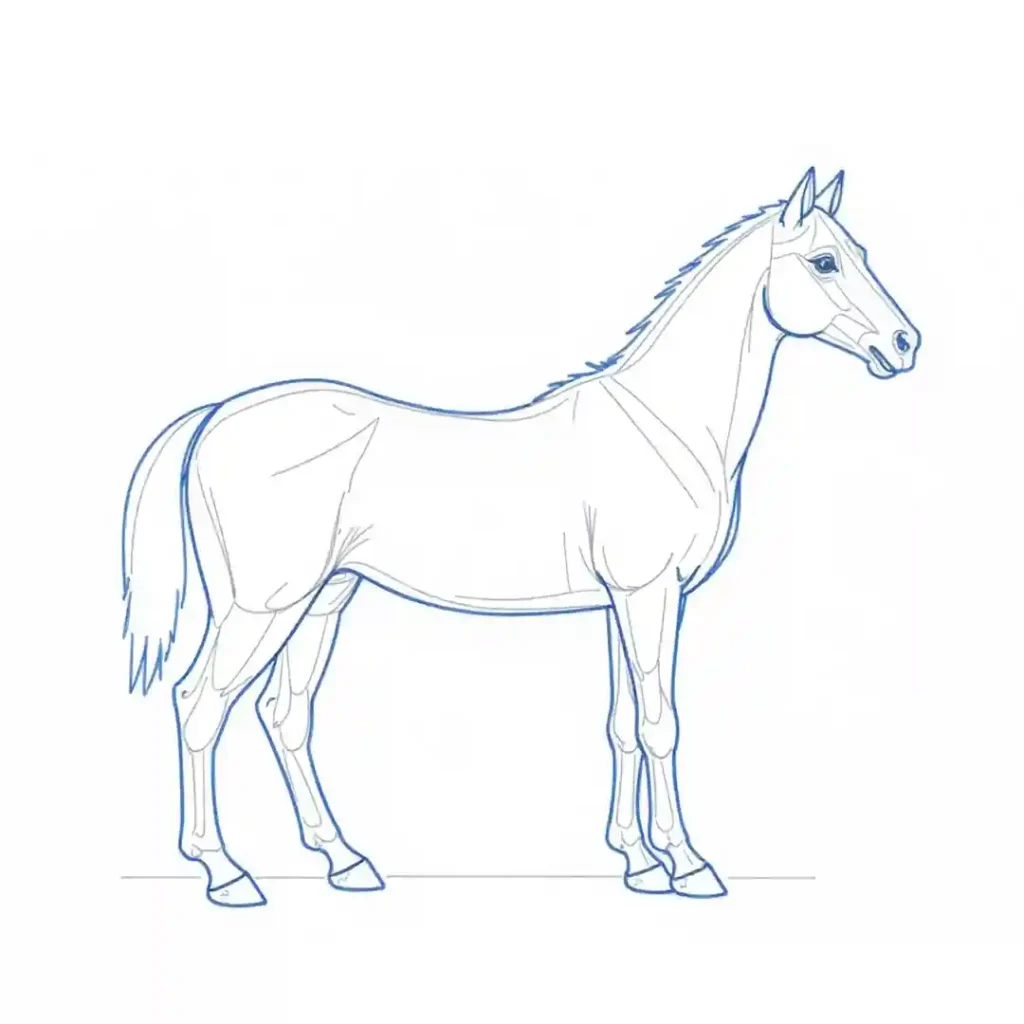
Now, place the eye, nose and mouth with the help of your reference. The profile pose is ideal for the beginners who want to learn horse drawing because it’s straightforward.
Step 6
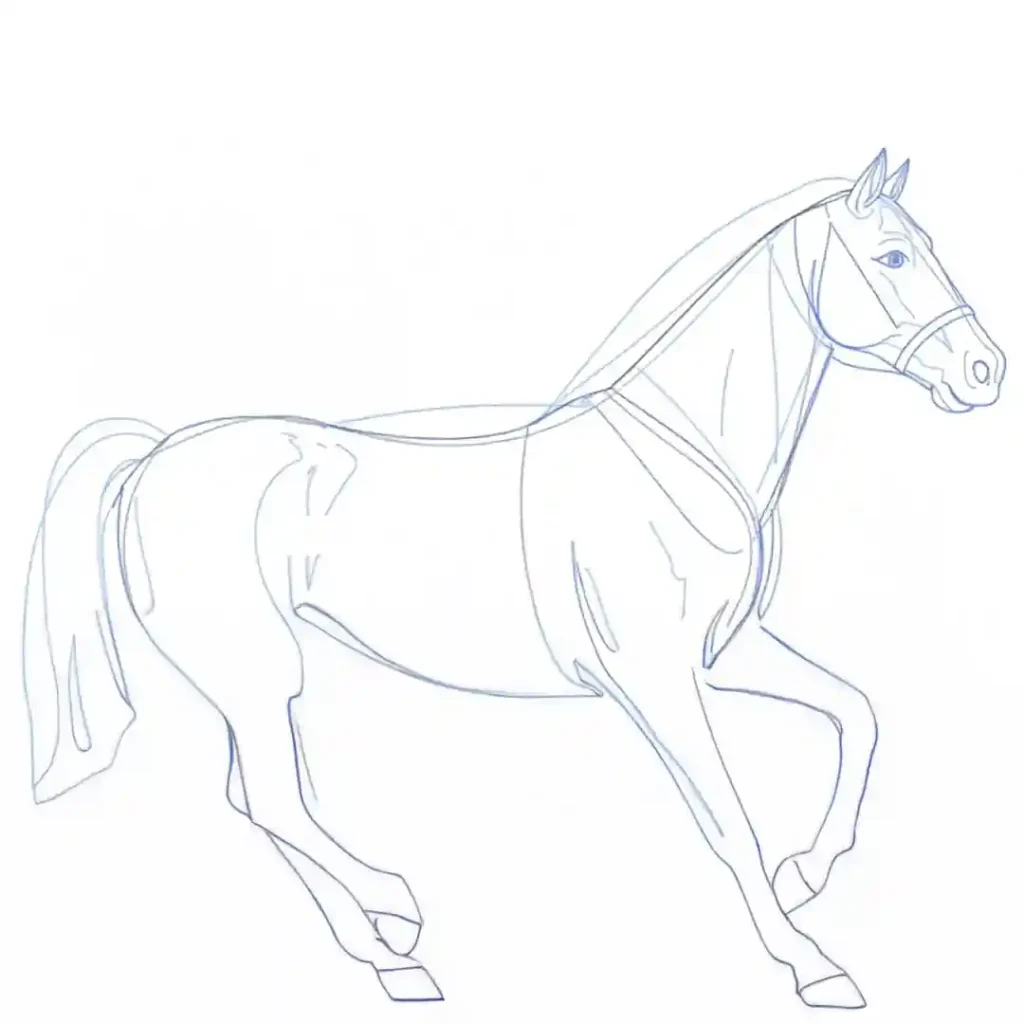
Once the figure is ready, it’s necessary to clean up the work. Lower the opacity of the layer of your sketch to keep it to 20%-30%. Select the button to create a new layer. Choose a specific layer color so that the layers are distinguished easily. Right click and rename your new layer as ‘clean art’ to understand where your clean lines are going.
Step 7
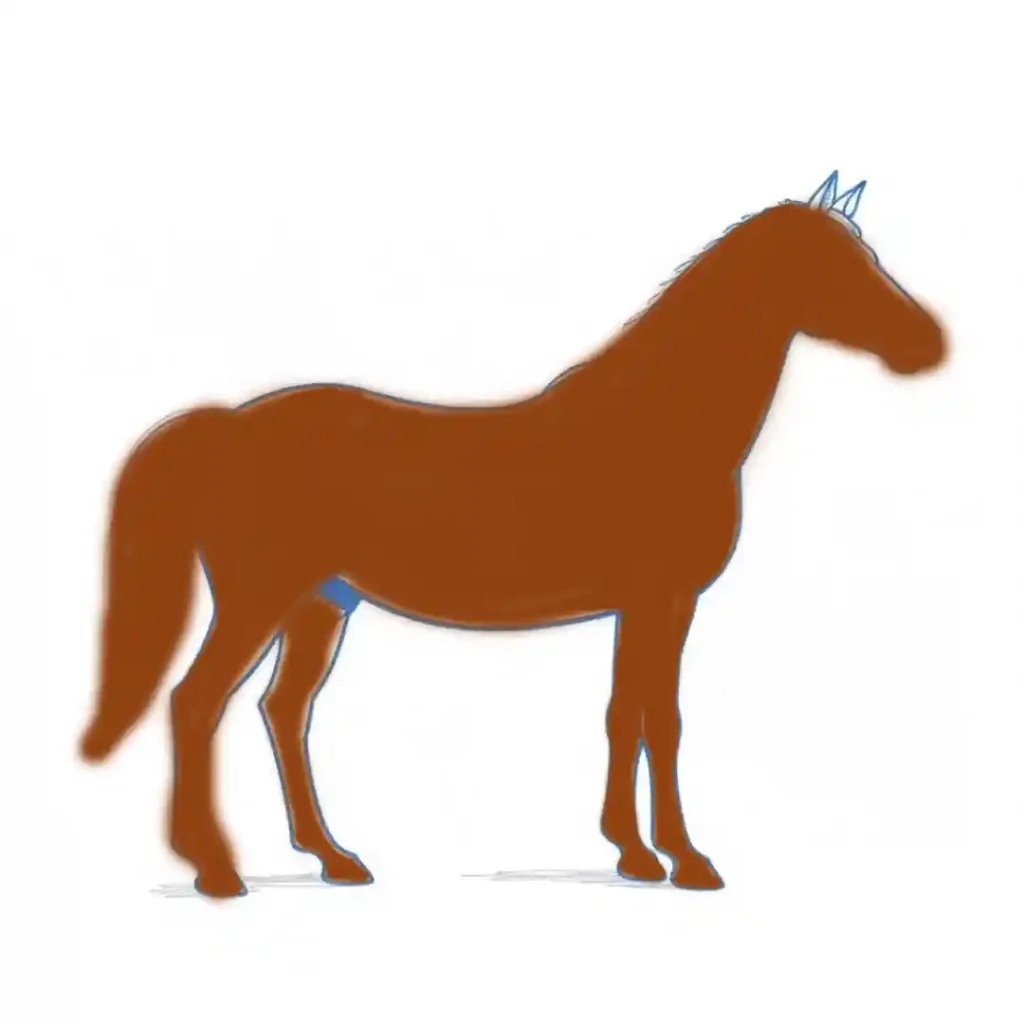
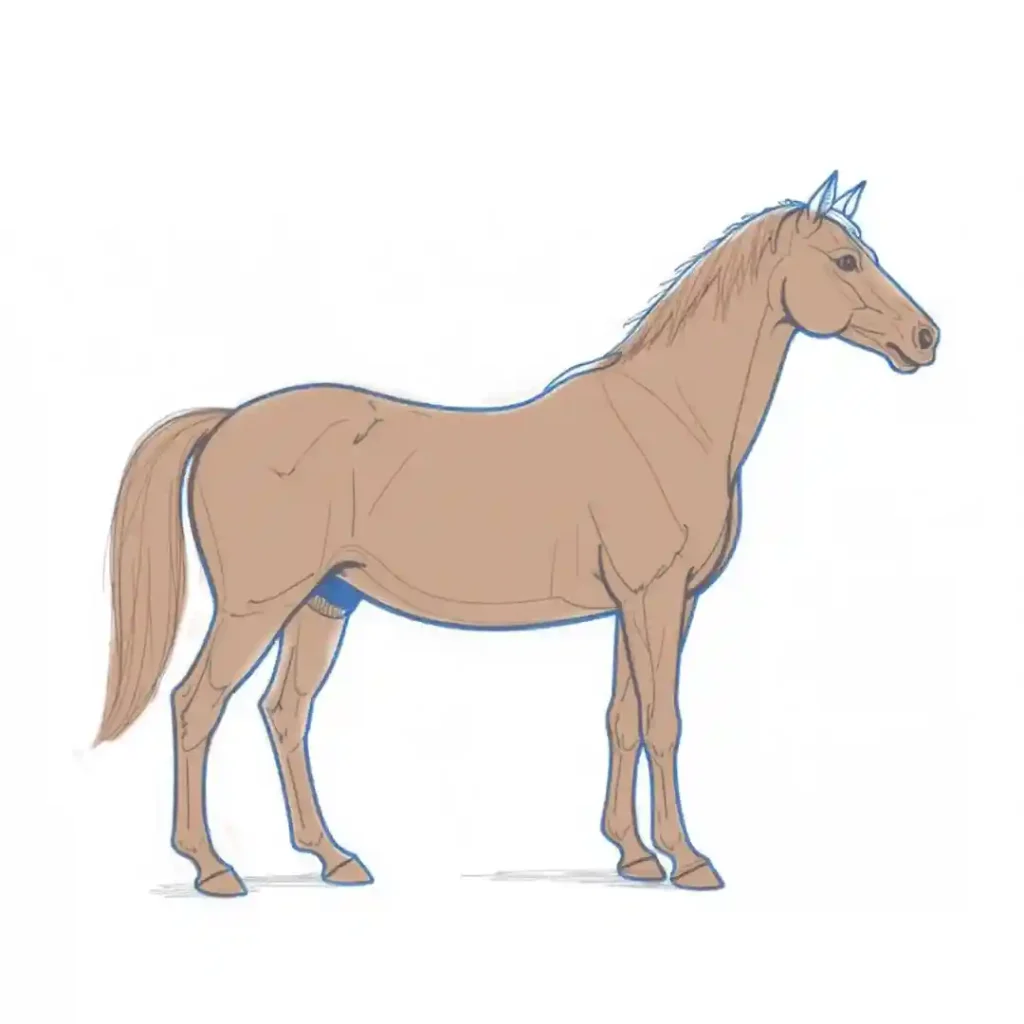
Use the sketch as guide, draw in the new layer and start building the final shape of your illustration in a darker color.
Step 8
The next step is creating another layer, renaming it and assigning a new color. Drag and drop the new layer between the sketch and clean art so that the clean art layer stays on top of the new flat layers.
Step 9
Color the horse sketch with the GPen tool.
Also read:
- Painting with a Twist: How Breaking the Rules on Canvas Keeps Art Alive
- Fun 10 things to draw when bored: Beginner-Friendly Instant Inspiration
- A Beginner’s Guide to the loomis method – Creating Lifelike Faces
- lippan art design and Its Evolution: A Heritage of Reflection and Creativity
- Modern texture paint designs: The Fusion of Art and Innovation
Step 10
Remove excess color carefully with the eraser to create a clear-defined silhouette.
Step 11
Lock the transparent pixels of the color so that the next paint doesn’t go beyond the lines.
Step 12
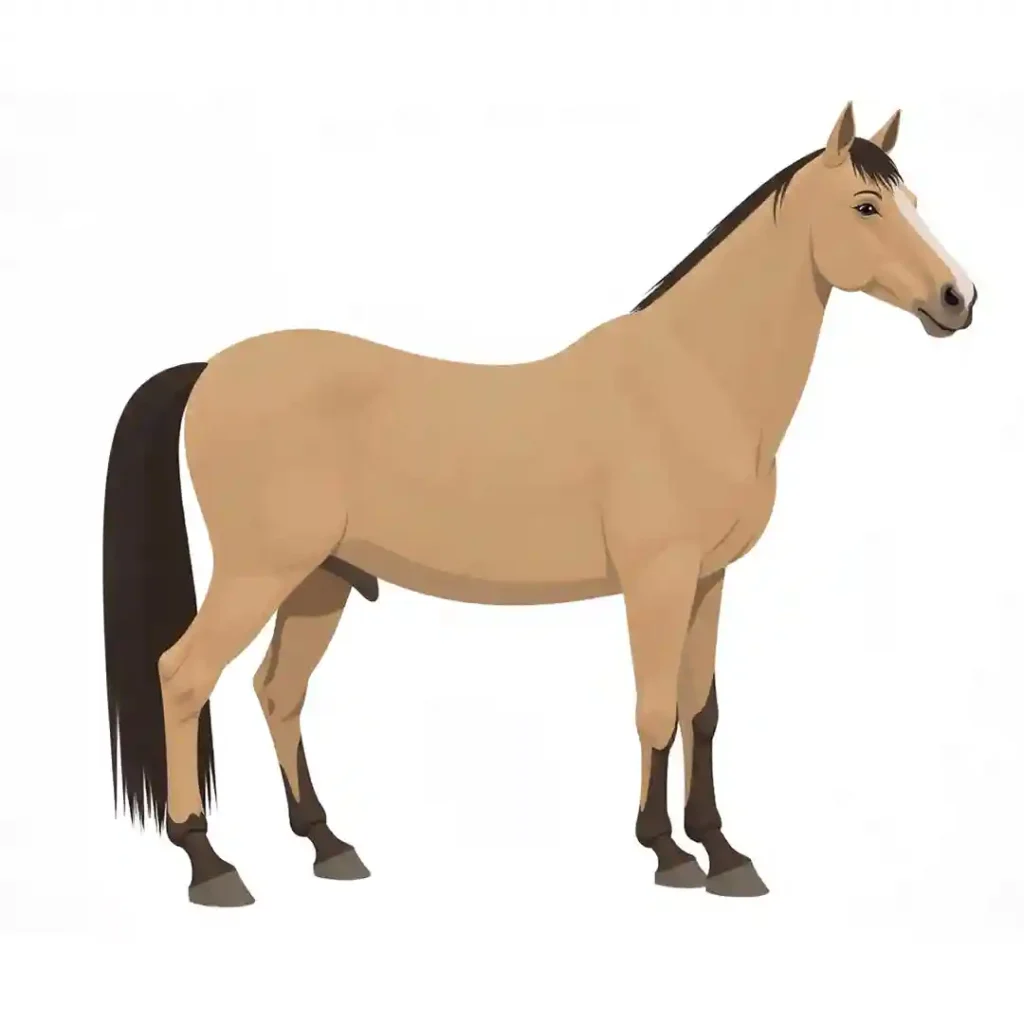
Right click on the layer and duplicate the gray layer. Choose a color for the horse’s fur. Apply it with a paint bucket tool. Use Watercolor Brush tool for the areas darker than the base color. Add some highlight to the horse drawing and then smooth it out with Soothing Watercolor Brush.
Step 13
Create another layer to place behind the the earlier ones to present your illustration. Use a color matching to the animal’s tone with the Gradient tool and place it vertically.
Step 14
Creating the cast shadow makes the image looks real. Transform the duplicated gray layer you added earlier, by choosing Transform from the Edit option, right click on the selection, then go for Flip Vertical. Shape it to match the horse’s legs.
The last tip for a realistic horse drawing : use a line of light along the back and head of the horse, and also apply Gaussian Blur to achieve a glow.


