How to Paint Your First Painting in the Easiest Way
With this tutorial, your dreams of becoming a painter will soon become a reality. Here, you will learn how to paint your first painting. A basic painting needs nothing more than a small canvas, and a few of cheap brushes and palettes. As you experience your first step towards becoming a painter, choosing an easy composition and going for big shapes will be wiser. You should start working on general details and then go for specific ones, but remember not to try to put all the tiny details you see in your reference image. As it is your first painting, go slow and steady.
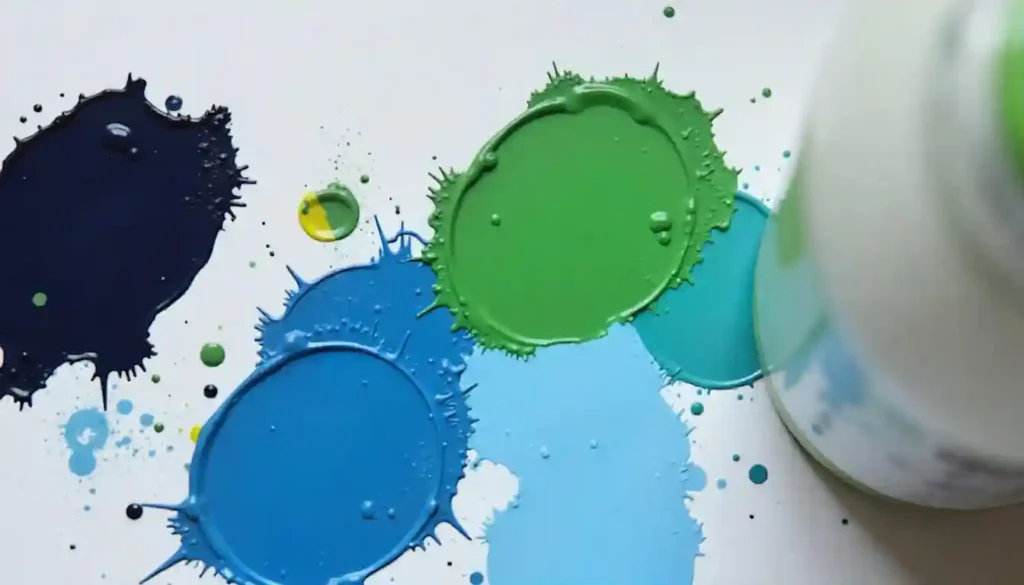
Materials you need for your first painting
- You can get an 8 x 10 basic primed canvas at any art store.
- You will need a palette of basic paints. Grab a value pack of 12 pieces non-pro grade type paint.
- You can buy natural bristle brushes, but a set of 25 basic brushes will be enough, as you are a first-time painter, and there’s no point in spending much on brushes.
- You will need a container of water with normal temperature.
- Take a pencil for sketching the composition. A charcoal pencil will be better choice than a graphite one as charcoal gets much better along with the paint. A pencil sharpener is also needed.
- Buy a clipboard as a reusable palette.
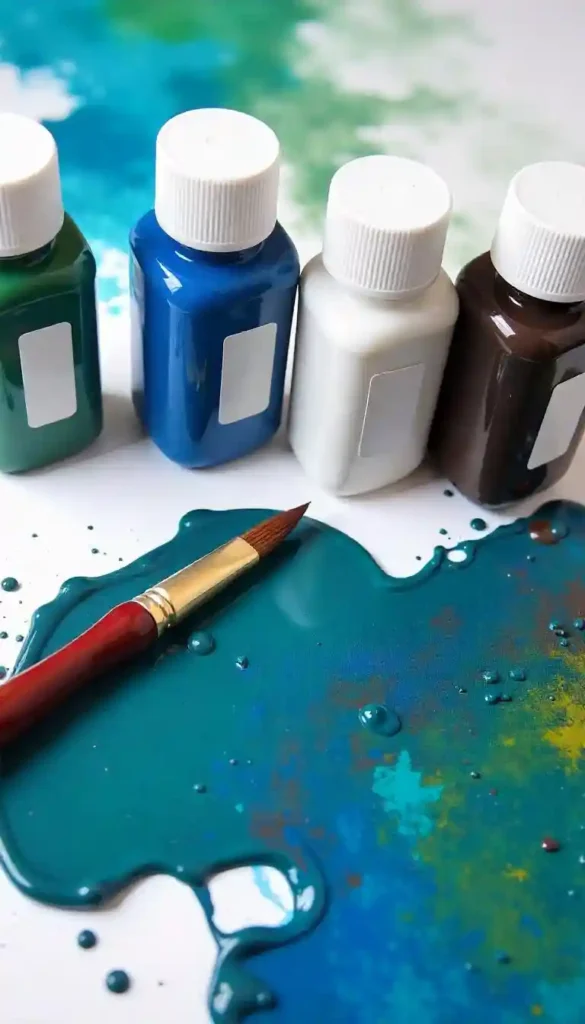
- Keep a bar of soap in a container to clean the brushes. If you are using acrylics, you have to clean the brushes in water first. Pressing down on the soap washes the paint away, so dip it in water again. Pushing the brush against the bottom of the jar is wrong, as the pigment particles from the previous cleaning settle in the bottom. Push it against the side of the water bowl.
- A painter is incomplete without a rag, which serves many purposes. It is mainly used to dry the brushes after they are cleaned with water.
- A piece of wood to prop up your painting, like on an easel, and a clip and a freezer paper to finish the palette (you can use parchment paper instead of freezer paper) are also necessary ingredients.
- Another useful material is sponge brush, but a cotton ball is enough for your first painting. It is used to create a wash underpainting.
- Keeping a garbage bag or storage bin is good, as you will need it to throw used palette sheets away. Keep a towel or paper towels, too.
How to Create the Palette
- Cut a few sheets from the freezer or parchment paper and clip them to the clipboard using clips both sides.
- It makes cleaning the palette very easy and fast. You can paint the clipboard too, and use transparent wax papers.
- You can also tape or clip the other sides of the sheets to the clipboard.
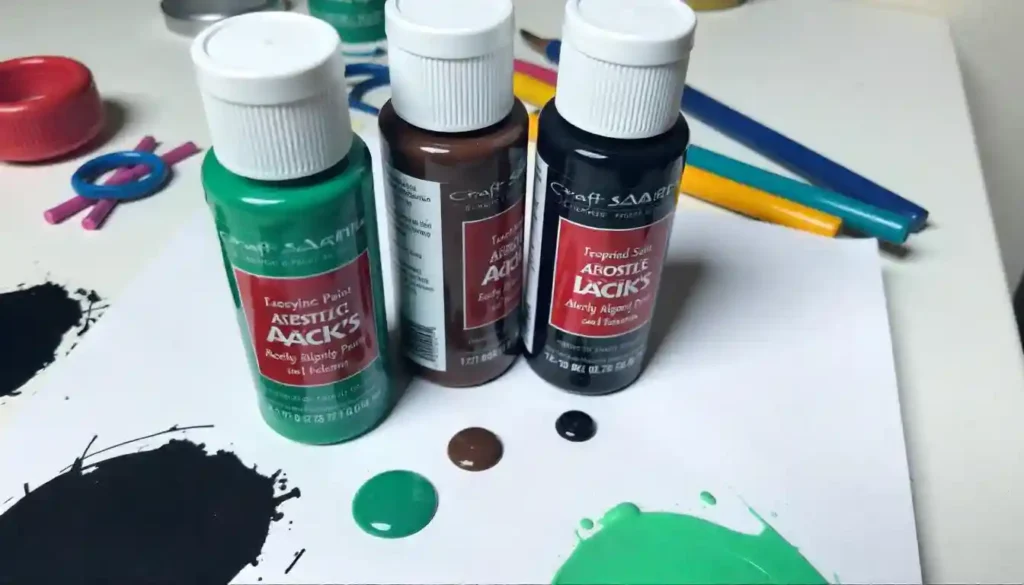
Step-by-step Guide to How to Paint your First Painting
Step 1 – What to Paint
First of all, you should know what you will paint. A basic landscape maybe the best choice for a beginner. Go for a simple composition with 2-3 items only. For example, you can have mountain as the background, elevation-hill as the middle ground and grass field as the foreground. You can take any subject from life, rather than taking reference from pictures. The result will be livelier if you have a vision like an artist. In this tutorial, we will explain how to paint a mountain landscape.
Step- 2 – Sketch out the Composition
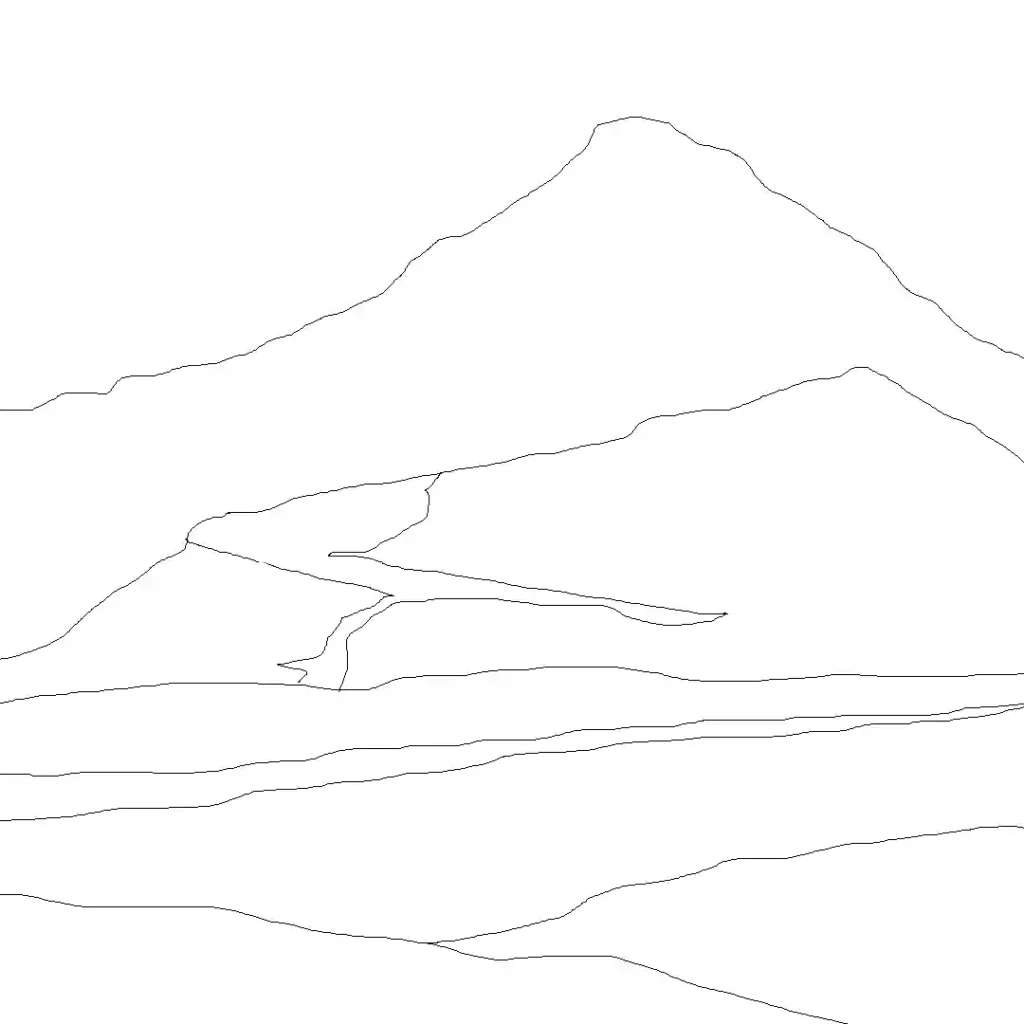
Imagine a mountain with a fascinating snowy peak along with eye-soothing yellow-green grass-covered foreground. But, you need not to stick to one picture. Instead, you can just draw the pencil sketch from various similar landscape images and create your own composition. While drawing the pencil sketch, break up your reference image into small blocks to create a basic, simplistic composition. The composition will dictate how you place things in your painting and how you will relate them to each other. It will decide the balance of the painting. For instance, you are drawing mountain but you may wish to give more space to the bright blue sky in your canvas and make it attract the viewer. Then, you have to set the mountain peak lower on your canvas.
Step 3 – Underpainting
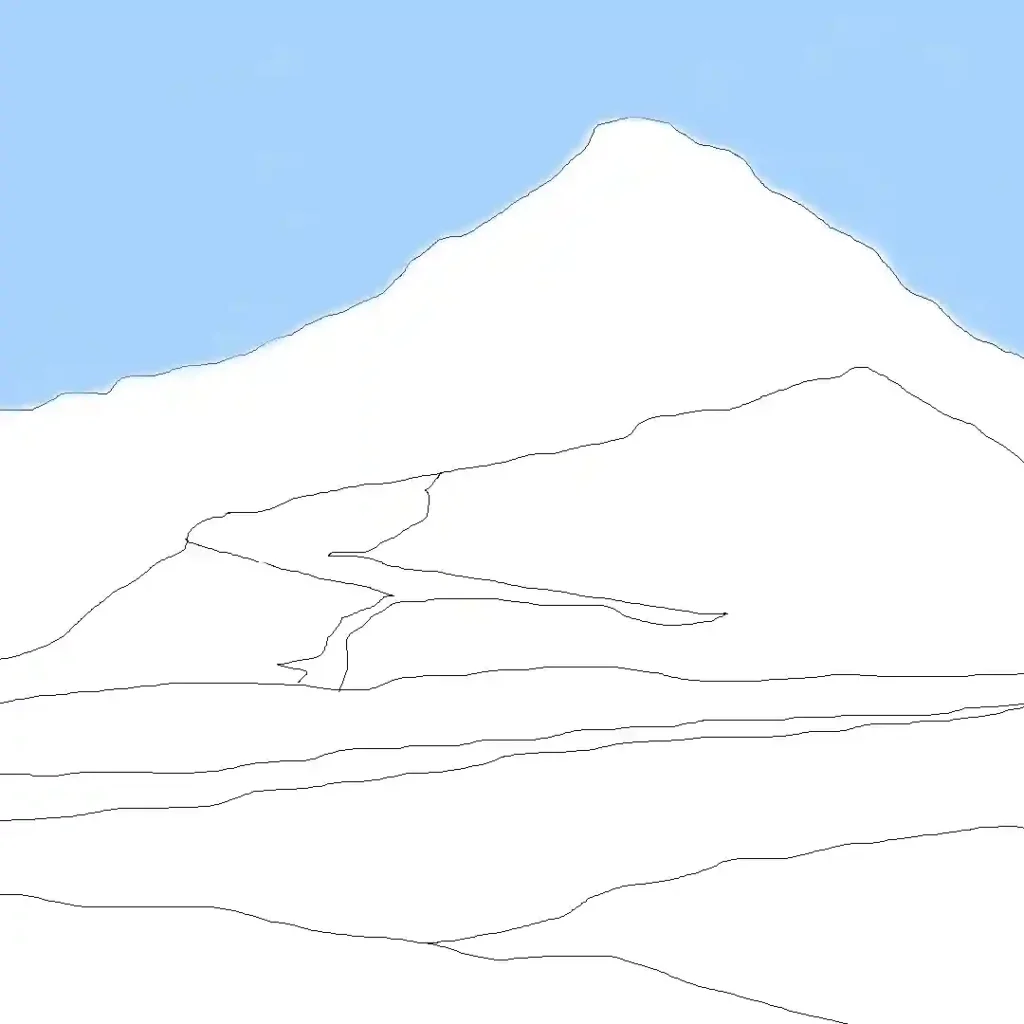
If you are not using a good paint set, you have to use black and brown paints to create burnt umber, a dark majestic and earthy brown color. Create a wash, paint it over the painting. Don’t make it too wet. Use light brown and a lot of water to get this transparent look. You can use sponge for it. The underpainting makes the plan for your painting, which will be darker and lighter. You can darken the canvas if you want the white paint on the snowy mountaintop to get noticed.
Step 4- Plan the color
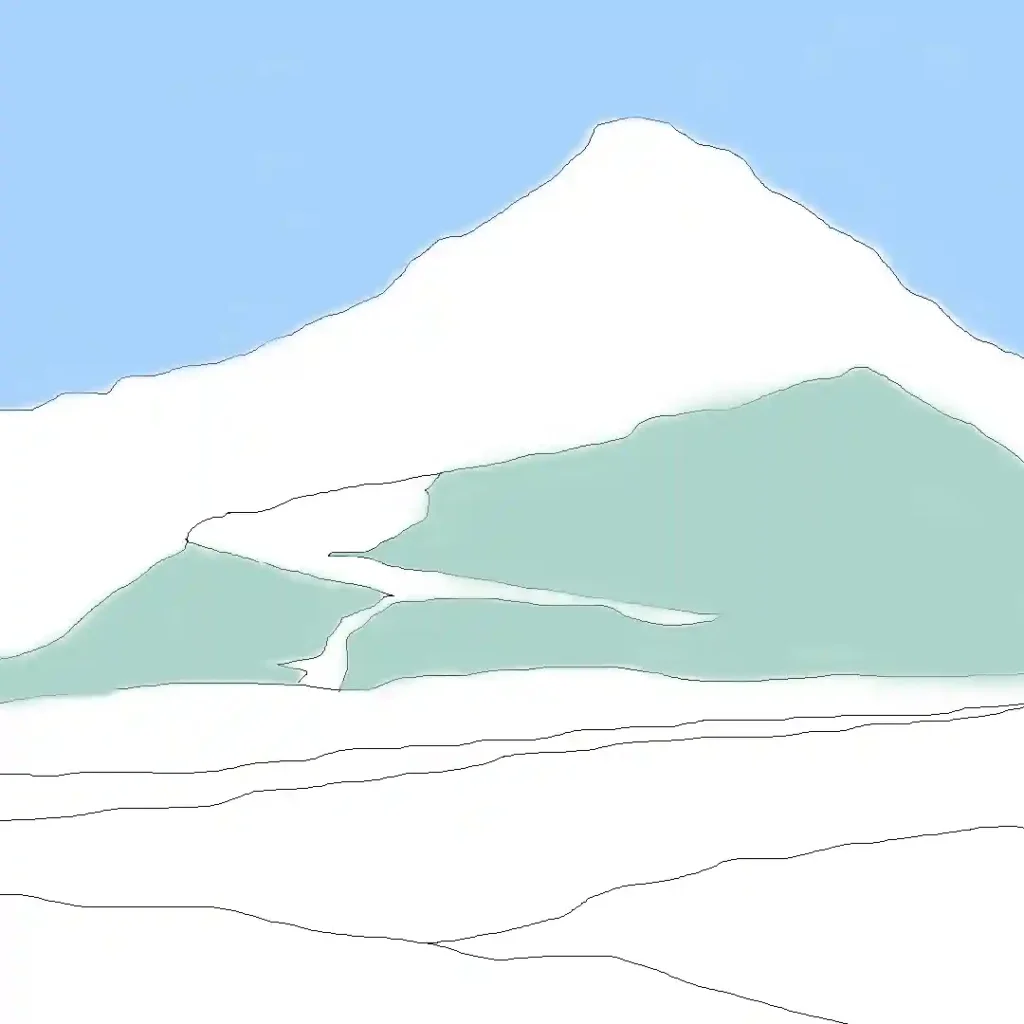
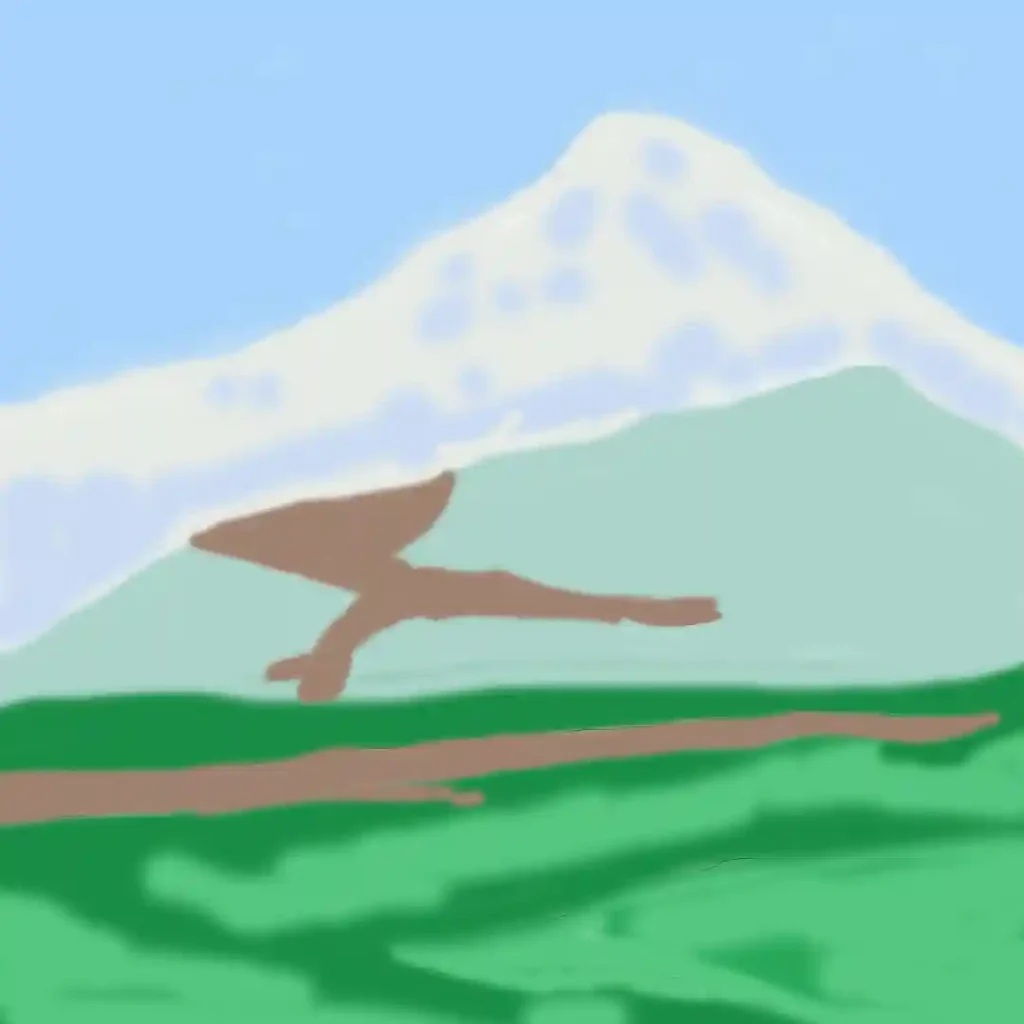
Let the underpainting dry. Then, complete organizing the colors. Decide the color for the mountain, the foreground, and the sky.
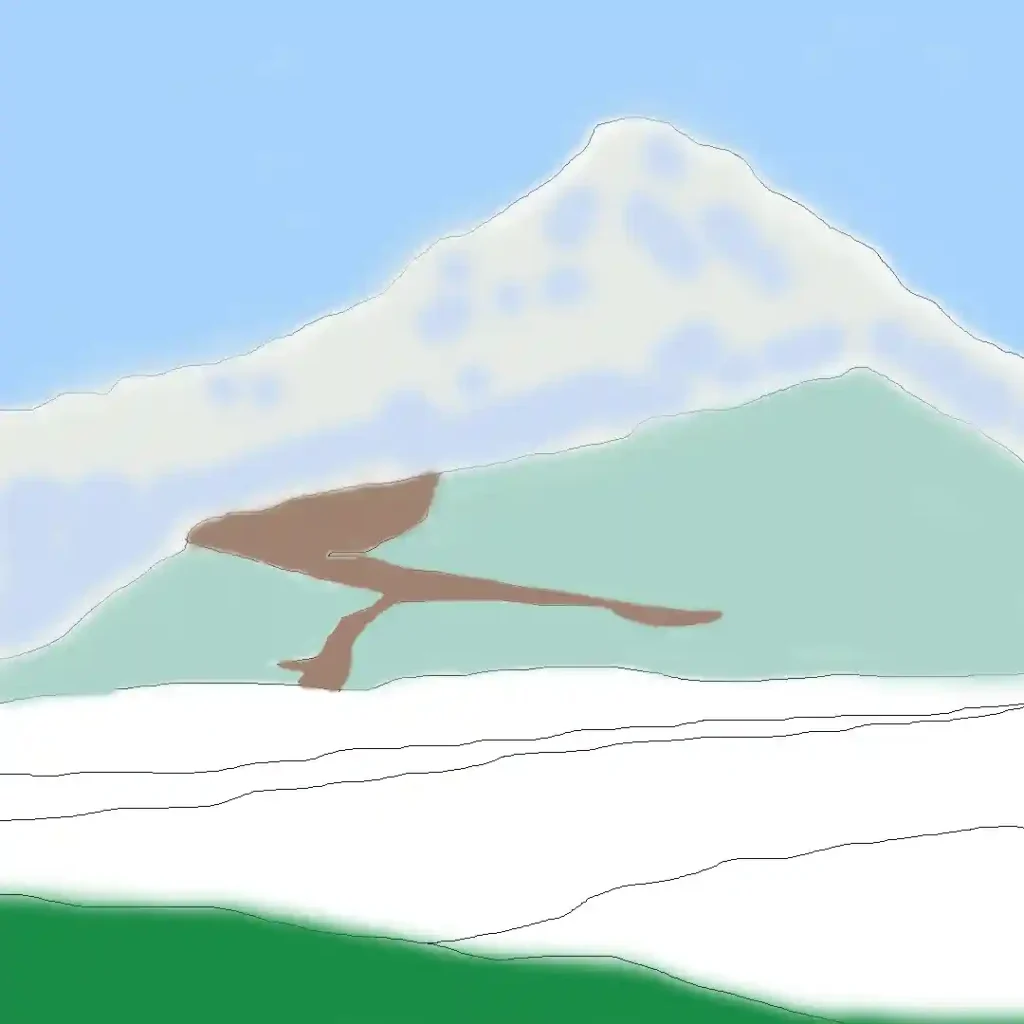
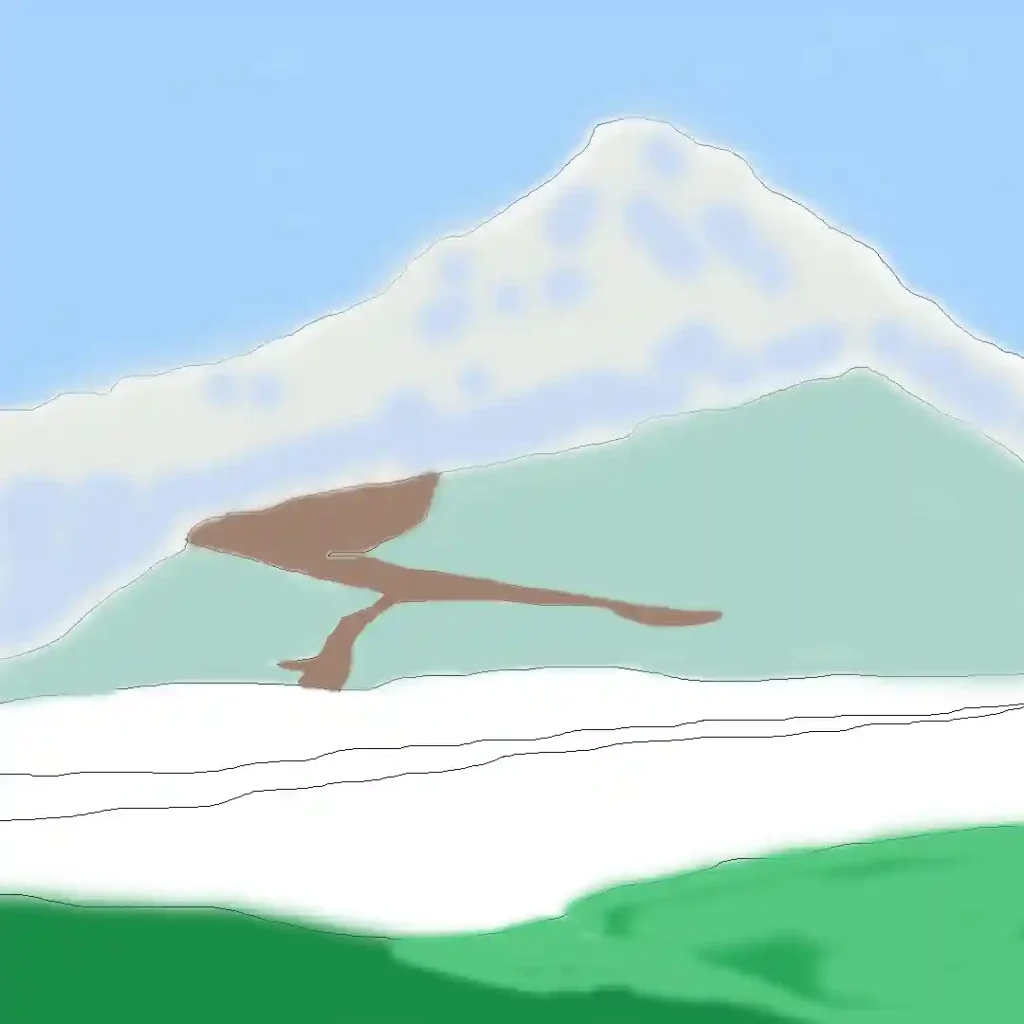
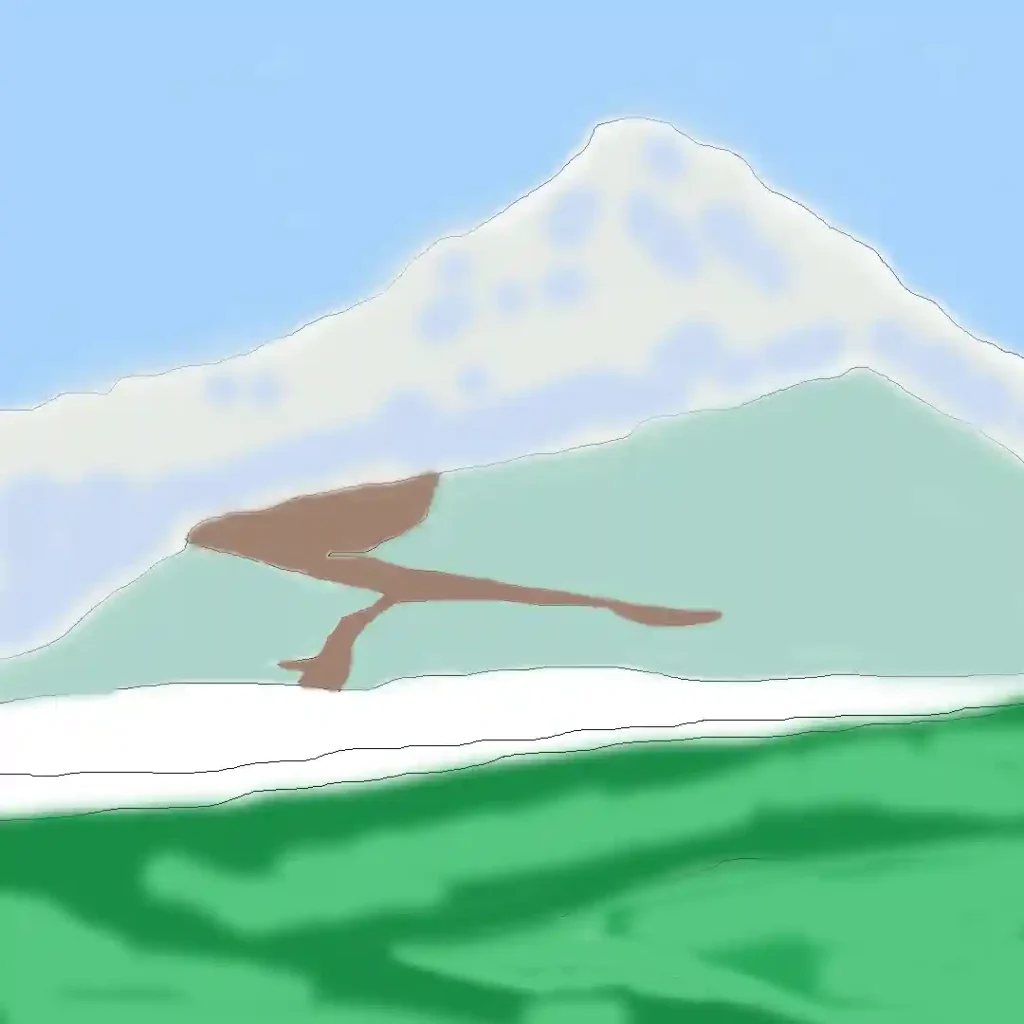
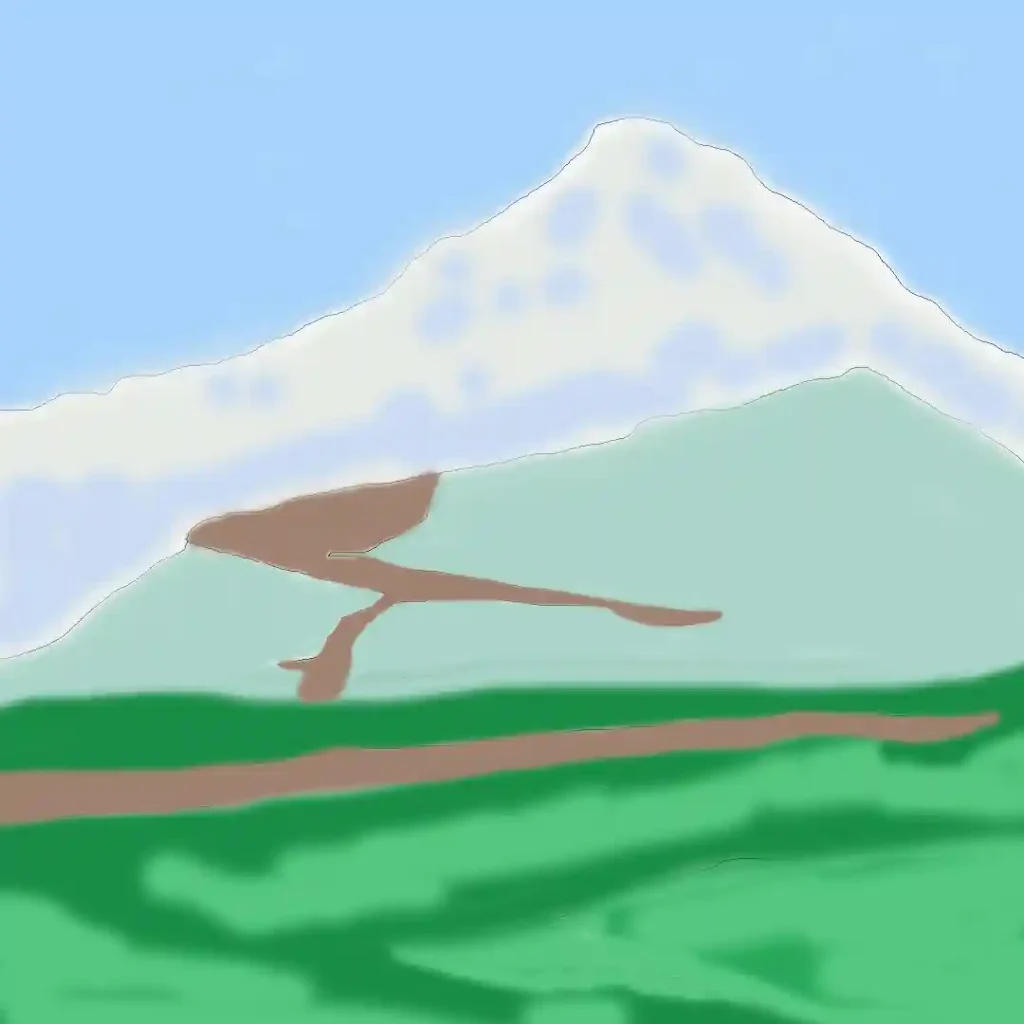
Step 5- Rendering
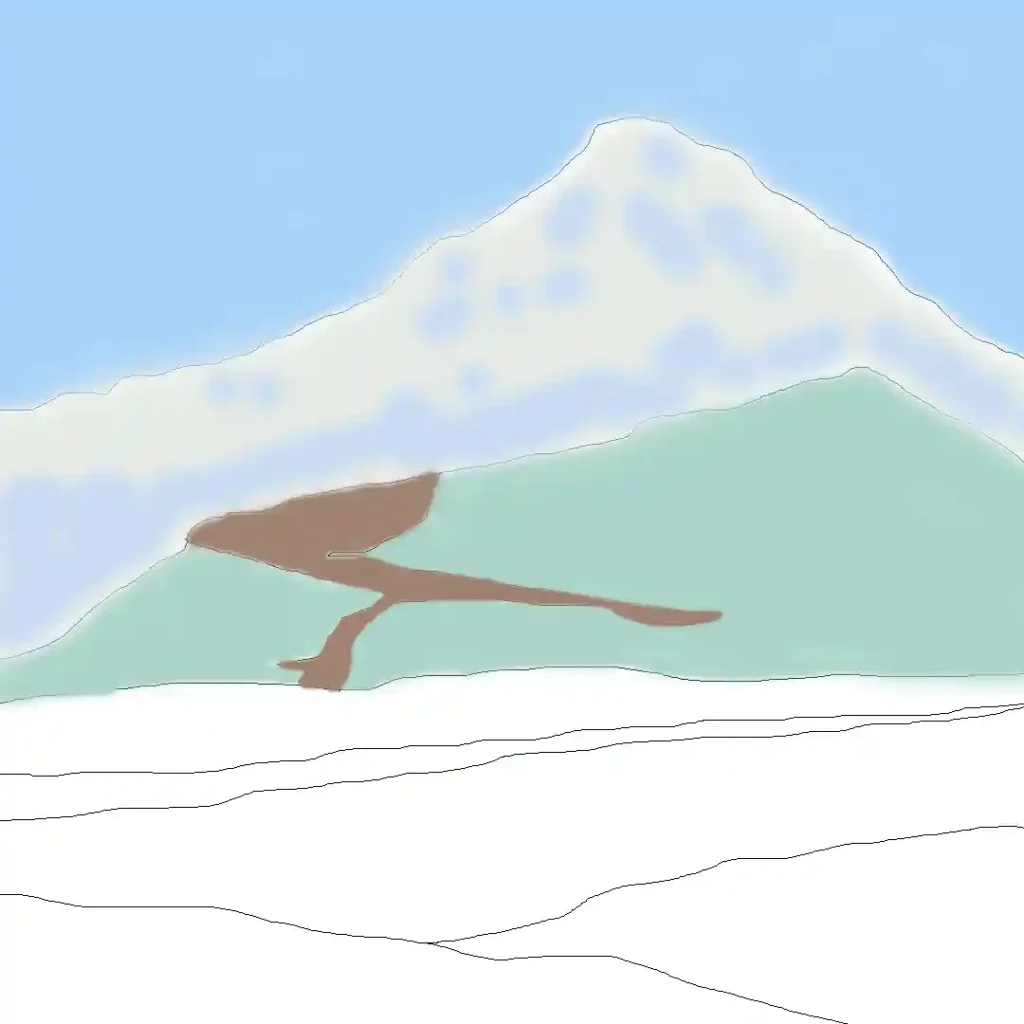
Do the rendering from general to specific. That means go for big shapes first and then for smaller details. Use larger brushes to make a basic painting, and gradually use smaller brushes to add more details.
You can pick the dark and light blue from the acrylic set to paint the sky.
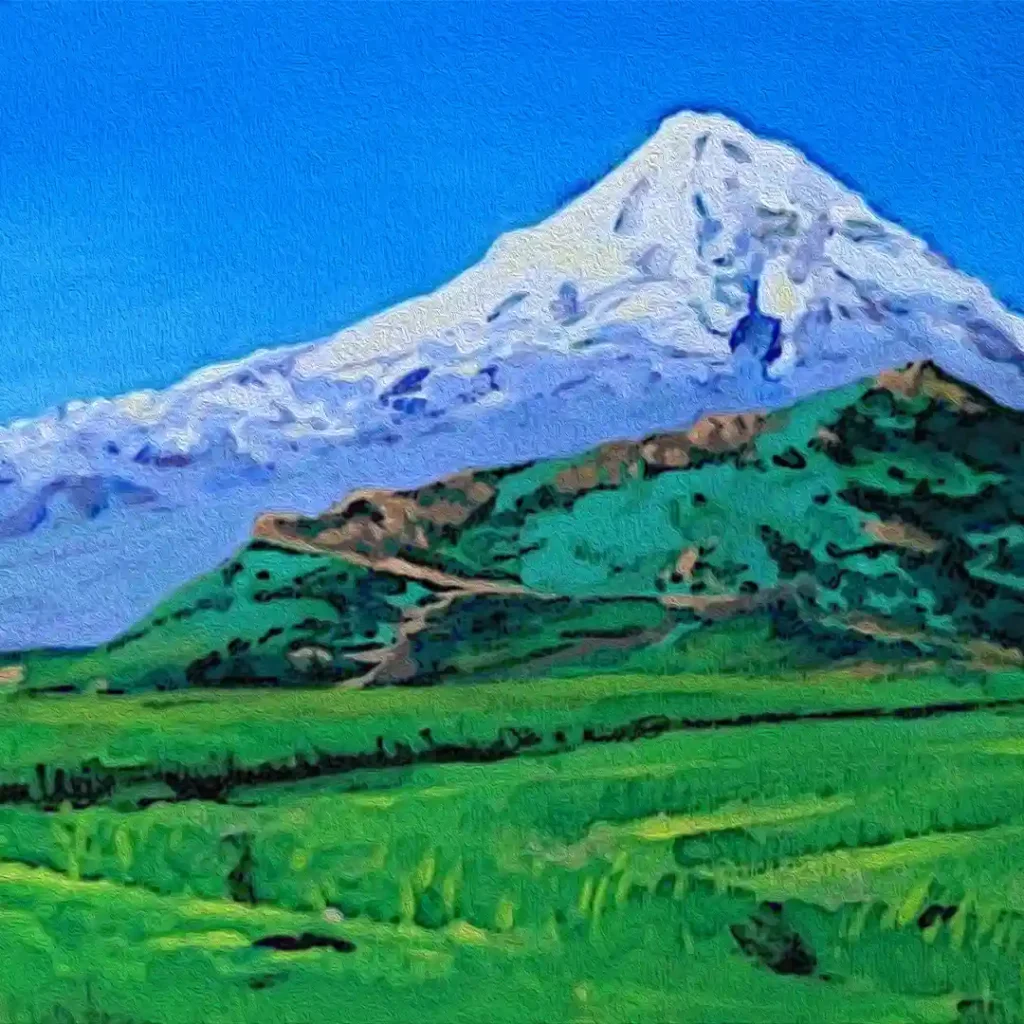
You can add a little white to reach the bottom of the mountain from the top of the canvas.
As you move toward the bottom, add more white color and blend the sky with a big, flat brush.
Use the blue, added white and grass green colors to mix a bluish grass for the hilly area before the mountain.
Use the brush or a palette knife until the mixture of colors turn into a new solid color.
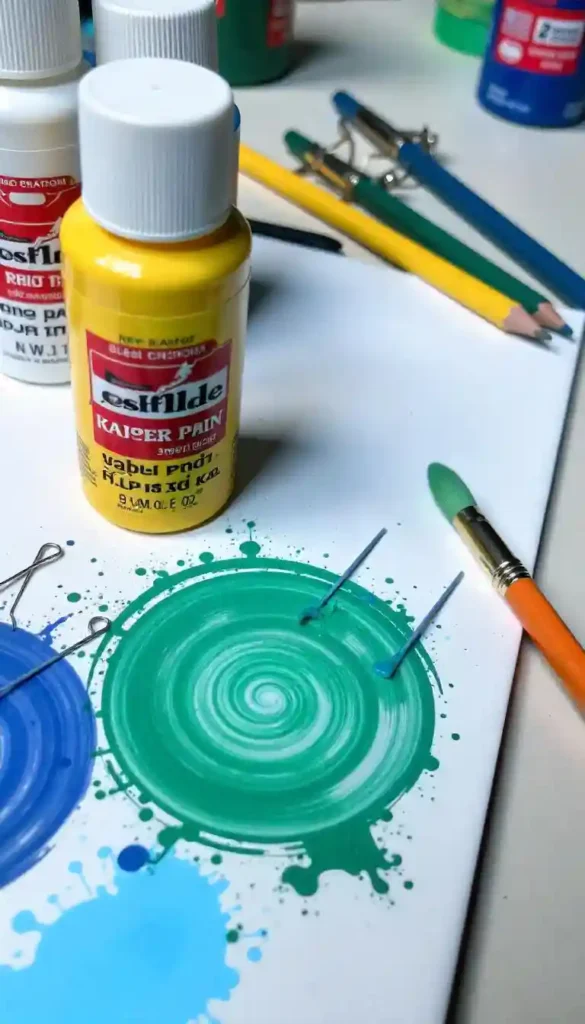
You can block the hill with blue-green. It is essential to blend the colors well to create one single fully blended color before putting them on the canvas.
Also read:
- Painting with a Twist: How Breaking the Rules on Canvas Keeps Art Alive
- Fun 10 things to draw when bored: Beginner-Friendly Instant Inspiration
- A Beginner’s Guide to the loomis method – Creating Lifelike Faces
- lippan art design and Its Evolution: A Heritage of Reflection and Creativity
- Modern texture paint designs: The Fusion of Art and Innovation
Add more yellow and green to the grassy field on the hill of the foreground.
So, it becomes a mixture of white, blue, green and yellow.
Now, it’s time to add some shadow and some detail to the foreground of the canvas. Mix black and brown, if you are not using some high-quality acrylics or oil paintings. If you were, you could have used a darker brown or darker blue for the shadow.
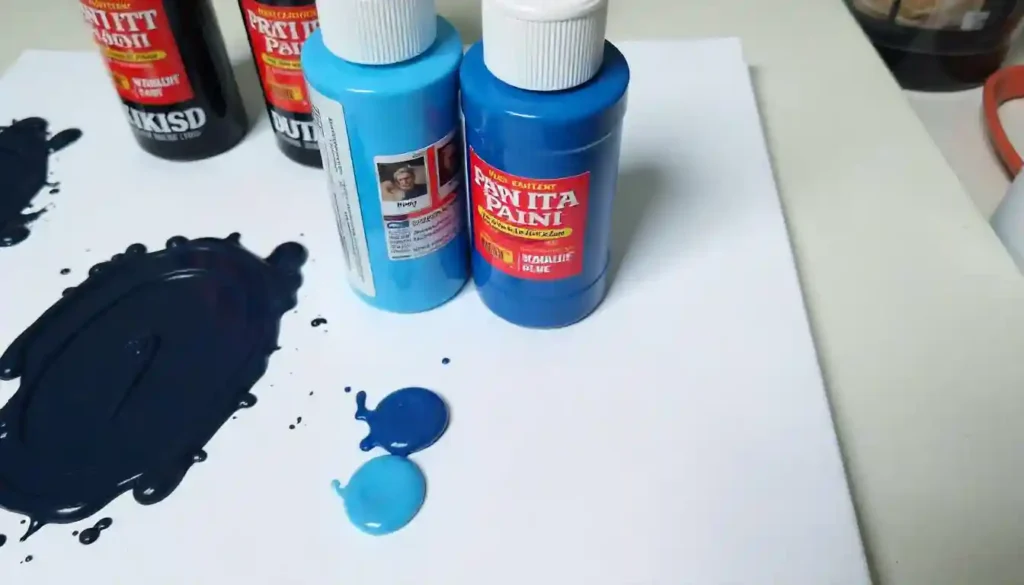
A little black is nice to get the darker green in the foreground.
Mix a good amount of green with yellow to get a fresh green color, and block the larger patches with that mix. The combination of yellow-green and the larger, brighter green patches brings a feeling of complexity and space despite not painting it in detail.
For the shadow portion between the foreground and the mountain, a mix of black, blue, green, and brown will be perfect. A little purple is enough to create an atmospheric perspective for the bottom of the mountain.
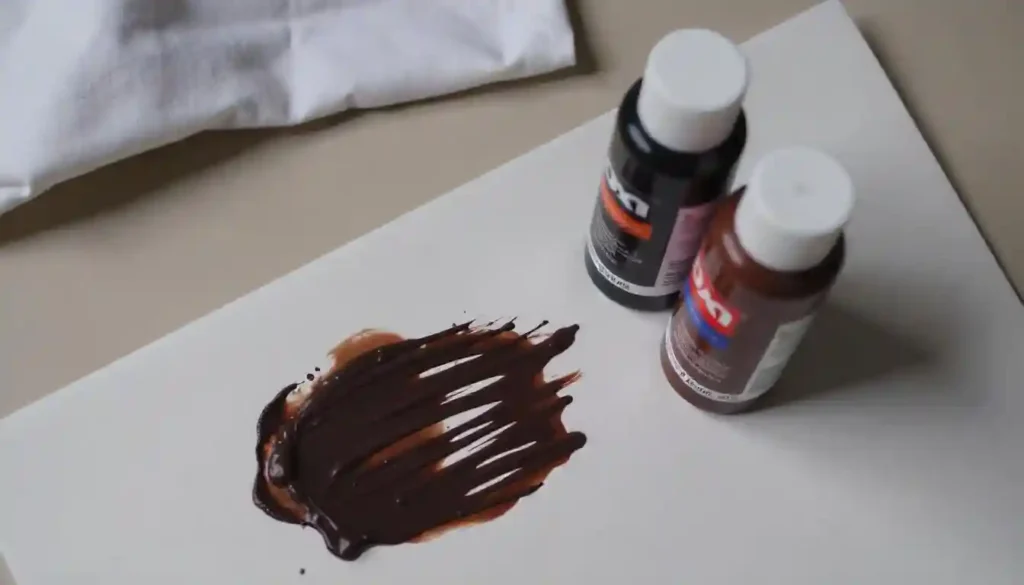
You can paint the stone golden brown with a little white. Now, you can add detail to the mountains and some stone shapes to the elevation.
Go from general or large shapes to specific or small shapes gradually. Keep progressing on using smaller brushes eventually through the painting process.
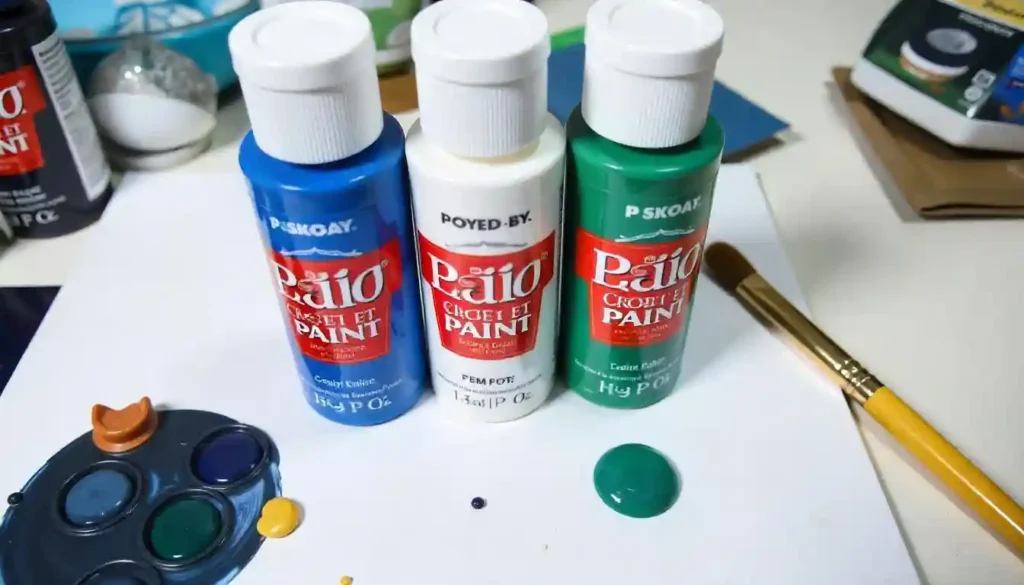
You can repaint some portions of the mountain base just to create a distinction between the foreground and the background. You can also add brighter blue to the sky portion.
If you want to make some changes or make a particular area stand out, you can repaint it. Unlike oil paints, acrylic paints dry very quickly.
As you learn how to paint your first painting from this tutorial, the final painting will be ready in an hour or so.


